 Eclipse IDE Tutorial
Eclipse IDE Tutorial
Eclipse IDE TutorialIn this course, Eclipse is used for writing programs in Java. There are several steps that must be completed to set up Eclipse and further steps to start up a new Java project (set of Java components which work together to make up an application). This tutorial explains each step with words and graphics from the Eclipse IDE.
This tutorial will help you to become familiar with the Eclipse
IDE. You can navigate through the tutorial step-by-step by clicking on
the ![]() and
and ![]() links at the top and bottom of each
page. You may also use the index to jump directly to the specific step
that you wish to review.
links at the top and bottom of each
page. You may also use the index to jump directly to the specific step
that you wish to review.
| Start | The start of the tutorial (top of this page). |
| AT HOME WINDOWS 7 USERS | Step 0: WIN 7: How to create a shortcut to Eclipse. |
| Launch | Step 1: How to launch the Eclipse IDE. |
| Config | Step 1b: Set Suggested Editor Preferences |
| Create | Step 2: How to create a new programming project. |
| Edit | Step 3: How to edit an existing project. |
| Run | Step 4: How to run your program. This also includes building or compiling your project. |
 button on your desktop.
 in
the upper right hand corner of the Control Panel to close the window.
in
the upper right hand corner of the Control Panel to close the window.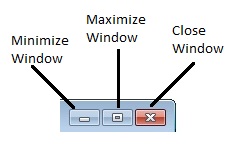
After you downloaded the Eclipse package from Eclipse.org, be sure to uncompress the contents of the file. Note that at the time of this writing (Fall 2014) the latest version is 4.4 codenamed Luna. (As of 9/29/14, 4.4 was not yet available for Mac user). The 4.2.2 codenamed Juno (or 4.3 Kepler) will also be fine in case you have already downloaded the previous version of the software. Uncompressing is also known as (unzip untar unpack) and you can usually do this by right-clicking the file name and selecting unzip.
Remember where you uncompressed the files to, and find the file named eclipse.exe (WIN 7).
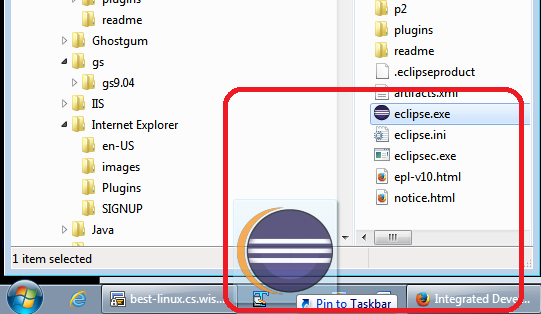
The Eclipse application was not automatically added to your Start menu, the next few steps will show you how to Pin (WIN 7) Eclipse to your taskbar (or you can choose to pin to the Start menu). There are similar ways to create shortcuts in MAC/Linux installations.
button in the lower left corner of your desktop.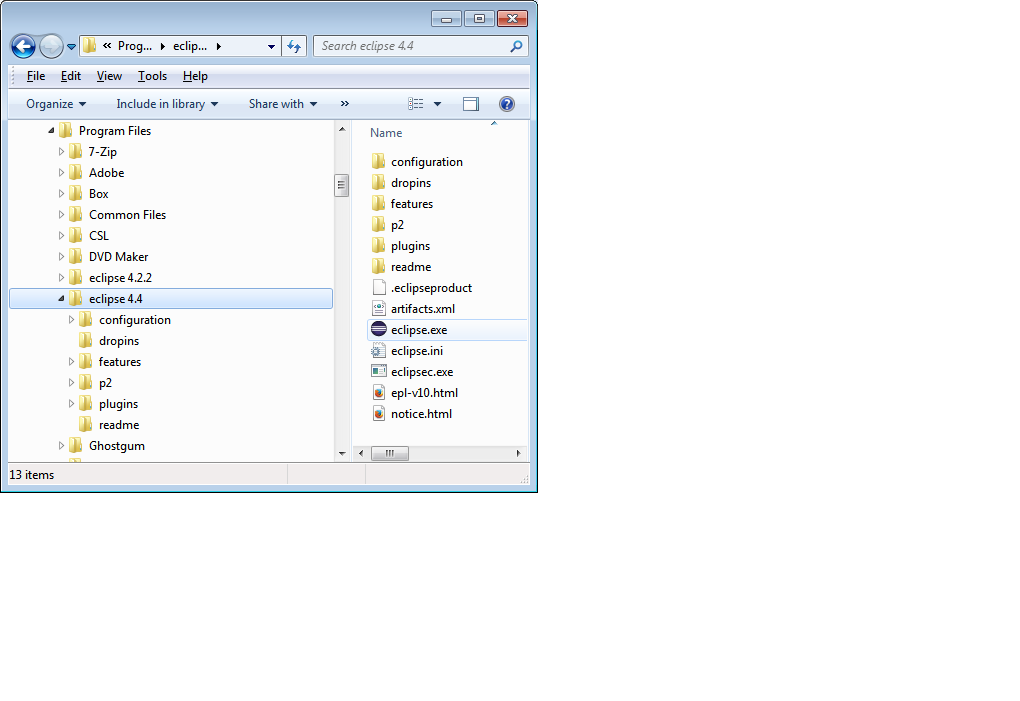
| Launch Config Create Edit Run | |
This step will show you how to start the Eclipse program on the Windows 7 operating system.
LAB USERS: You can find a link to the Eclipse program in the start menu. Click this link to launch Eclipse and then follow instructions for setting the Workspace location. Note that there may be more than one versions of eclipse installed. This tutorial has screen shots of the Luna version (4.4)
AT HOME OR LAB USERS:

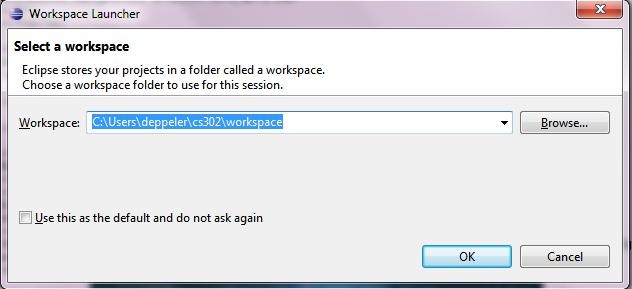
A workspace is a folder on your local drive (home users) or the network (lab users) where the files created by Eclipse will be stored. When you create a new programming project, several files are created and Eclipse will organize them within a new folder that is within the workspace folder you select.
Enter the location (on your home computer or on the network) where you wish to store all files created by Eclipse projects.
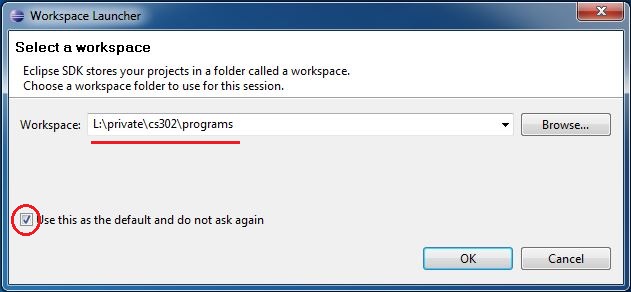
CS WINDOWS LAB USERS: Enter in the following location L:\private\cs302\programs and make it so that this is the default choice, as in the following image:
CS LINUX LAB USERS: Use the following location /u/c/s/cslogin/private/cs302/programs.
NOTE: /u/c/s/cslogin is different for each user. If your login name is badger,
your user folder is found at /u/b/a/badger.
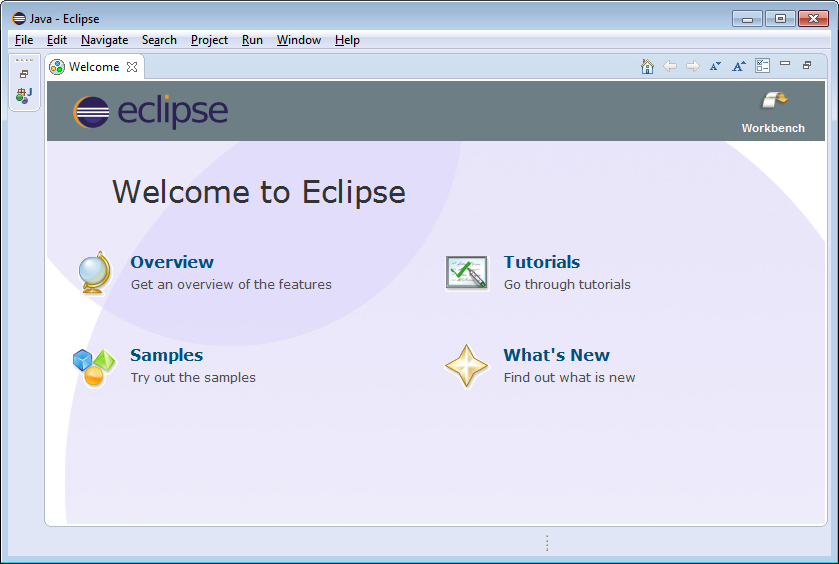
When you are done, close the Welcome pane by clicking the X on the tab labeled Welcome(towards the top left of the Eclipse window), then continue to the next step of the tutorial and use the Eclipse IDE to develop your Java programming project.
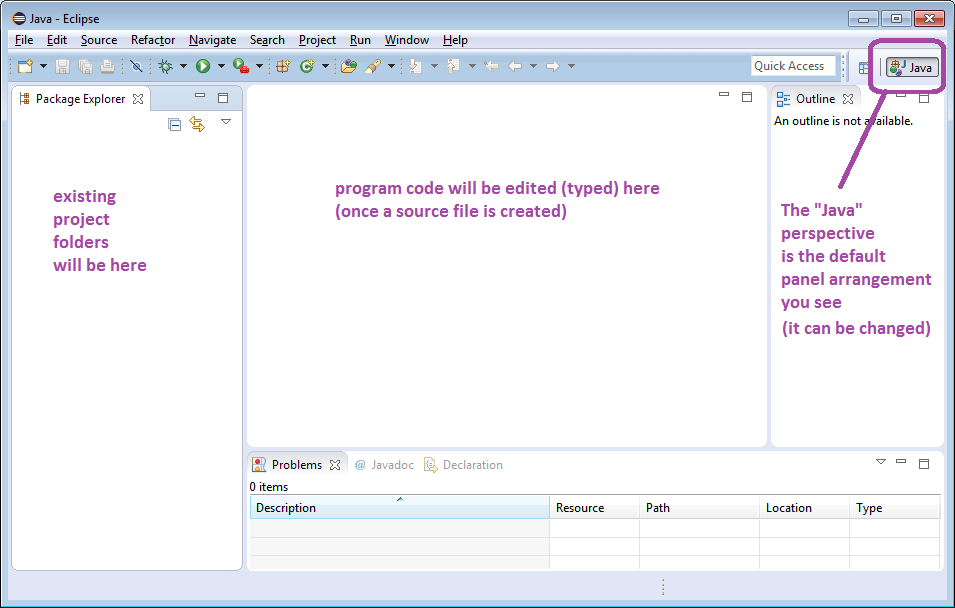
An empty Eclipse workspace looks like this.
1. Open the preferences dialog window
- Click Window in the Eclipse menu bar
- Click Preferences
2. In the preferences dialog, set these preferences
- Expand (click) General
- Expand (click) Editors
- Click Text Editors
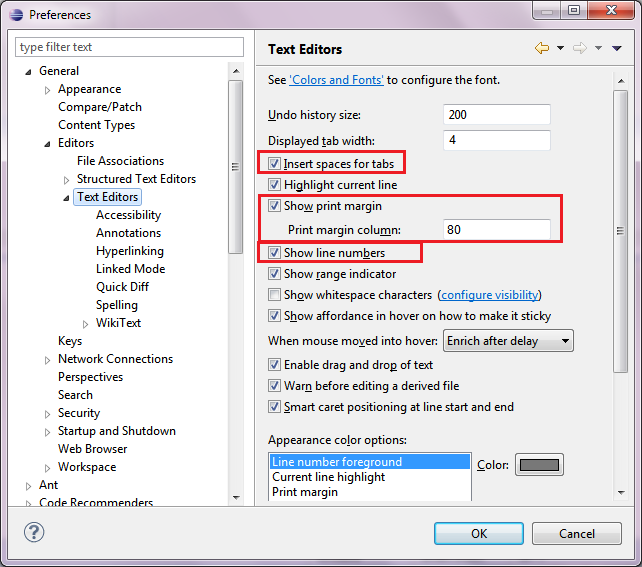
3. In the Text Editors option panel
- Check the box to select [turn on] each of these options:
- Insert spaces for tabs
- Show print margins
- Show line numbers
- Set Print Margin column to 80.
- See Colors and Fonts if you wish to change the display of your editor window.
- Click [Ok] to save your selections.
Once set, your Text Editors preferences window should look like this:
| Launch Config Create Edit Run |
|
Original version created by Deb Deppeler and Sue Hazlett
Updated for Eclipse by Martin Hock
Updated for lab section use by Beck Hasti
2008-2012 Updated by Jim Skrentny
2012 Updated for v4.2 by Deb Deppeler
2013 Updated by Nick Pappas
2014 Updated for v4.4 and added Editor Preferences by Deb Deppeler