CS766 Project 2-Panoramic Mosaic Stitching
Mengmeng Chen (mchen),
Yi Pan (yipan), Charles Xie
(cxie)
1. Introduction
The goal of this project is to combine a
set of images into a larger image by registering, warping, resampling
and blending them together.
For this project, we took pictures, read
the papers and discussed the algorithms all together. Yi and Mengmeng did panoramic mosaic stitching and Charles did vignetting elimination.
2. Panoramic Mosaic Stitching
We implemented a feature-based method based on Brown and Lowe's ICCV2003 paper "Recognizing Panoramas" to generate panoramic images. The code package can be found in the ./mosaic directory under our submission.
2.1 Taking images
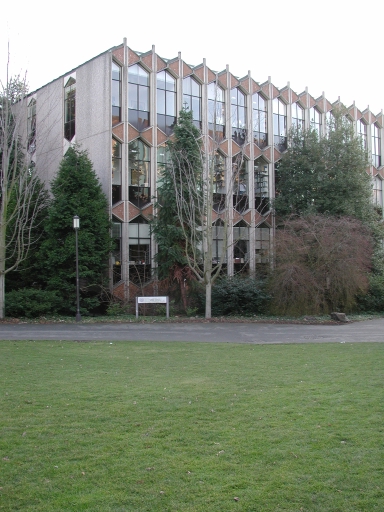
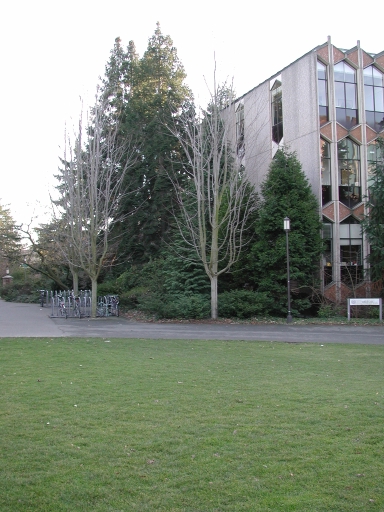
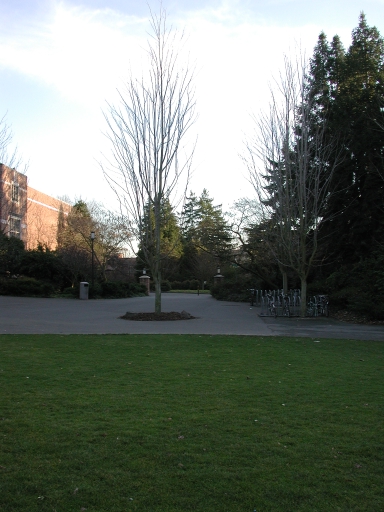
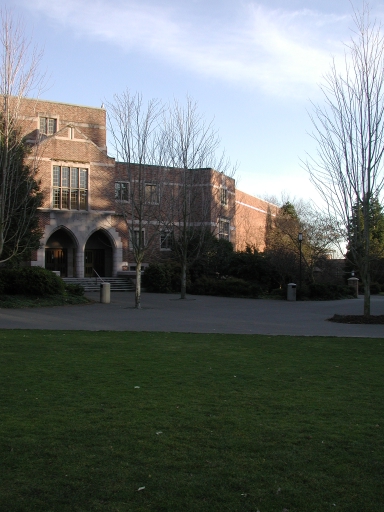
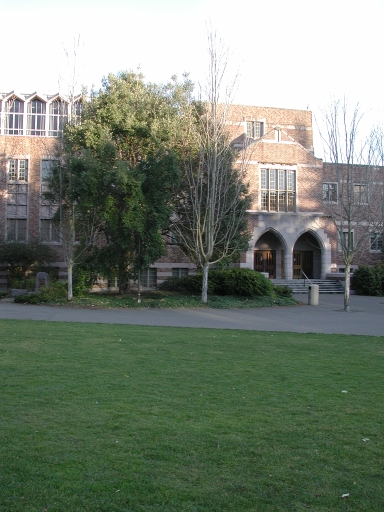
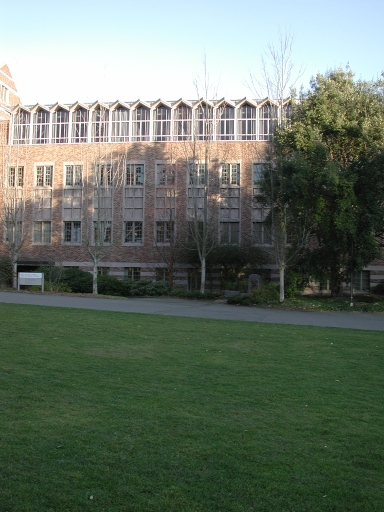
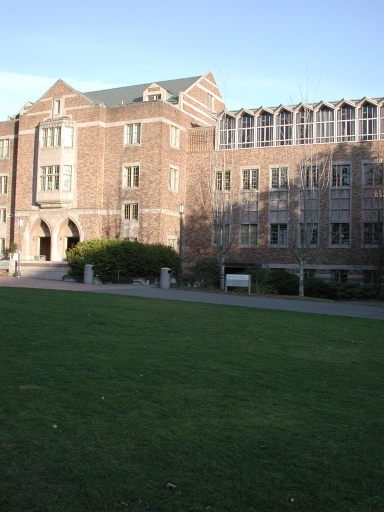
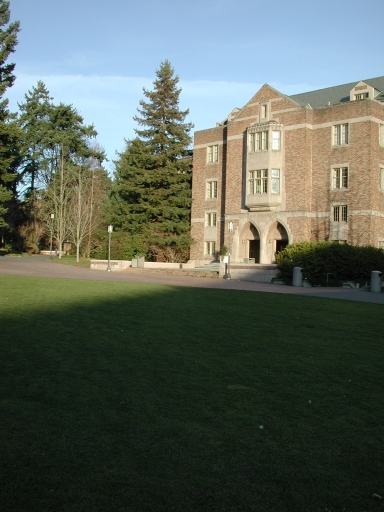
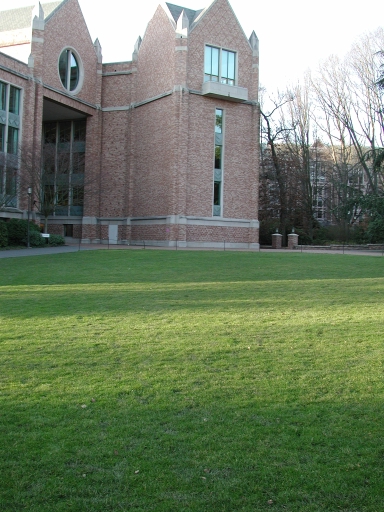
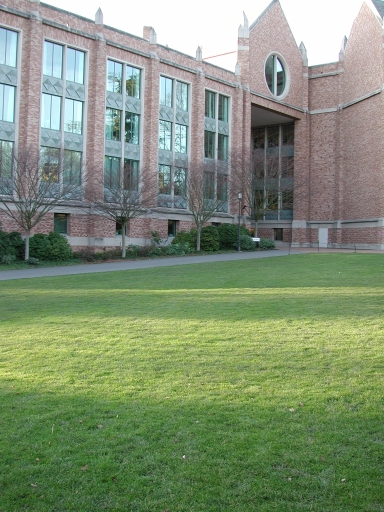
We used the Canon SX100 IS camera with tag 6418204056 to take pictures. Photos are of size 480x640 with focal length equal to 678.05421, k1 = -0.22982 and k2 = 0.22952. The images taken for this project can be found in the ./images directory under our submission.
2.2 Distortion removal
Using the focal length f and coefficients k1 and k2 to remove the radial distortion according to the formula in the class. This is written in C by Yi Pan and it is compiled in windows platform. To run it, use Undistortion.exe config.txt photo_prefix. It will generate undistorted images with the original image name plus _u .
2.3 Warping each image into cylindrical coordinate.
We computed the inverse map to warp the image into the cylindrical coordinates as discussed in the class. We used the focal length f estimates for the 480x640 resolution images provided above. This is done with Python by Mengmeng. To run it, just python ImageCylindrical.py image
2.4 Computing the alignment of the images in pairs
We used SIFT to extract the SIFT features from each image. Given the correspondence pairs, RANSAC is used to find out the translational motion between each pair of images. This is written in Matlab by Yi Pan. We computer H between each two images for 55 times and each time randomly pick up 4 match points generated by Sift. Get the best H as the final homographic solution.
2.5 Stitching and cropping the resulting aligned images
We computed the size of the final stitched images and blended all the images with its neighbors and crop the final image. The stitching is written in matlab and the crop is written in Python by Mengmeng. RANSAC and stitching are grouped together in Paro.m and the final result will need to run CropFinal.py to do cropping.
2.6 Creating the final result
We created the final .jpg image and showed it in the Interactive Viewer.
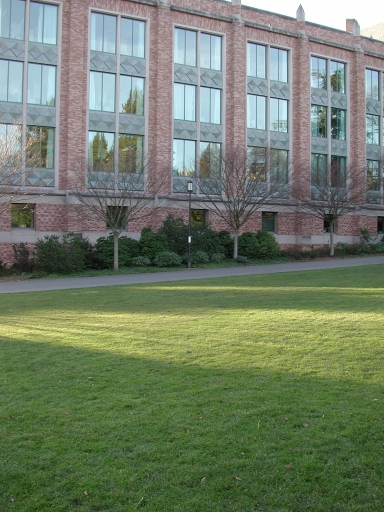
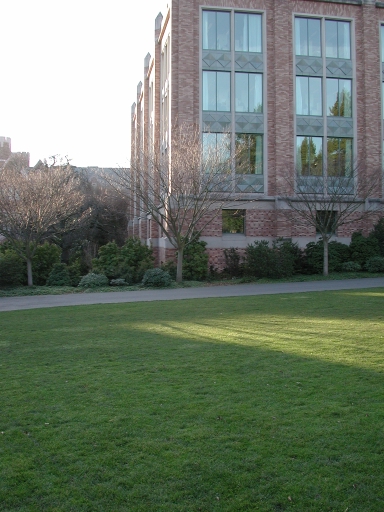
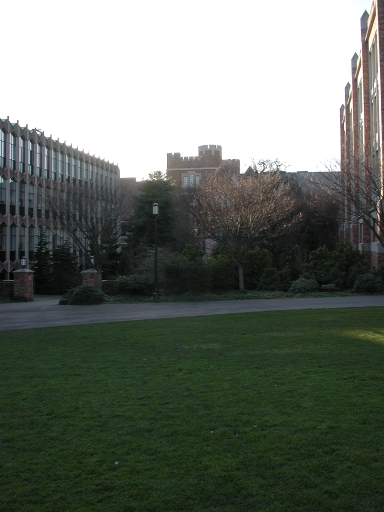
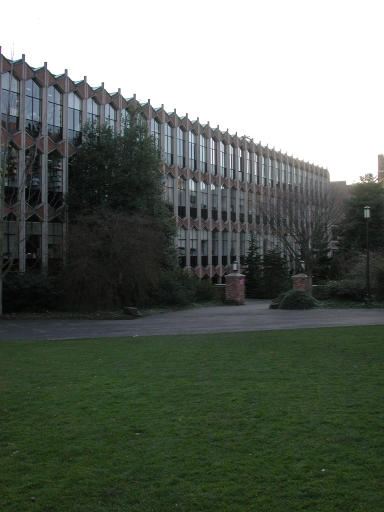
2.7 The results
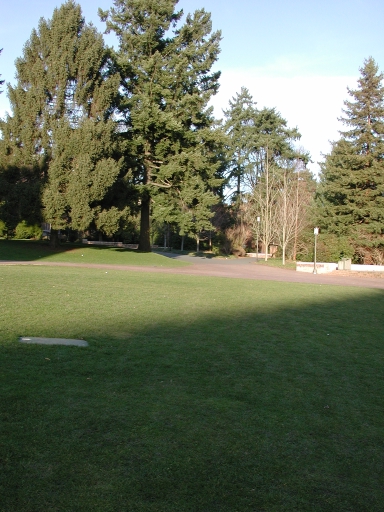
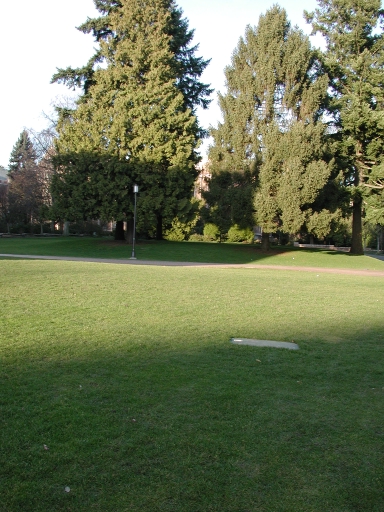
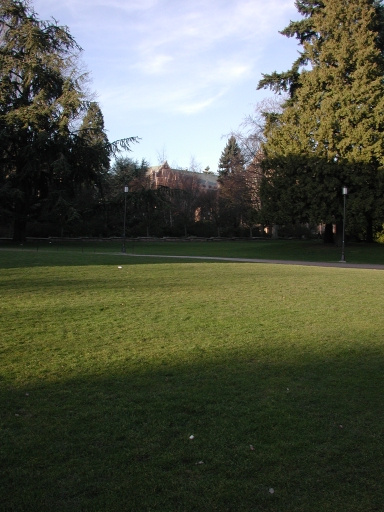
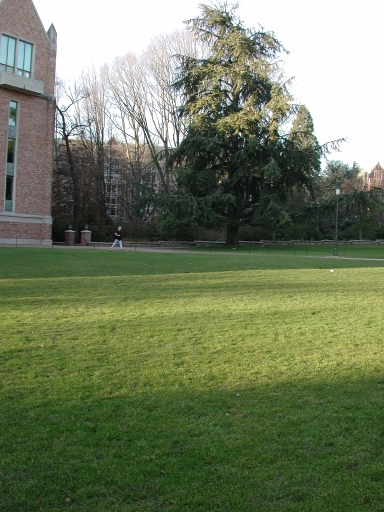
we get our best result with the test images:
 |
 |
 |
 |
 |
 |
 |
 |
 |
 |
 |
 |
 |
 |
 |
 |
 |
 |
The final mosaic generated:

The live demo:
3. Vignetting Elimination (Bonus Point)
For this task, we tried out the solution discussed in Dan B Goldman and Jiun-Hung Chen’s ICCV2005 paper “Vignette and Exposure Calibration and Compensation” to eliminate vignetting.
3.1 Solve for the alignment between frames using AutoStitch
We followed the docs that come with AutoStitch. Autostitch will blend the panorama but will not eliminate vignetting completely. AutoStitch leaves a file called "pano.txt" in the directory with our stitched panorama.
3.2 Modify and debug the vignette-removal code
We modified and debugged the code provided by the authors to get the code run under Windows-XP environment. We use Python 2.5, PIL 1.1.6, and numarray 1.5.2. The modified code package can be found in the ./vignetting directory under our submission.
3.3 Solve for the vignetting parameters
solve3.py <imgdir> 1000
imgdir: The directory containing the images and pano.txt file.
After quite a long while, this script will create a new file called "k.txt" in the image directory. This contains the vignette, exposure, and response curve parameters for the image sequence.
3.4 Solve for de-vignetted images, and create a merged panorama
devmerge3.py <imgdir> <outfile>
imgdir: The directory containing the images, and pano.txt
file.
outfile: The name of the output panorama file.
The script will generate the panorama.
3.5 The results
We compared the panorama with vegnetting elimination and the panorama without vegnettting elimination by AutoStitch as below. We used the test images set for this project and a set of images that we took. As we can see, the algorithm did a good job in eliminating vegnetting. However, the algorithm is very slow and it took several hours to complete. This is because that the nonlinear optimization on lots of variables can be a bear.
1.a panorama without vignetting elimination (by AutoStitch)

1.b panorama with vignetting elimination

2.a panorama without vignetting elimination (by AutoStitch)

2.b panorama with vignetting elimination

4. Favorite Artifacts
Our favorite artifact is here
5. References
1. M. Brown, D. G. Lowe, Recognising Panoramas, ICCV 2003.
2. Dan B Goldman, Jiun-Hung Chen, Vignette and Exposure Calibration and Compensation, ICCV 2005.