f-stop: f/14
ISO: 400
Focal Length: 18mm
High dynamic range (HDR) images have much larger dynamic range than traditional images' 256 brightness levels. In addition, they correspond linearly to physical irradiance values of the scene. Hence, they have many applications in graphics and vision.
In order to create a HDR image I have took several sets of images of the same scene using different exposures. I varied the shutter speed of the exposure time to vary the exposure. The camera used for the project is a Canon EOS 7D. A tripod and a remote shutter release were used to keep the camera still and the scene composition consistent. I took 8 to 9 images of each scene by changing the exposure from +4Ev to -4Ev and taking an image at each stop. The cameras Auto Exposure Bracketing (AEB) function was very helpful, as it took 3 images from the bracketed exposure range in rapid sequence, thus minimizing the alteration need to change the exposure. The f-stop was changed between 9 and 14 depending on the scene but was kept constant for each shoot. The other features such as autofocus, ISO and white balance were set to non-auto and was kept constant during each shot to eliminate the effect of those variables.
|
|
|
|
| t = 0.6 sec. | t = 1/3 sec. | t = 1/6 sec. |
|
|
|
|
| t = 1/13 sec. | t = 1/25 sec. | t = 1/50 sec. |
|
|
|
|
| t = 1/100 sec. | t = 1/200 sec. | t = 1/400 sec. |
|
Other Settings f-stop: f/14 ISO: 400 Focal Length: 18mm |
||
|
|
|
|
| t = 1.3 sec. | t = 0.6 sec. | t = 1/3 sec. |
|
|
|
|
| t = 1/6 sec. | t = 1/13 sec. | t = 1/25 sec. |
|
|
|
|
| t = 1/40 sec. | t = 1/80 sec. | t = 1/160 sec. |
|
Other Settings f-stop: f/9 ISO: 400 Focal Length: 33mm |
||
The image taking was an enjoyable activity. If I had more time I would have taken more pictures of more interesting scenes to create more compelling HDR images
The Program is written in MATLAB and it implements the Debevec's method as described in Debevec's SIGGRAPH 1997 paper. The use of MATLAB was a good choice in opinion as it simplified the image input/ output, it also provided easier access to the pixels as they were represented in a native matrix form. However I only used the basic Matlab functions for the implementation. It was helpful to have the sample solution for the liner solver on the Debevec's paper; I was able to get a good idea from that implementation. I was also able to get a feel for the implementation by some work by Mathias Eitz.
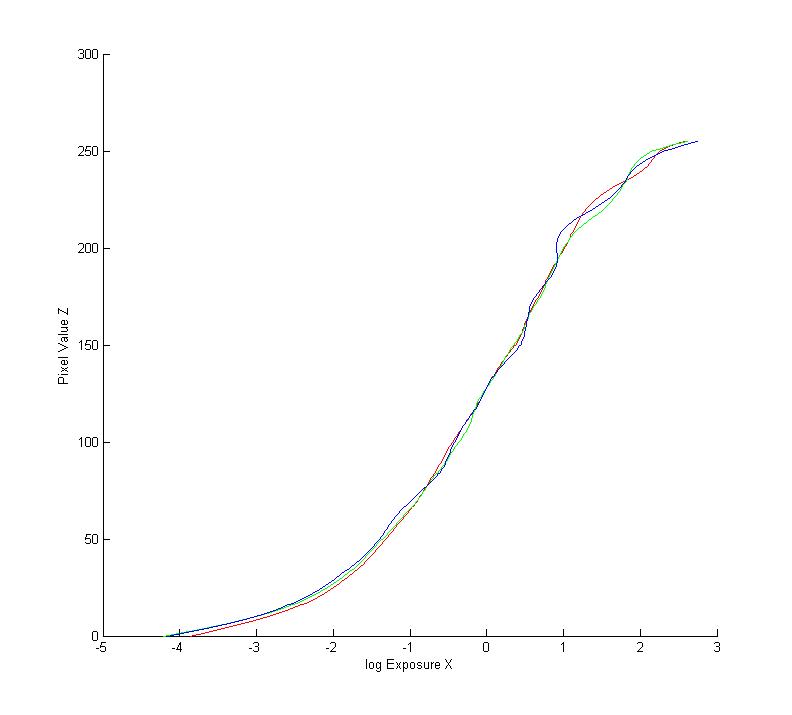
The program takes a set of limited dynamic range (regular) images with the exposure time encoded as a part of the file name and recovers the camera’s response curve and creates a HDR image. The HDR image can then be converted to a RGB image using Matlab tonemap function.As an additional feature the Reinhard's tone mapping algorithm is implemented to create a tome map from the HDR image. The implementation creates 2 images; one using Reinhard's global tone mapping operator and the other using Reinhard's local tone mapping operator. The global operator seemed to provide better results than the Local operator on all the sample I tested.
Recovered camera responce curve
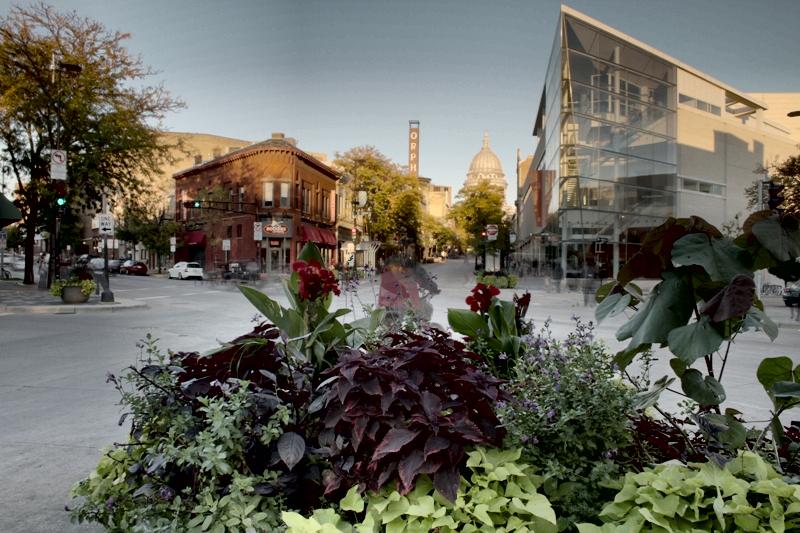
HDR Image/Tonemap generated from State Street images
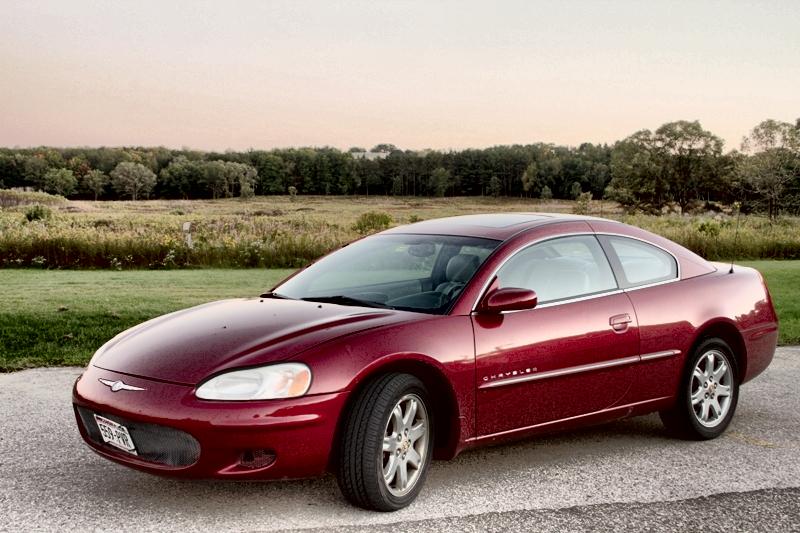
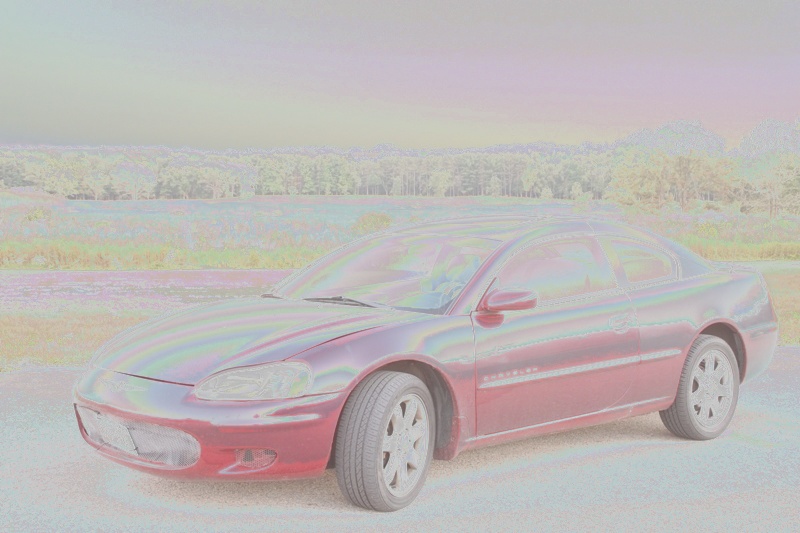
HDR Image/Tonemap generated from Red Car images
|
|
|
|
| t = 1/2 sec. | t = 1/5 sec. | t = 1/10 sec. |
|
|
|
|
| t = 1/20 sec. | t = 1/40 sec. | |
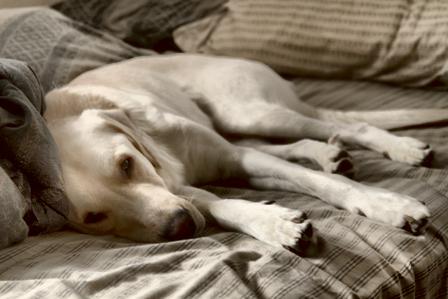 Generated HDR image/Tonemap |
||

|

|

|
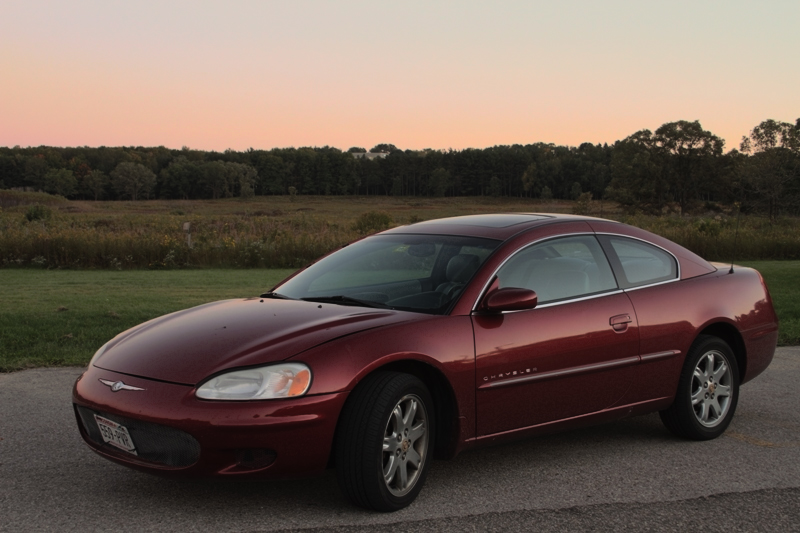
|
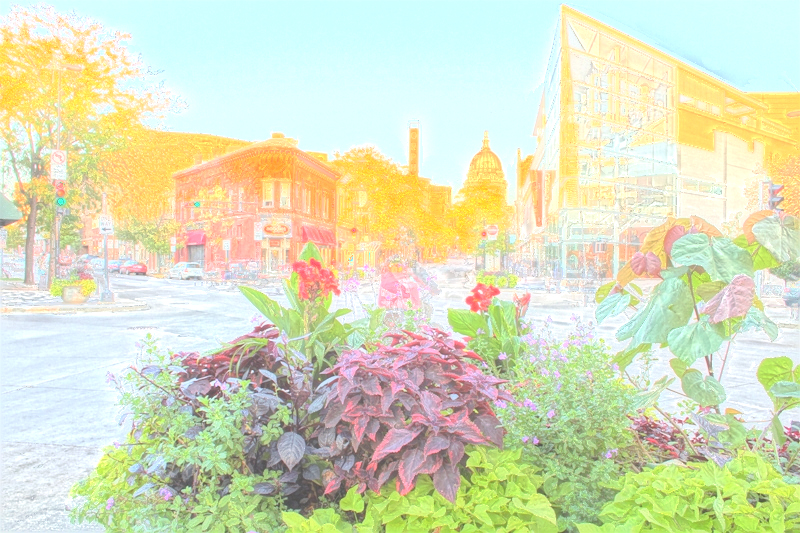
|
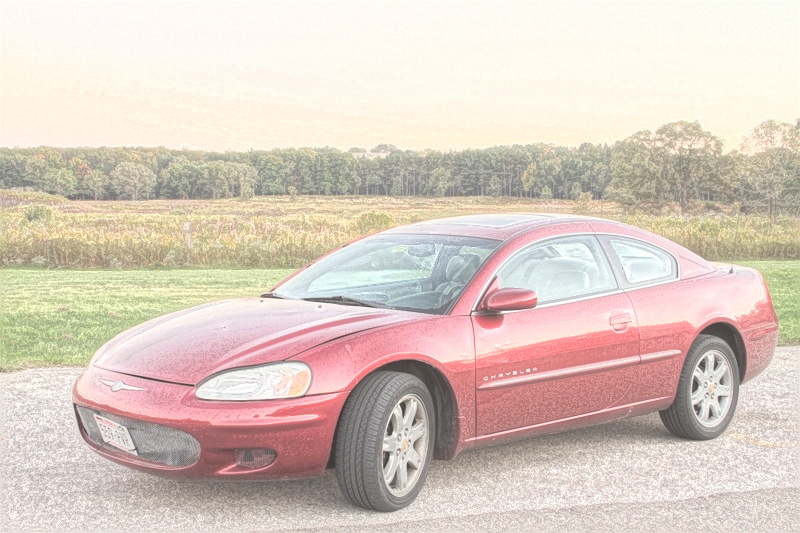
|
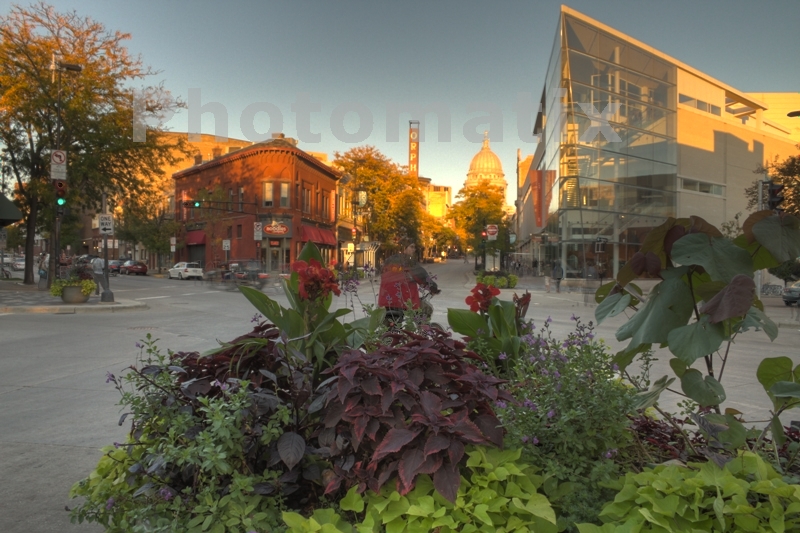
|
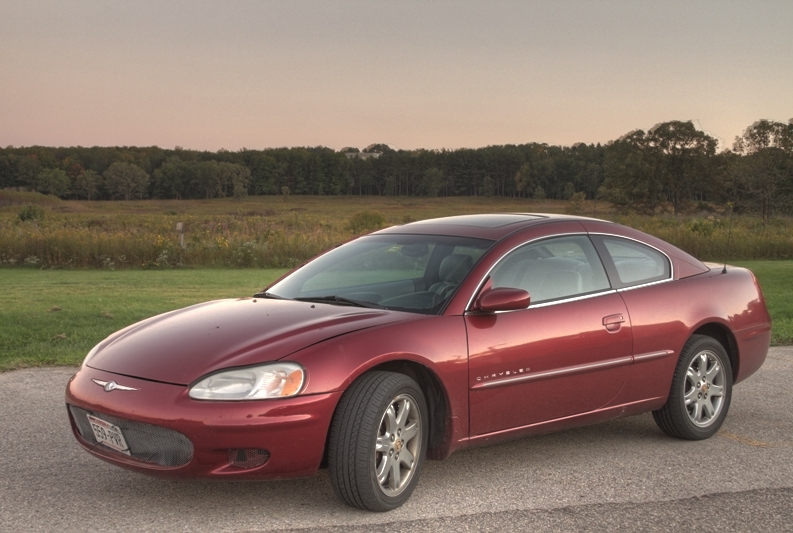
|
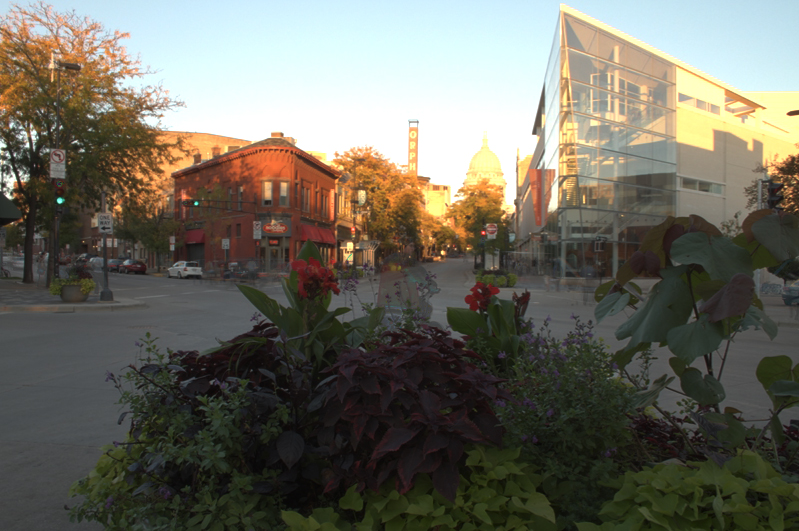
|
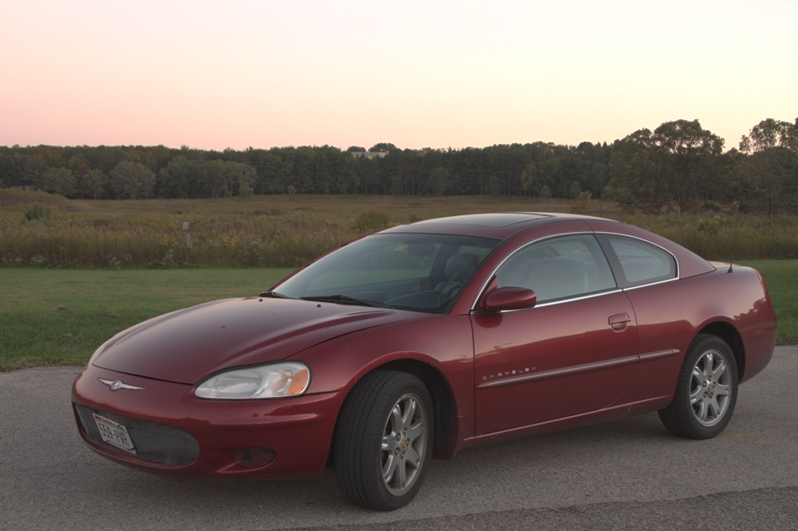
|
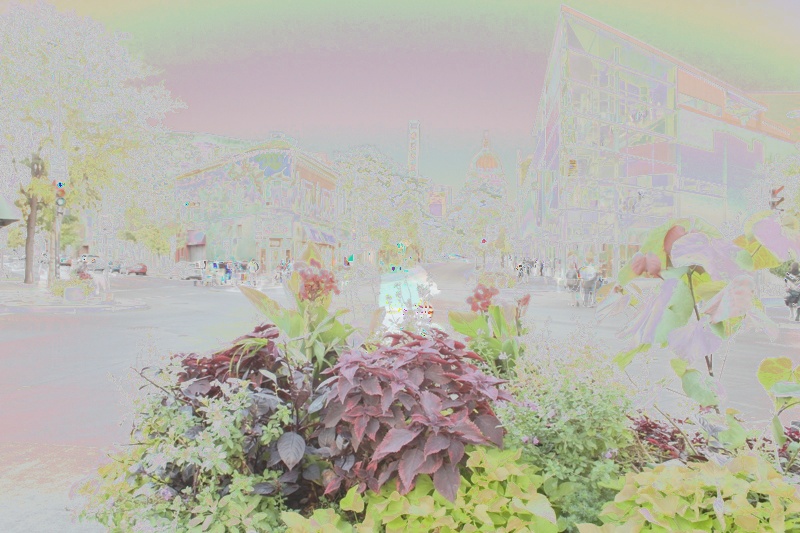
|
|
In conclusion it was a challenging and rewarding project. I wish there was more time implement more extra features and get picture of better scenes. But I think I did well to get some good results working on my own. I also explored the different HDR software which include Photomatrix, Photoshop CS4, and HDR Shop. Compared to the commercial software I think my results are better than most of them, which is quite encoraging to put more effort in to HDR imaging. Comparing the Matlabs tonemap function to my implementation of Reinhard's Local and Global operators; it is clear that the Matlab Tonmap gives better results