Installing Oracle Personal Edition
This guide will help you install the Oracle Personal
Edition database software which is included on the accompanying CD. Once
installed, you will be able to use Oracle in order to study several topics
including SQL queries, active database features, constraints, and database
programming. The database can be used with exercises from the book, course
related work, or personal projects.
System Requirements
Oracle requires at least the following system configuration:
- Windows NT 4.0 or later (Windows NT 4.0/2000/XP Professional)
- 128MB RAM
- 3GB hard disk space available
- CD-ROM Drive
Installation Instructions
In order to install Oracle Personal Edition, do the following:
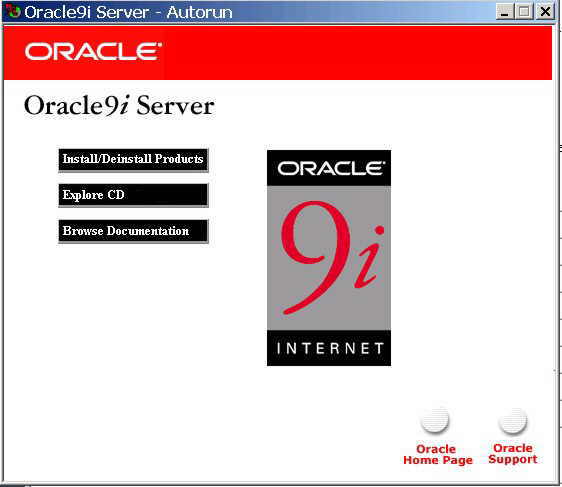
- Insert the Oralce Installation CD1 into a CD-ROM Drive.
- The Oracle Welcome Screen should appear as below.
If it does not automatically start on your system, or you are installing it from your harddrive then:
- From the desktop, double-click on the "My Computer" or equivalent icon
to see the drives on your system.
- Double-click on the CD-ROM drive containing the Oracle CD, or go to the folder that contains the Oralce Installation.
- Double-click on "autorun" folder and then "autorun" [or "autorun.exe"]
- Click on Install/Deinstall Products. The Oracle Universal Installer will
appear as below.
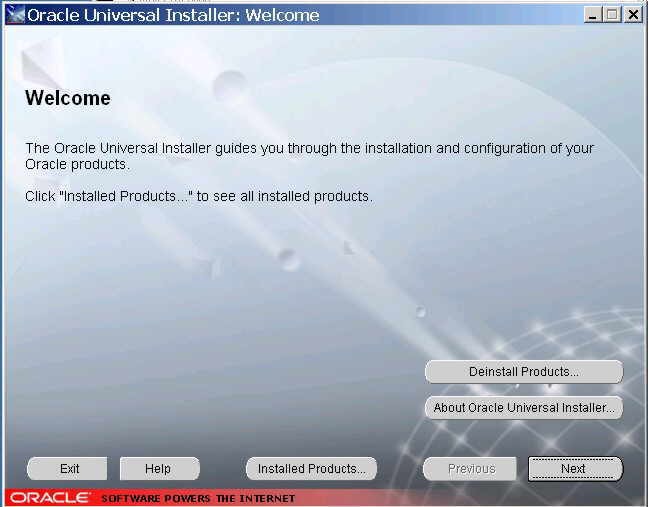
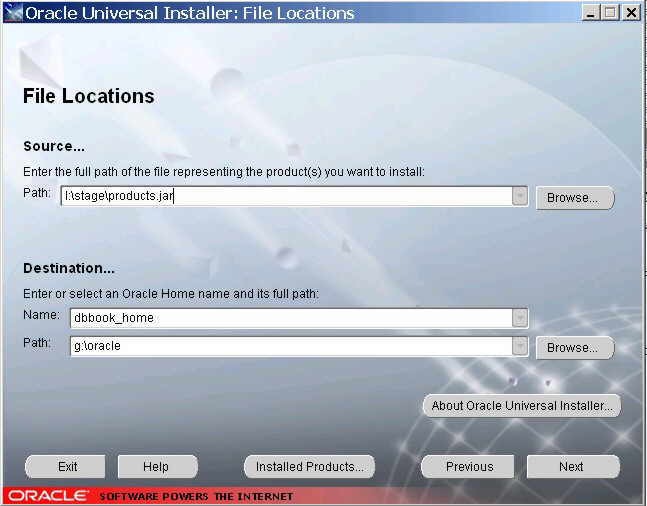
- Click Next. The screen for specifying the installation location will
appear as below. The Source Path field should show the path to the "products.jar" file in the Oracle Installation.
Type DBBOOK_HOME in the Name field. You may accept the default
installation path. If you wish, you may specify another path in the Destination Path field
as long as enough disk space is available on the drive you select.
- Click Next. The installer will display a list of products to install.
Accept the default of Oracle 9i Database.
- Click Next. The list of installation types will be displayed. Select
"Personal Edition".
- Click Next. A list of database configurations will appear. Select "General
Purpose".
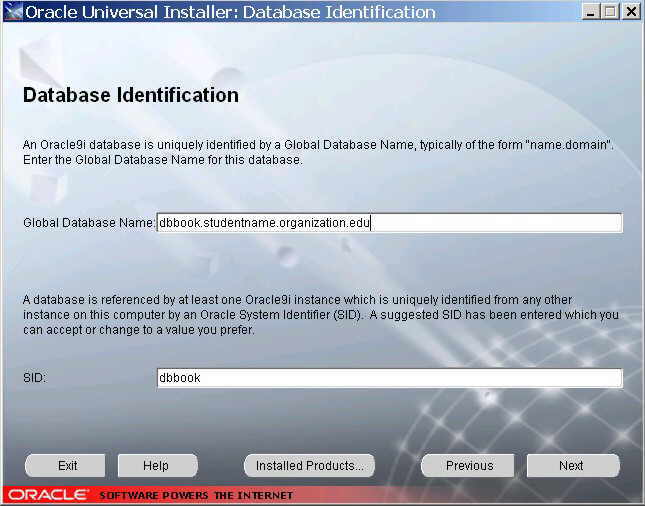
- Click Next. In the global database name field enter a name (such as
dbbook) followed by your domain. If you do not have a domain from your
organization or Internet access provider, you may choose a domain as you wish.
For example, you could use your name. The fields of your name and domain are
separated by dot (period) characters. A System Identifier will be generated
automatically.
- Click Next. You will be prompted to enter a location for data files. You
may accept the default or specify another location such as a different disk.
- Click Next. You will be asked to chose a character set. You may accept the
default character set.
- Click Next. An installation summary will appear.
- Click Install. Files will be copied to your computer, which will likely
take some time. You will be prompted to enter disk 2. Insert the
appropriate CD into the drive and click OK. Do the same for disk 3.
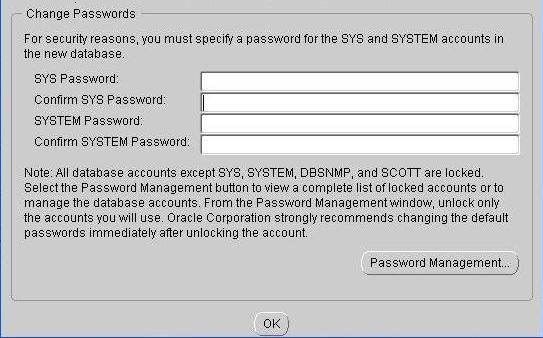
- After all the files copy to your computer, the installation will prompt
you to enter the password for SYS and SYSTEM account as below. Enter the
passwords.
- Click on the Password Management button. A new window shown below will pop up. Find the user name
SCOTT and click on the Lock Account column next to it to lock this account.
Click OK to exit this window and OK again to exit the password window.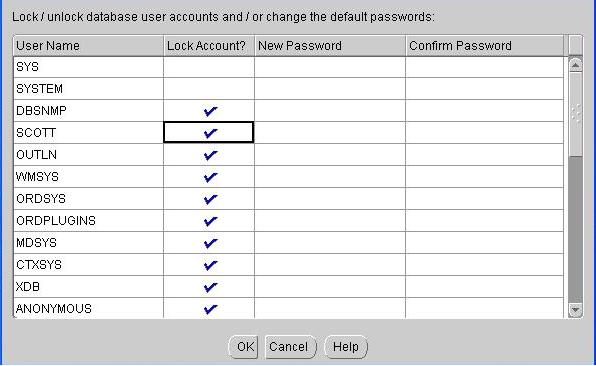
- Click on Exit. The installation is complete. You should also exit the
Oracle Universal Installer. Click Yes when it asks if you really want to exit.
Initial Configuration
You will want to create a personal account on your system. To perform this tasks do the following:
- Launch the Oracle Enterprise Manager Console. It can be found by opening
the following menus from the windows start menu: Start > Programs > Oracle -
DBBOOK_HOME > Enterprise Manager Console.
- Accept the default of launching standalone.
- Click OK. It will display the top level database tree.
- Expand the database you created in step 8 of the installation
instructions. You will be prompted for a password.
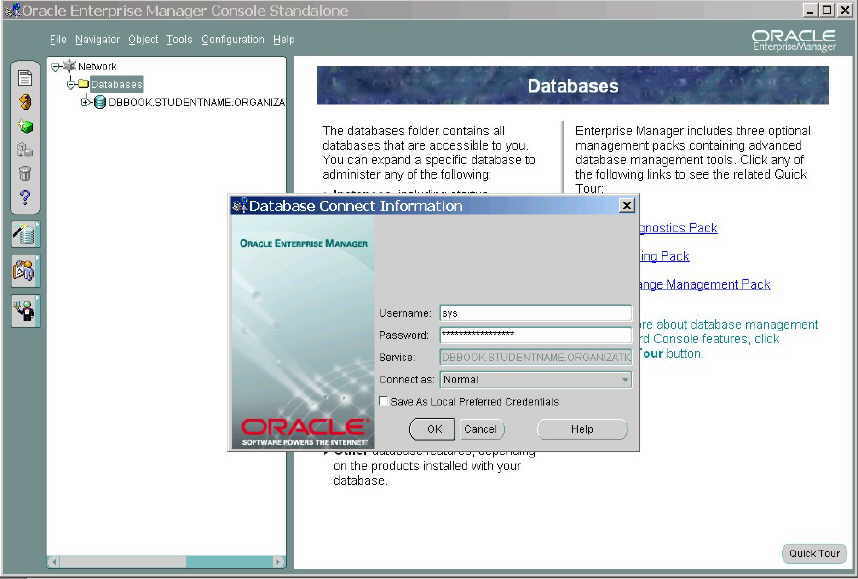
- Enter SYS as the Username and the password you entered in step 13 of the
installation instructions. Select SYSDBA from the Connect as field.
- Click OK. Part of the database tree will be expanded.
- Expand the Security and then the Users in the navigation pane on
the left of the screen.
- Right Click on the Users Folder in the navigation pane and choose Create.
This will being up the user creation dialog as below.
- Enter a username for your account, such as your name. Enter a password in
the password fields.
- Click on the Role tab and select the DBA Role.
Click the down arrow in the center to grant the DBA role to your account as below.
- Click Create. The account should be created successfully.
Exploring Oracle
Congratulations you have finished the installation and may now start using
Oracle. For an introduction to basic tasks such as creating tables, running
queries and working with oracle utilities see the guide to
Getting Started with Oracle. You may also go
back to the Supporting Material for the
Third Edition for other options.
Version 0.1.1.0 Last Updated: 2002/06/08 by
David Warden
Oracle is a registered trademark of Oracle Corporation. Windows is a trademark
of Microsoft Corporation.
Copyright (C) 2002 McGraw-Hill Companies Inc. All Rights Reserved.
|