In this project, I implemented an image alignment program and a HDR image creation program. The source code for the programs are located in the source folder. The executables are located in the bin folder. The artifact I have chosen is located in the artifact folder.
I used the median threshold bitmap algorithm discussed in Greg Ward's paper "Fast, Robust Image Registration for Compositing High Dynamic Range Photographs from Handheld Exposures." The image library used is the gil library. The median threshold bitmap algorithm basically thresholds the grayscale version of two images using a median grayscale value. This creates two bitmaps where 0 means below the threshold and 1 means above the threshold. Two exclusion bitmaps are created for the two images where the pixel values are close to the median threshold. The total error between two images is calculated by added the differences in the two bitmaps excluding pixels that lie in the exclusion bitmap. The second image is shifted plus and minus 1 pixel in the x and y position and the total error is calculated for all the shifts. There are 10 total errors calculated which includes the 9 shifts and one for no shift (same as shift 0 in the x position and shift 0 in the y position). The shift with the least total error is returned as the desired shift. The median threshold bitmap algorithm recursively perform this process x amount of time on the two images that are resized in half and the shift returned from the recursive calls is used to calculate the shift amount which is limited to 2^x pixel shift.
The program takes as many pictures as the user wants. Each images should have different brightness levels if they are taken using different exposure settings. I first sort all the images by brightness using the total of all the pixels of the grayscaled images. Then I run the median threshold bitmap using the middle image in the sorted list as the starting point and the image that is next in the sorted list. Once I find the shift amount, I shift the image and use this image to compare it with the next one. I repeat this process but this time I start with the middle image and go backward.
Program usage: ImgAlign.exe <image1 path> <image2 path> <image3 path> ...
Example: ImgAlign.exe img1.jpg img2.jpg img3.jpg
I used the Debevec's method discussed in "Recovering High Dynamic Range Radiance Maps from Photographs." The image library used is the gil library. The math library used is the LAPACK++ library. The details of Debevec's algorithm was discussed in class so I won't summarize it here. The paper does not discuss what is the best way to select the pixels to use. What I did is first find the image with the most weight by totaling all the pixels using the weight function mentioned in Debevec's paper. This image should be the image with the most range from zMin and zMax. Then I count the number of pixels that have a value of 0, 1, ..., 255; so in the end, I have the count of all the pixels in the range 0-255. I take the total number of pixels and divided by the number of pixels + 1, which returns the interval I'm going to step by. First, I set the pixel index to 0 then add the interval to find the index of the first pixel. This pixel index is not the index of the pixel in the actual image. I used this pixel index using the pixel count information for each pixel range. So imagine rearranging the image pixel and sort them by pixel value in the order they are found. I use this pixel index in the sorted image to find the pixel location in actual image. I also ignore the 0 and 255 pixel value in case the image is saturated with these pixel values. This algorithm should return a list of pixels which are distributed in the zMin and zMax range, probably in a uniform pixel location since it's not just using the first pixel it finds, and hopefully sparsely distributed.
If you compile the code with the debug definition defined and run it, it will output the response curve into 3 seperate text files. You can use these 3 files as parameters so that the program will use these files instead of calculating the response curve.
Program usage: HDR.exe numImages <image1 path> <image2 path> <image3 path> ... <shutterSpeed1> <shutterSpeed2> <shutterSpeed3> ... <optional gCurveRedFile> <optional gCurveGreenFile> <optional gCurveBlueFile>
Example: HDR.exe 3 img1.jpg img2.jpg img3.jpg 1 .25 .0125
Optional: You can also specify 3 response curve coefficient for g in 3 text files to use instead of calulcating the response curve (HDR.exe 3 img1.jpg img2.jpg img3.jpg 1 .25 .0125 gCurveRed.txt gCurveGreen.txt gCurveBlue.txt)
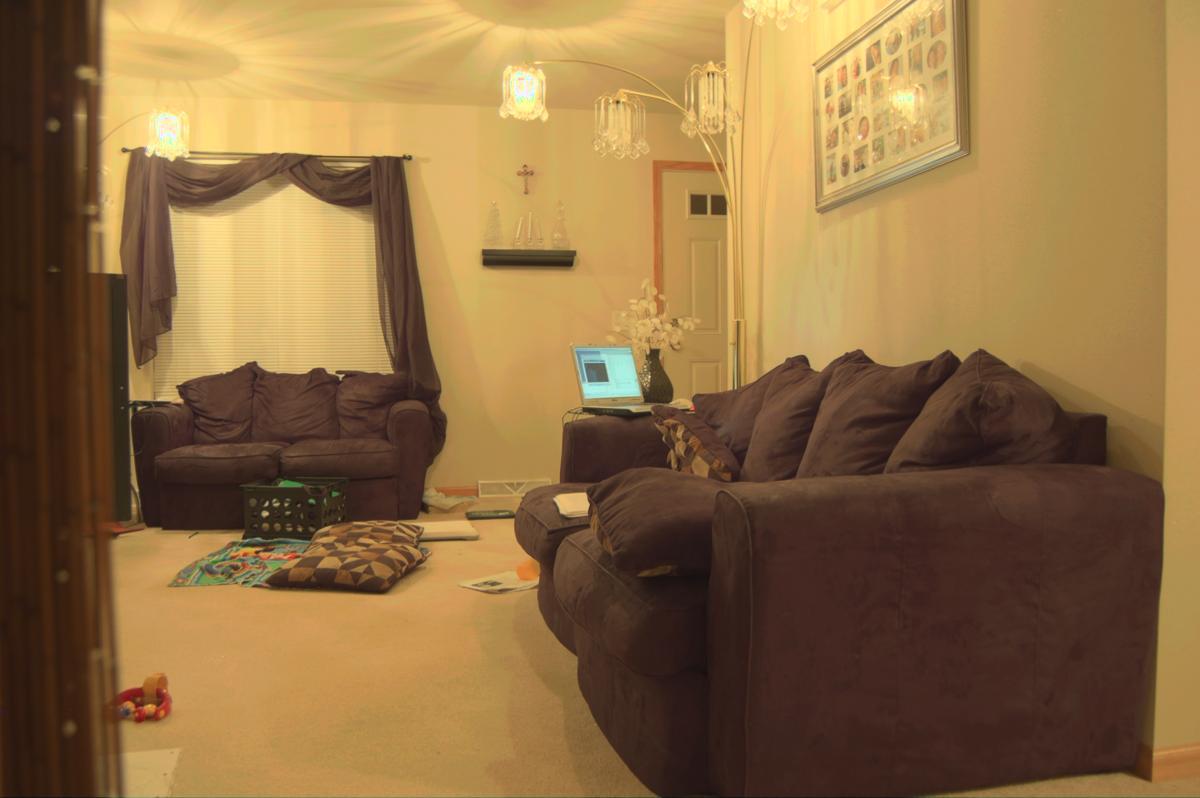
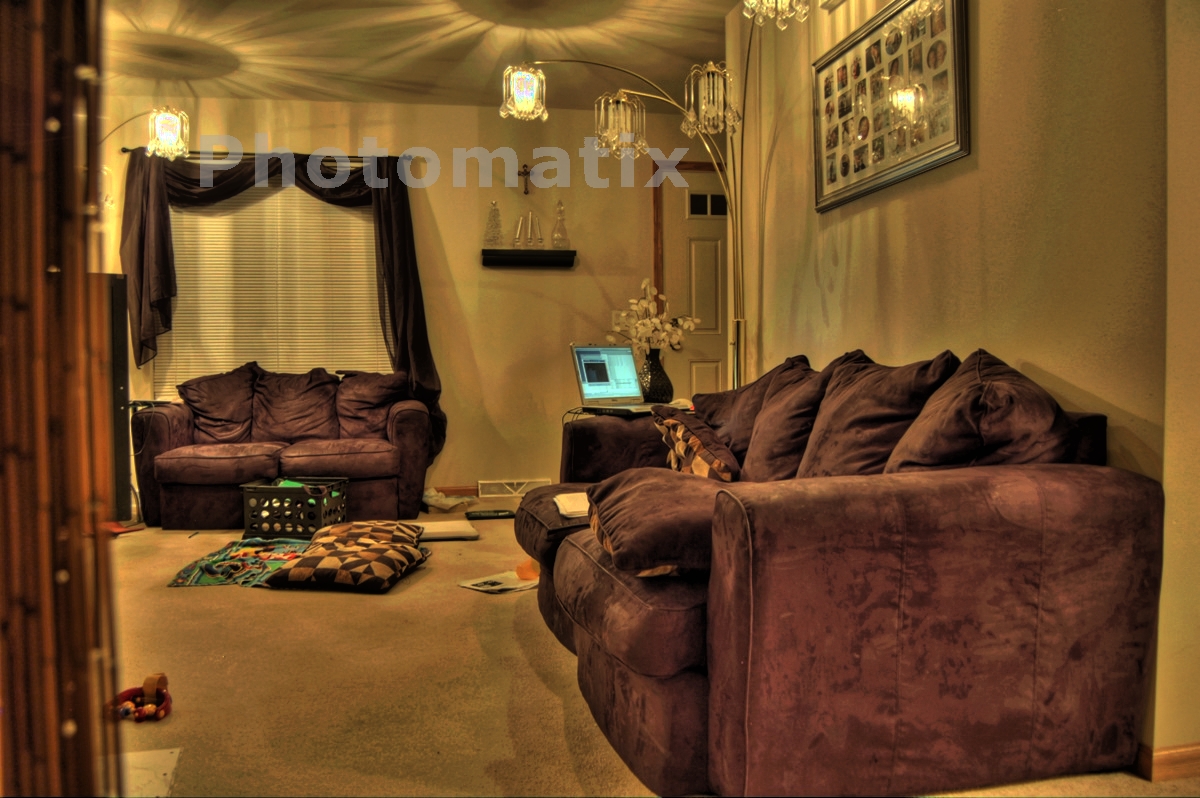
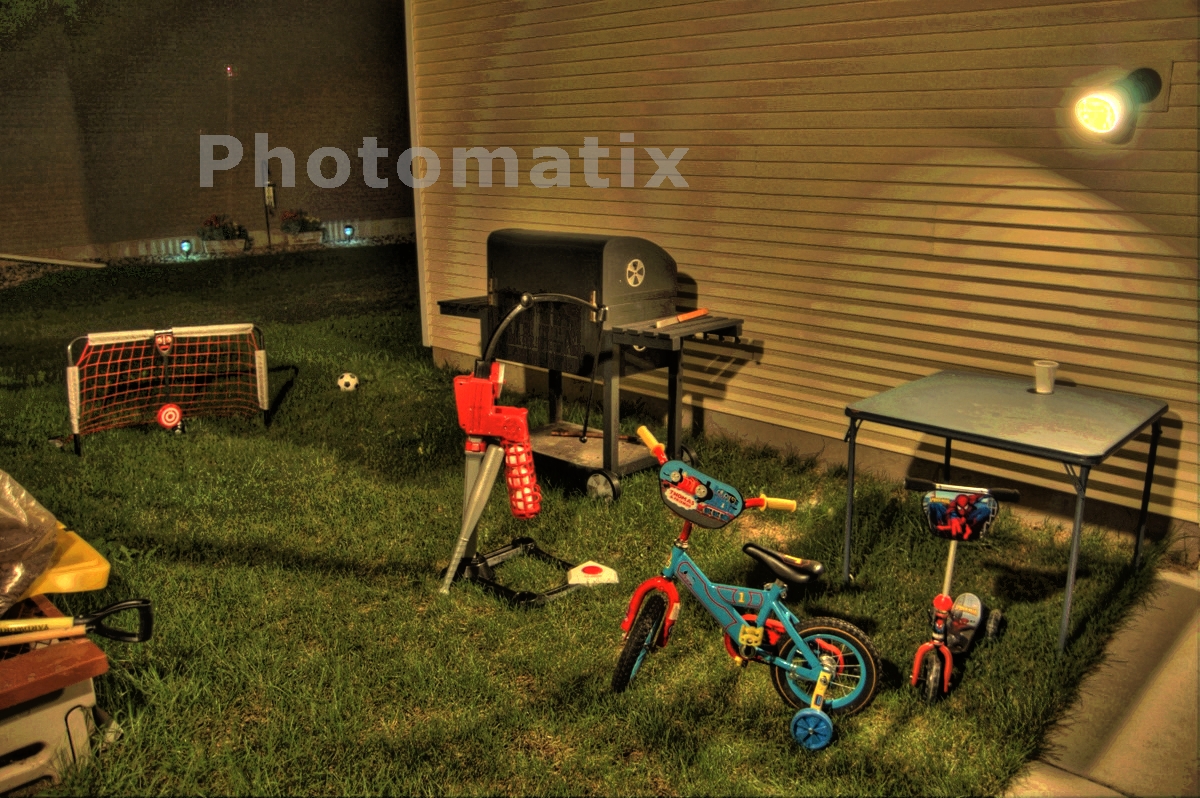
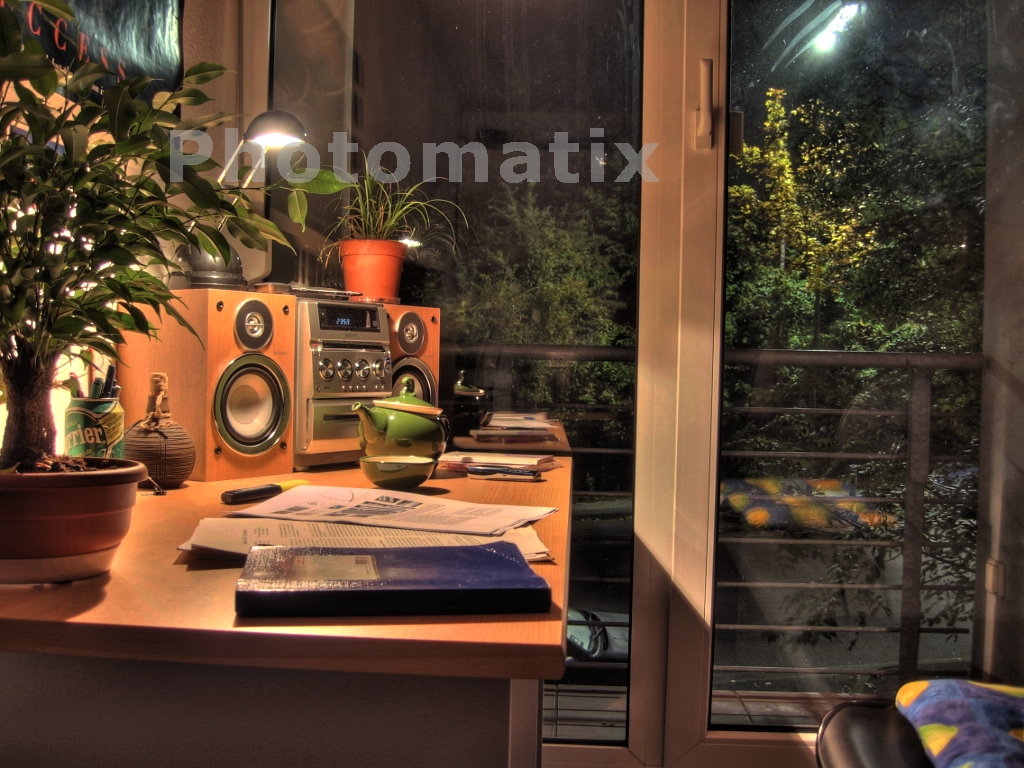
I have taken two series of images of my backyard and living room. The images taken and the hdr image are located in the images folder. Below are images I took and then processed by Photomatix's and HDRSoft's toning process using the default values.
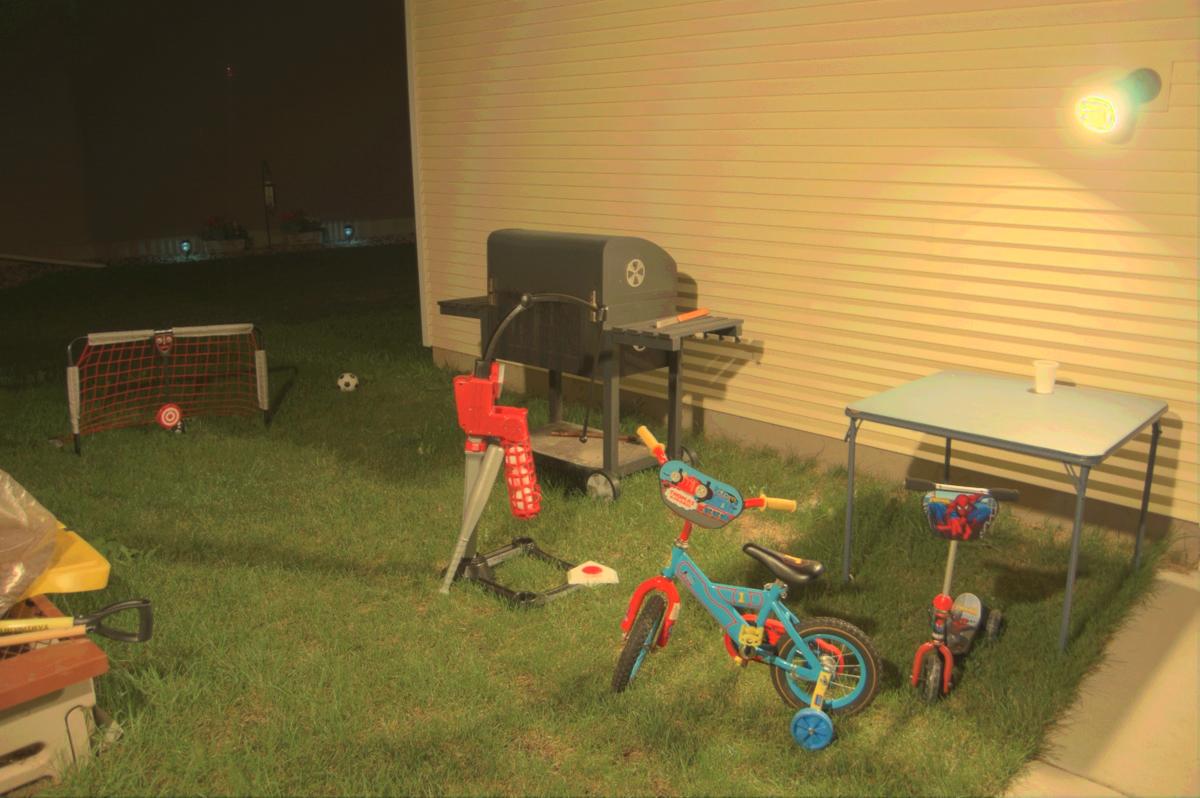
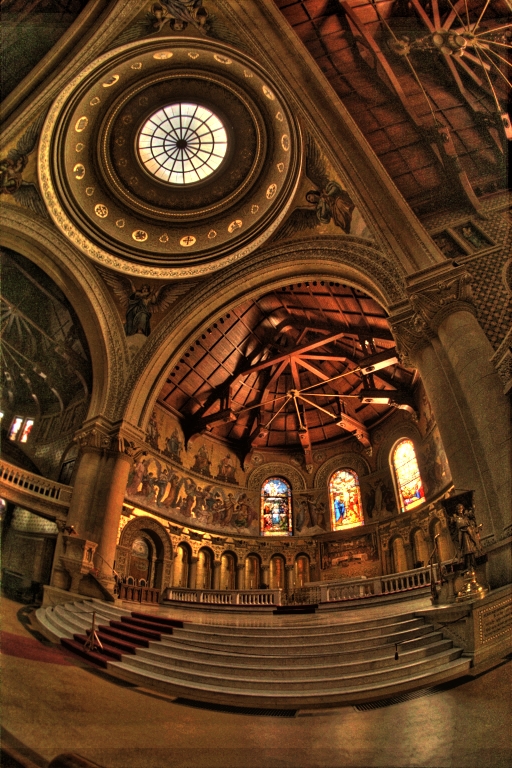
I found that the algorithm works pretty well if you have a large amount of images such as the sample pictures provided as shown in the picture below.
If I only use 3 images, the response curve isn't as accurate as shown in the pictures below. Either that or I did something wrong in the algorithm. It took me a long time to figure this out since I was testing my algorithm with the sample images and some examples only had 3 images.
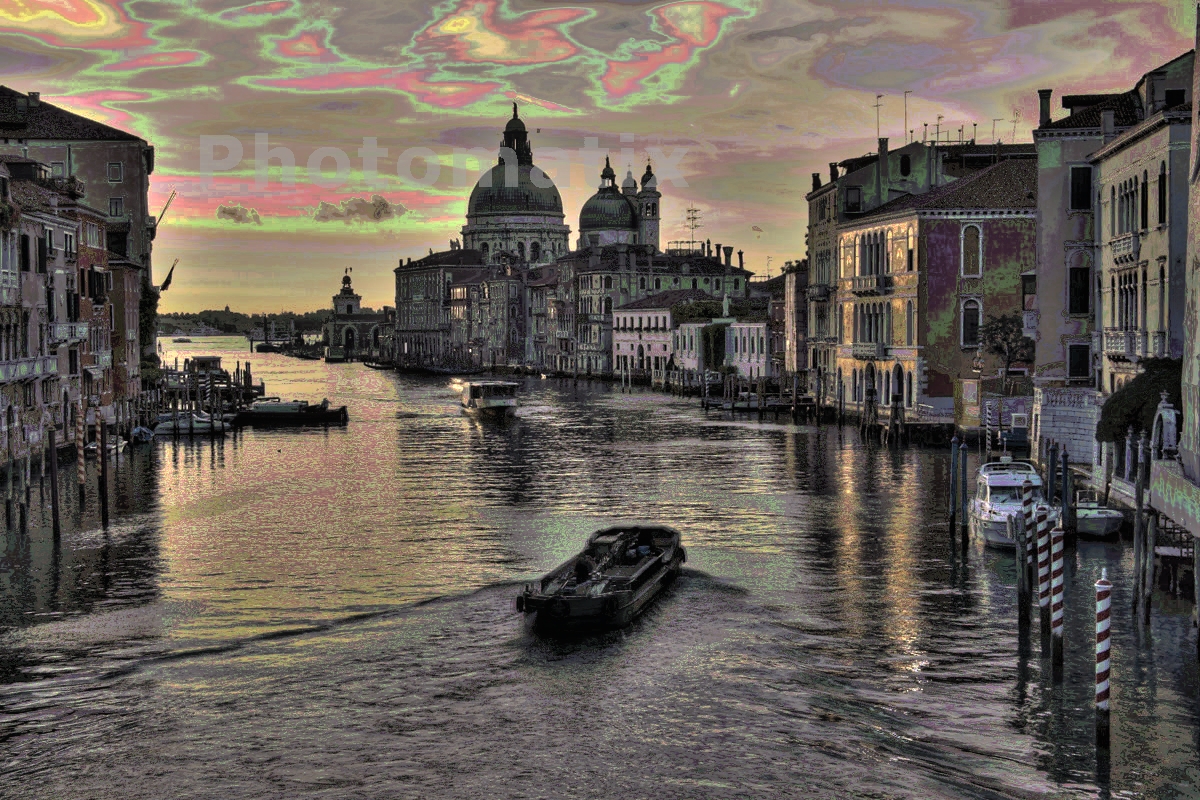
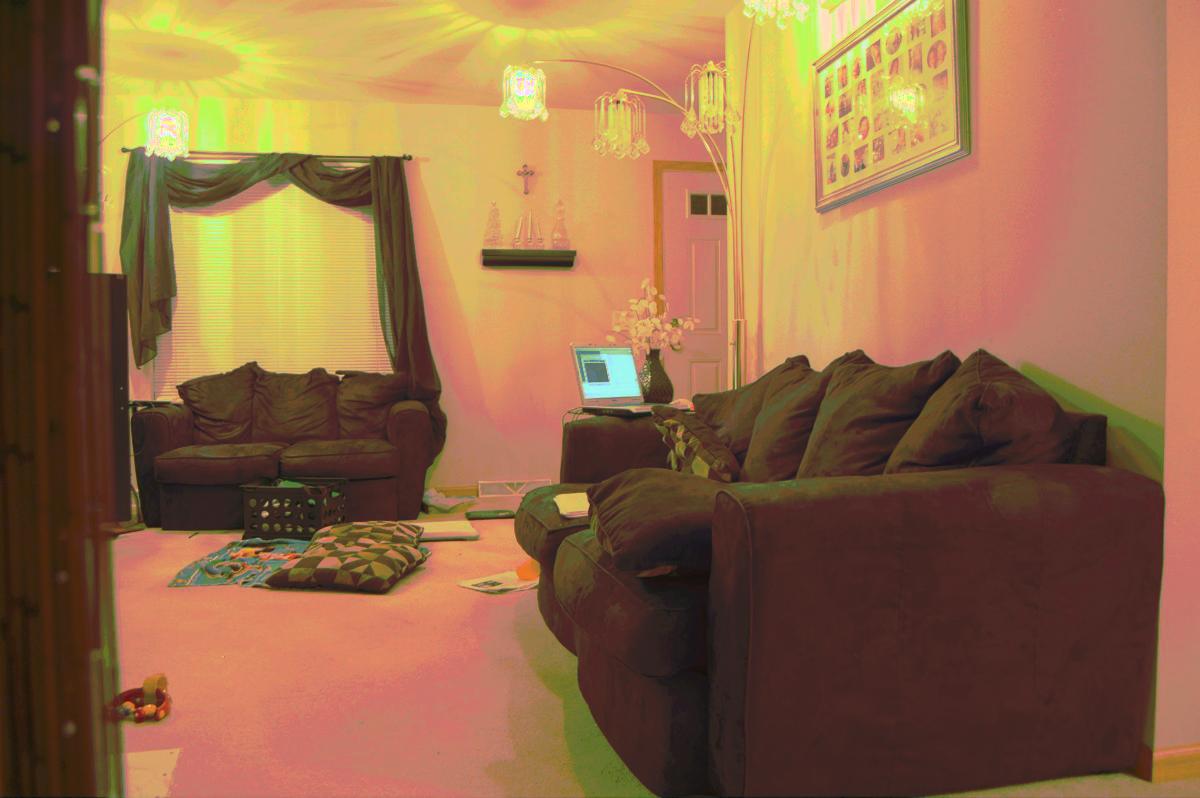
But once the response curve, it could be applied to the 3 images to produce a more accurate image.