The following is a picture documentary of adding Bybee Quantum Purifiers to a Martin Logan CLS IIz.
NOTE: This hardware potentially contains high voltages! Do not work on an energized unit! Exercise extreme caution with a recently de-energized unit. The units I worked on were de-energized/cold (both AC and audio input) for at least 24 hours prior to modification. Work safely. Consider yourself warned.
Click on any of the pictures below for a full-resolution version.
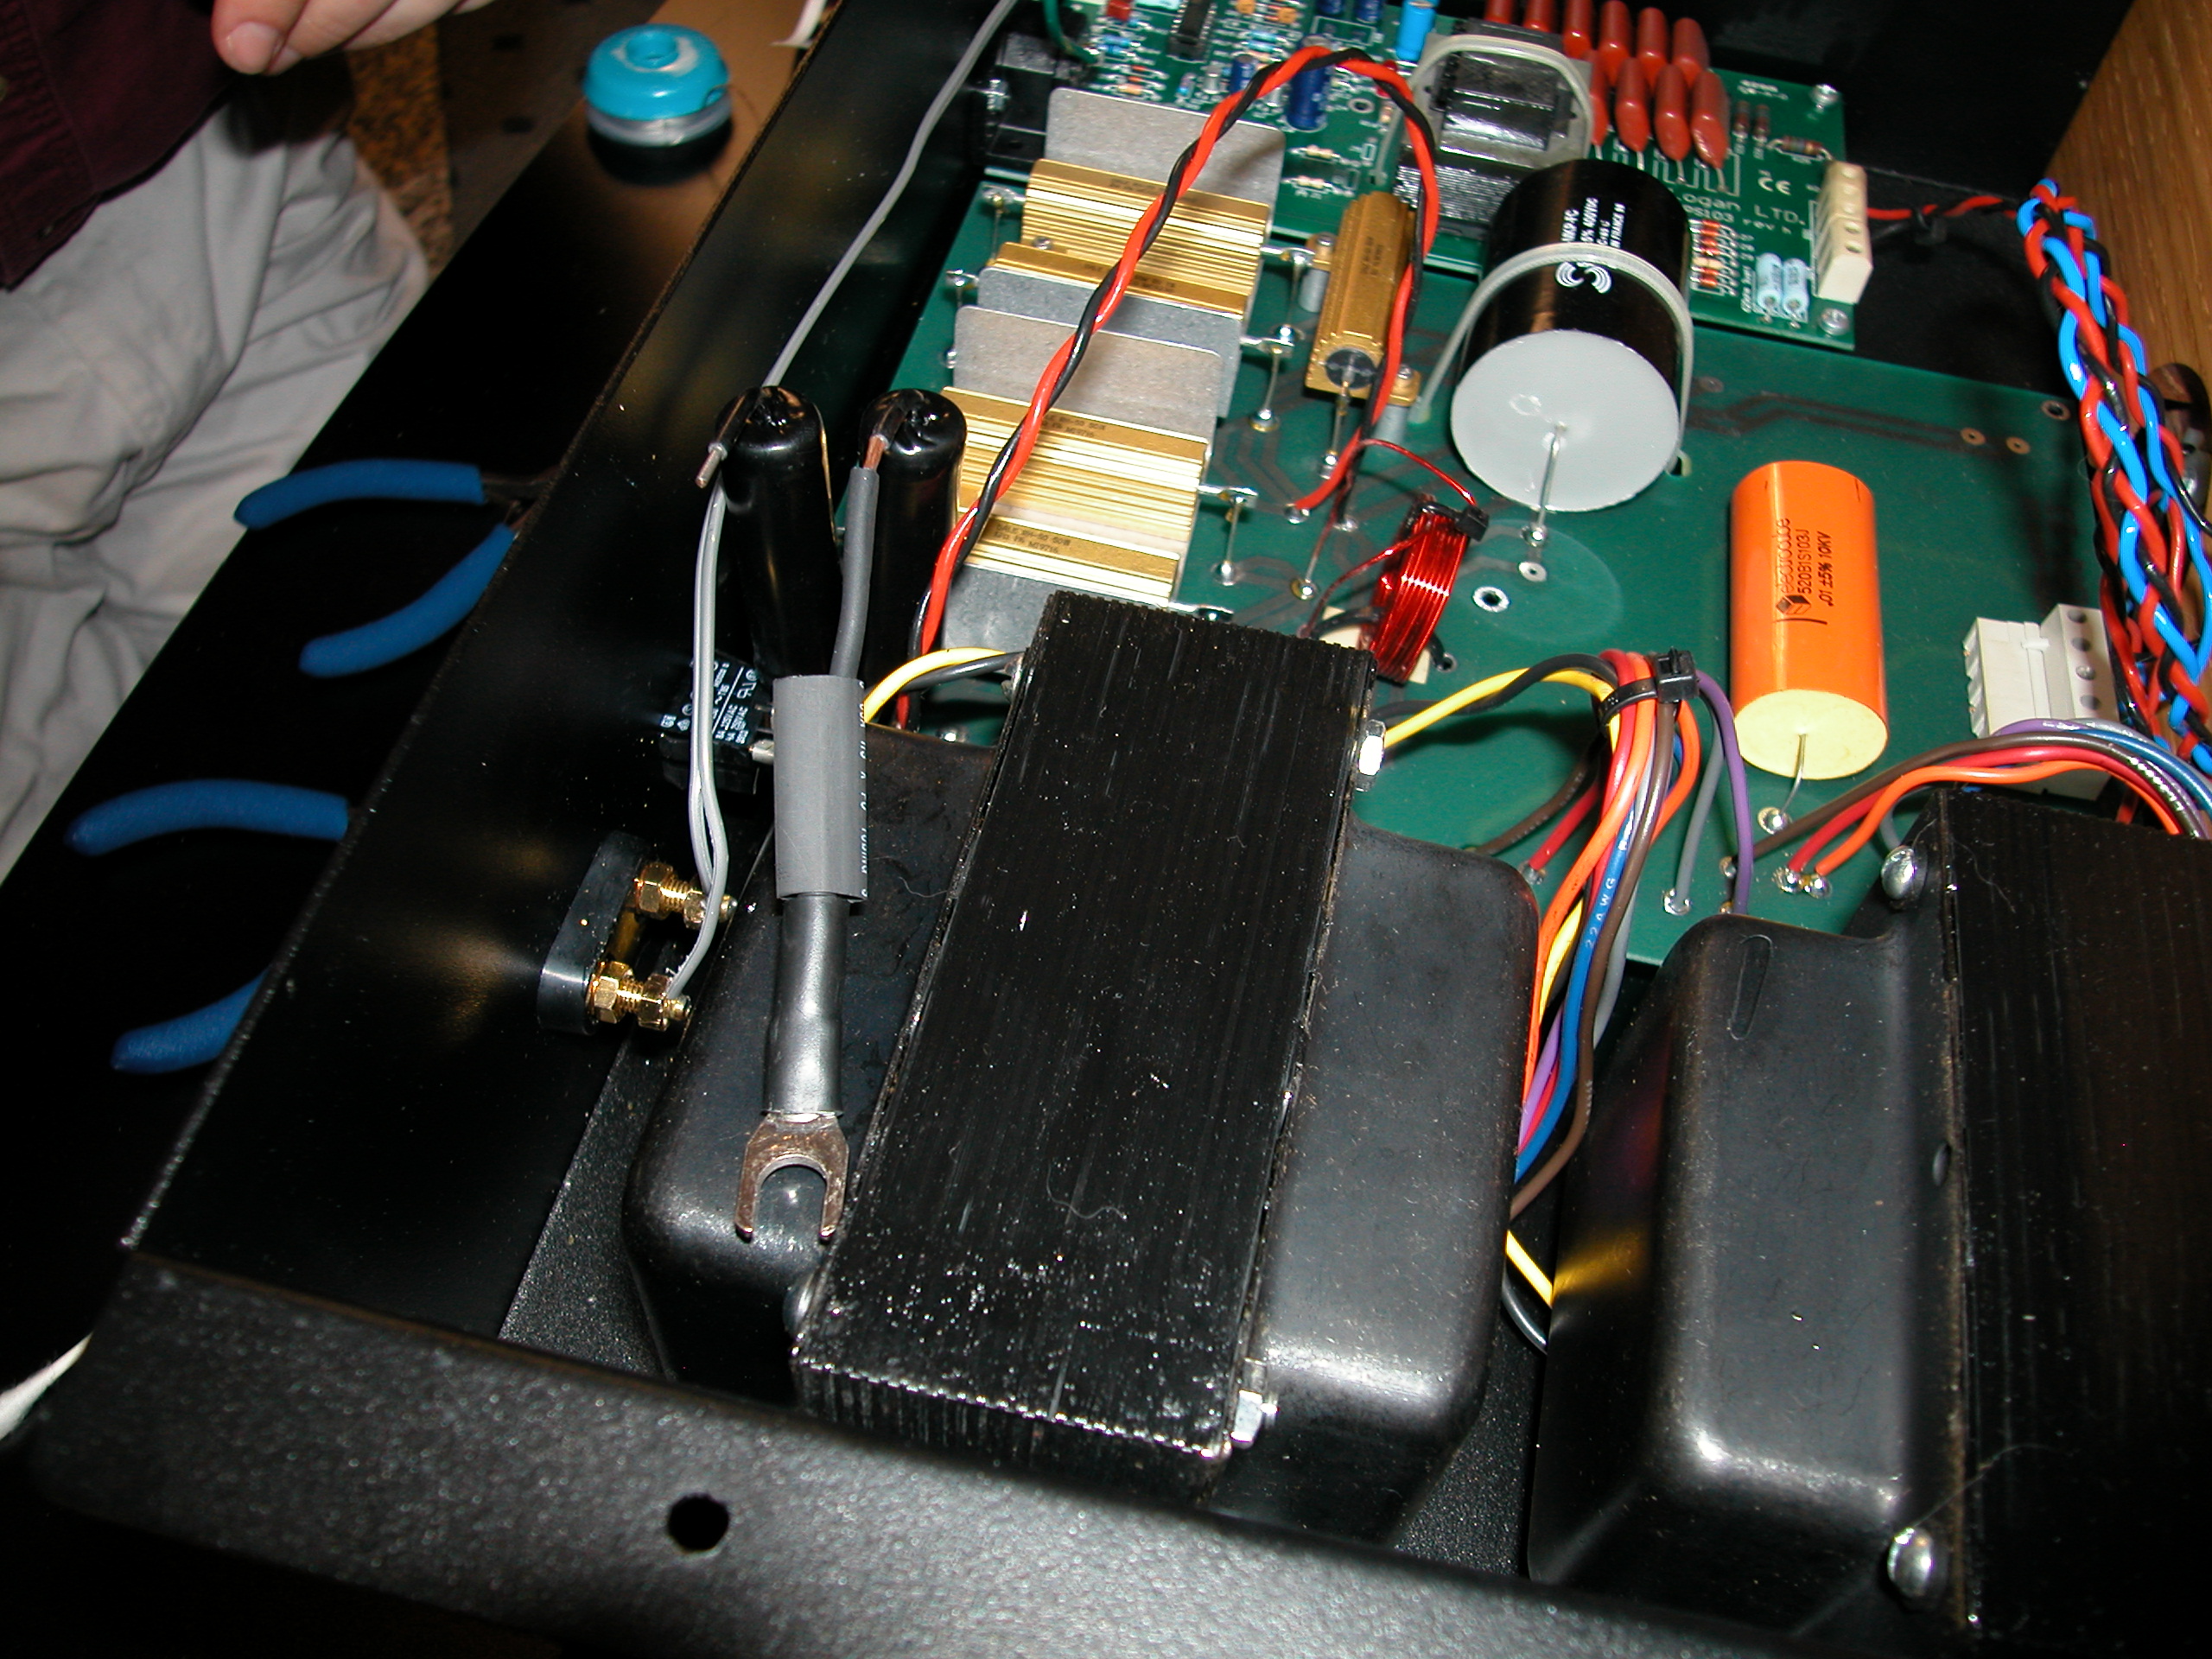
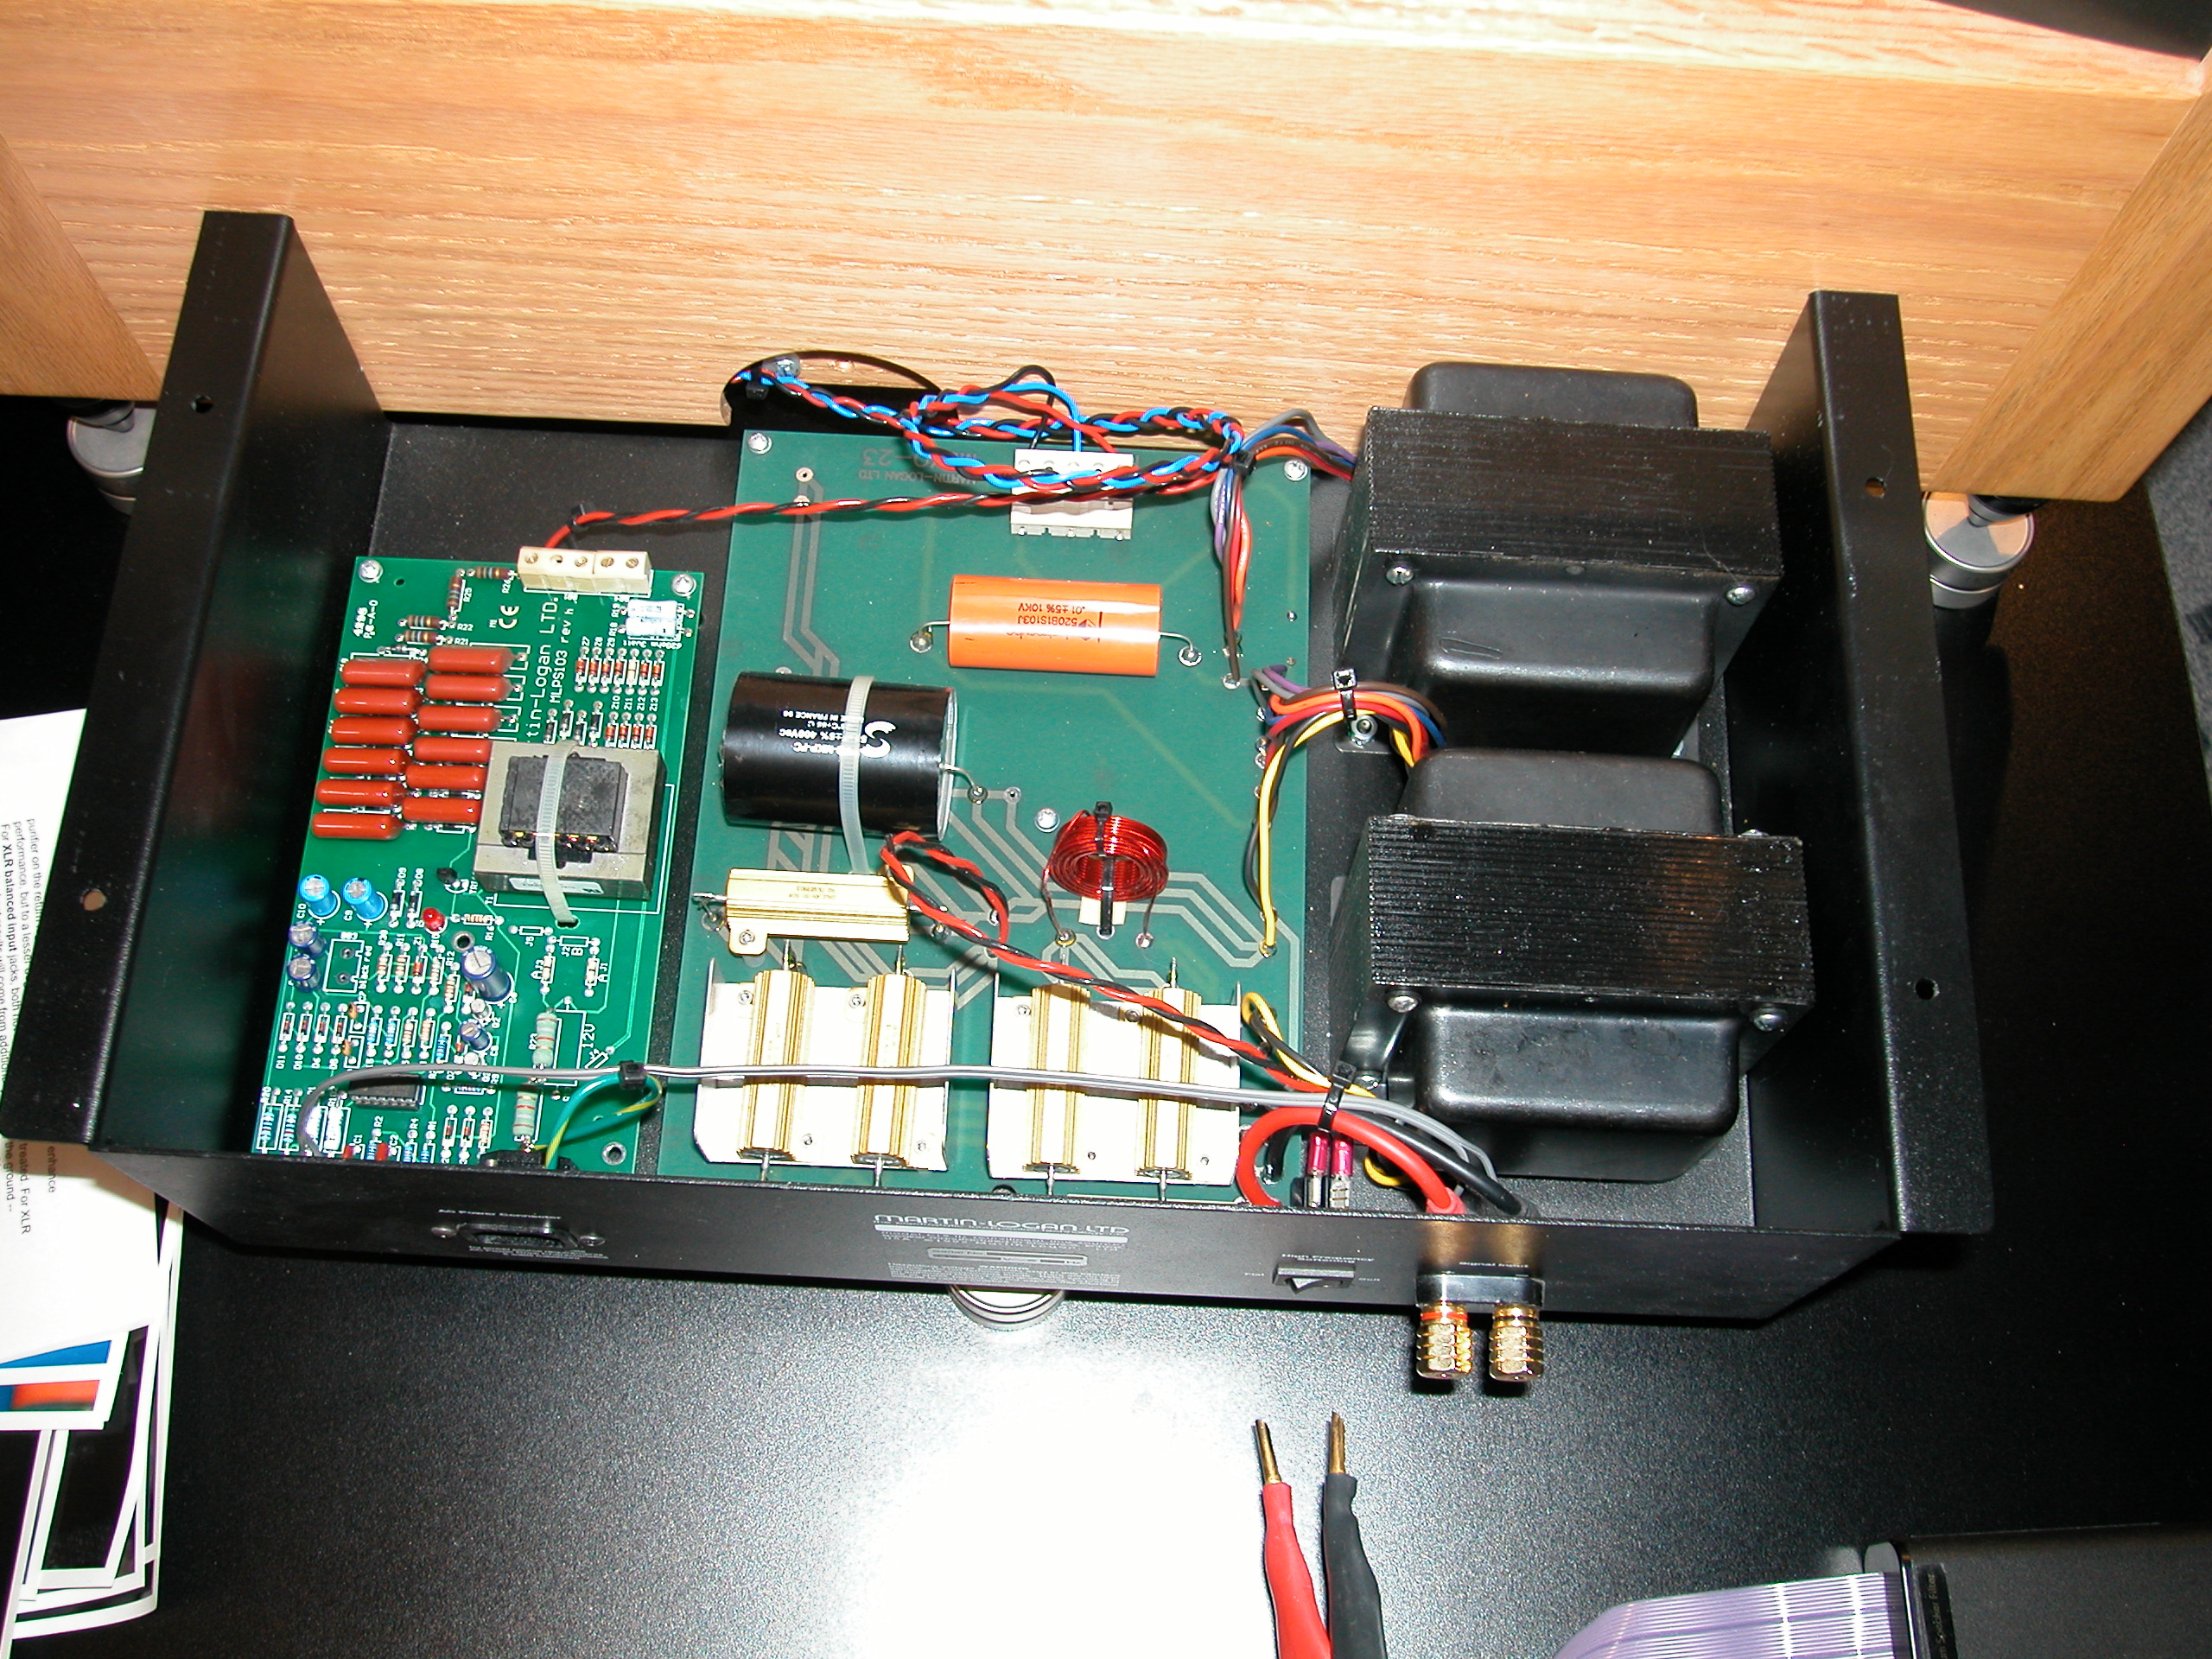 This is an interior shot of an unmodified Martin Logan CLS IIz
electrostatic speaker.
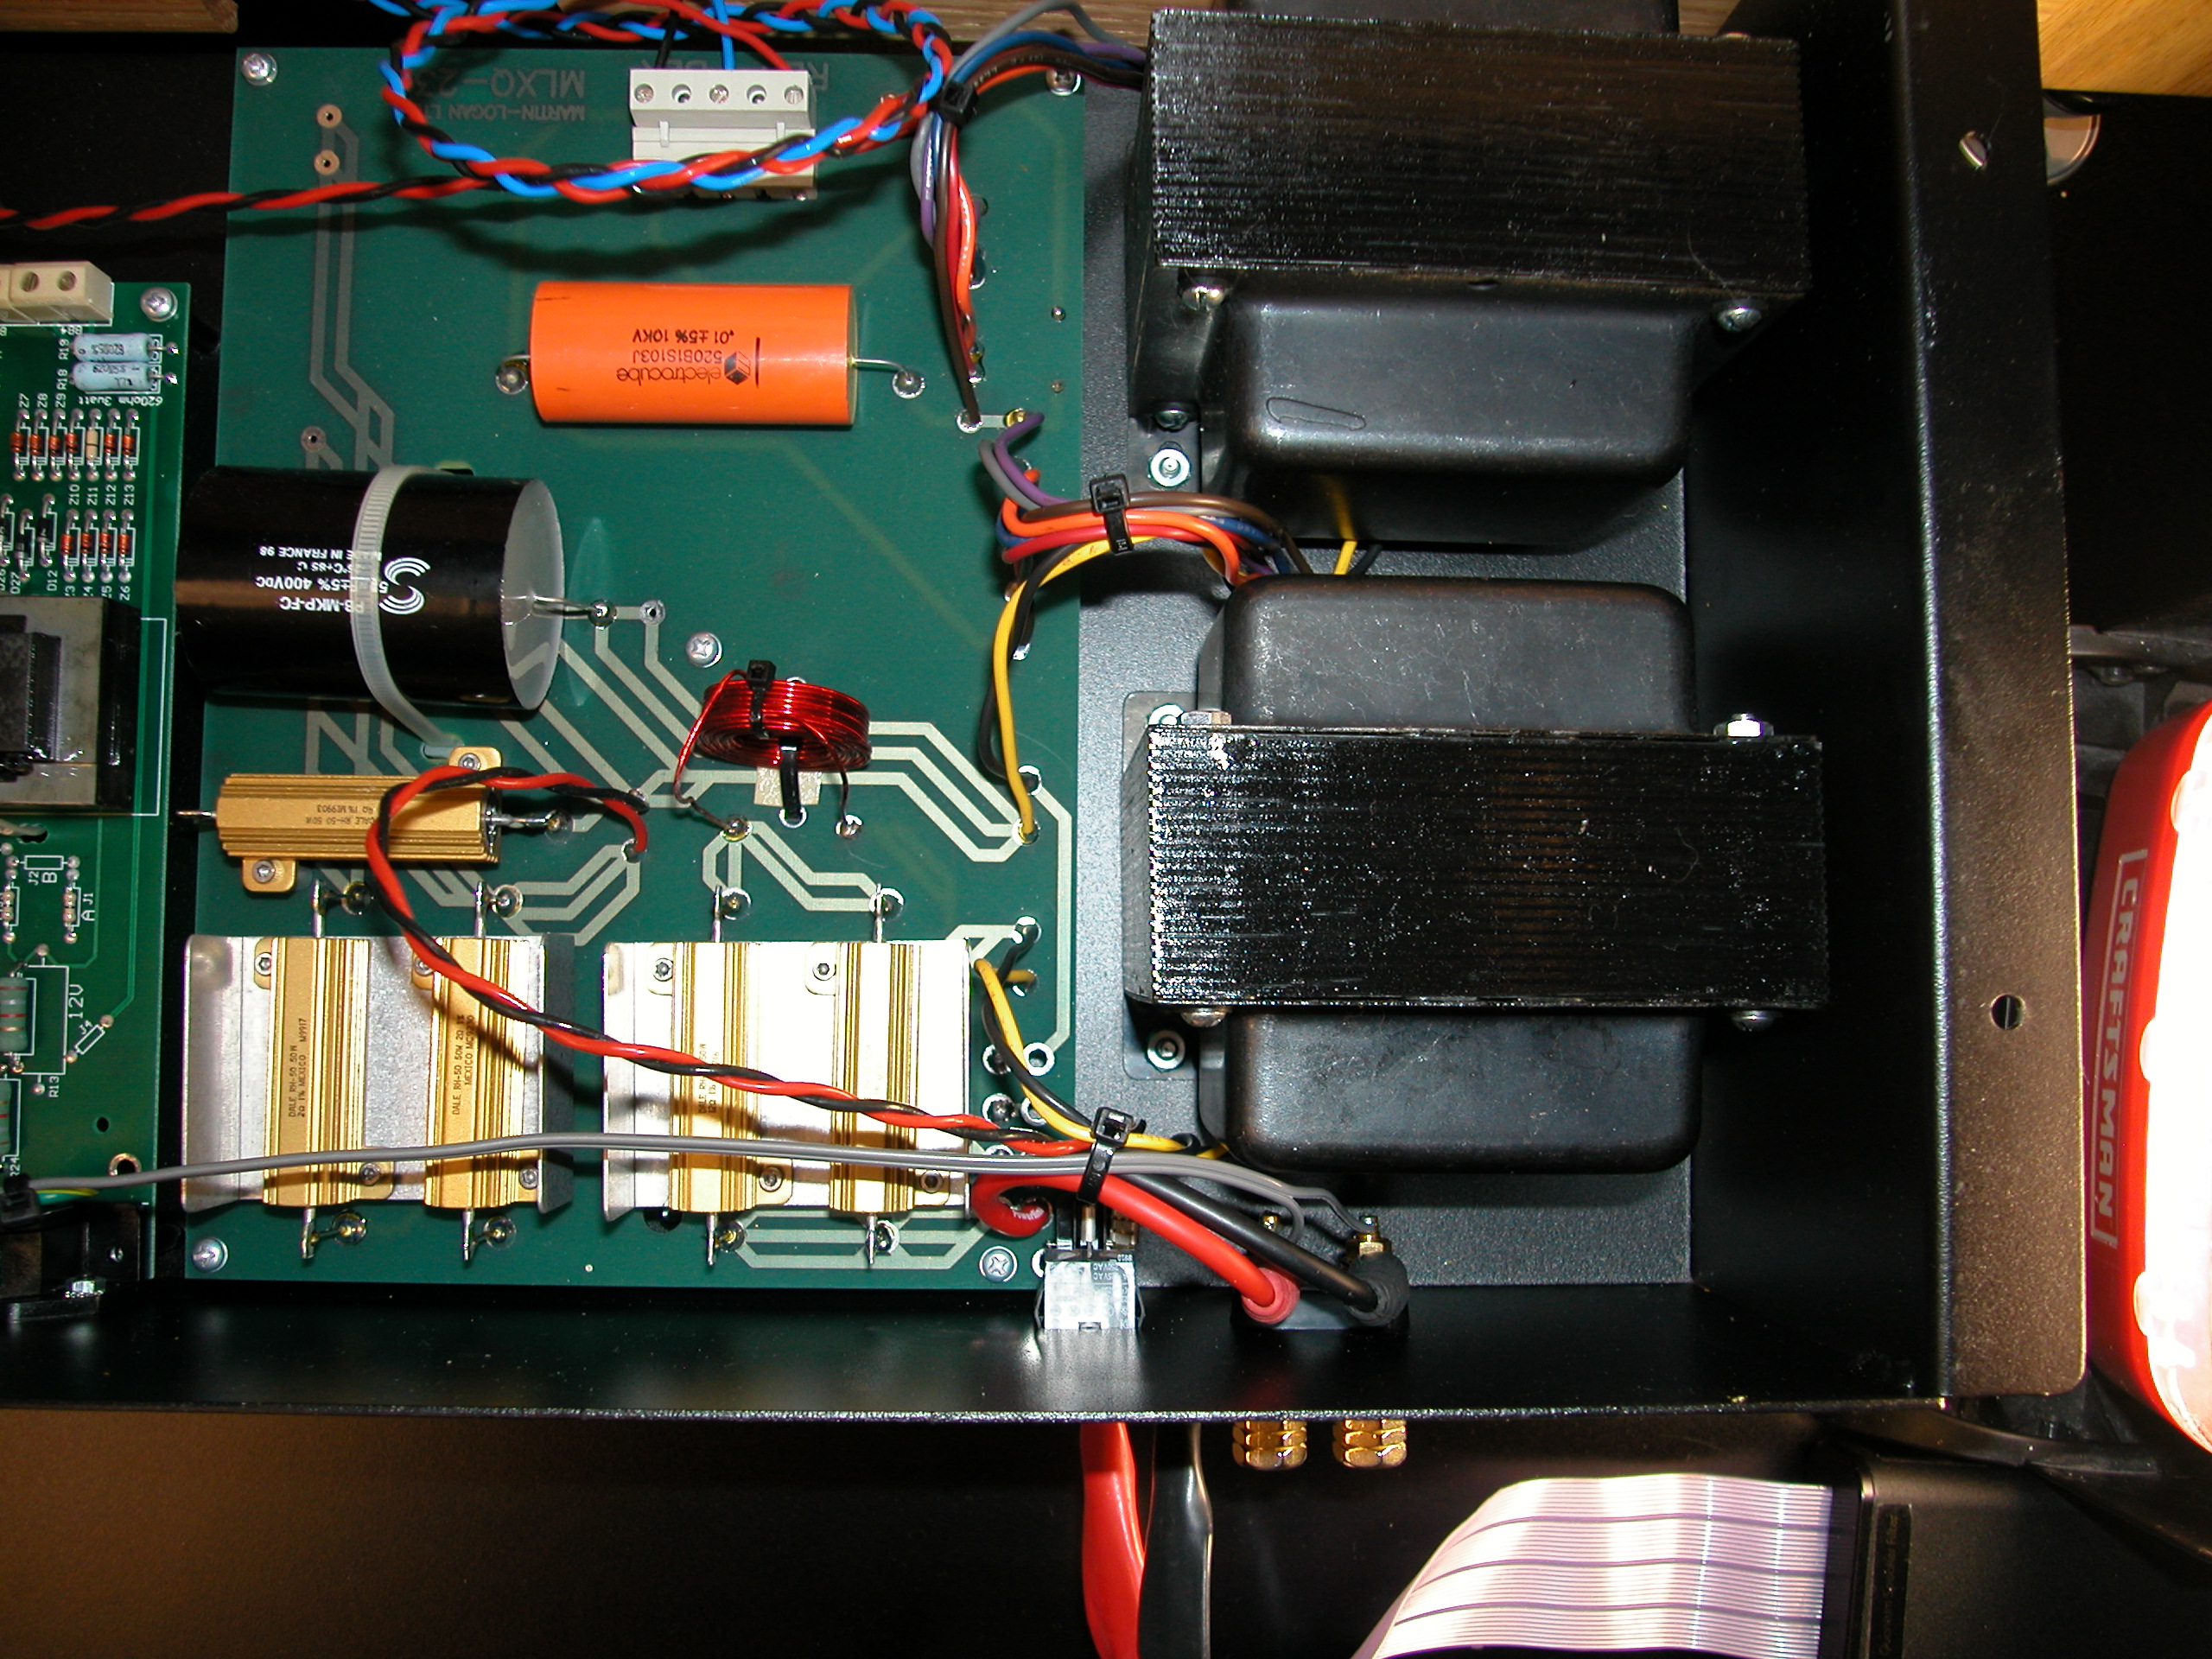
This is an interior shot of an unmodified Martin Logan CLS IIz
electrostatic speaker.
 Note in this picture the original wiring from the binding posts
to the main circuit board.
Note in this picture the original wiring from the binding posts
to the main circuit board.
 The first step is to extract the main circuit board. In order to
to this, the original interconnects need to be removed from the
binding posts. Just loosen the nuts. A small open-end wrench
will work fine here. In this case, it was not necessary to
de-solder the power control leads; you're not actually removing the
nuts. Remove the power supply leads, red and black. Easy to do with
a small flat-blade screwdriver. Remove the five screws holding down
the board.
The first step is to extract the main circuit board. In order to
to this, the original interconnects need to be removed from the
binding posts. Just loosen the nuts. A small open-end wrench
will work fine here. In this case, it was not necessary to
de-solder the power control leads; you're not actually removing the
nuts. Remove the power supply leads, red and black. Easy to do with
a small flat-blade screwdriver. Remove the five screws holding down
the board.
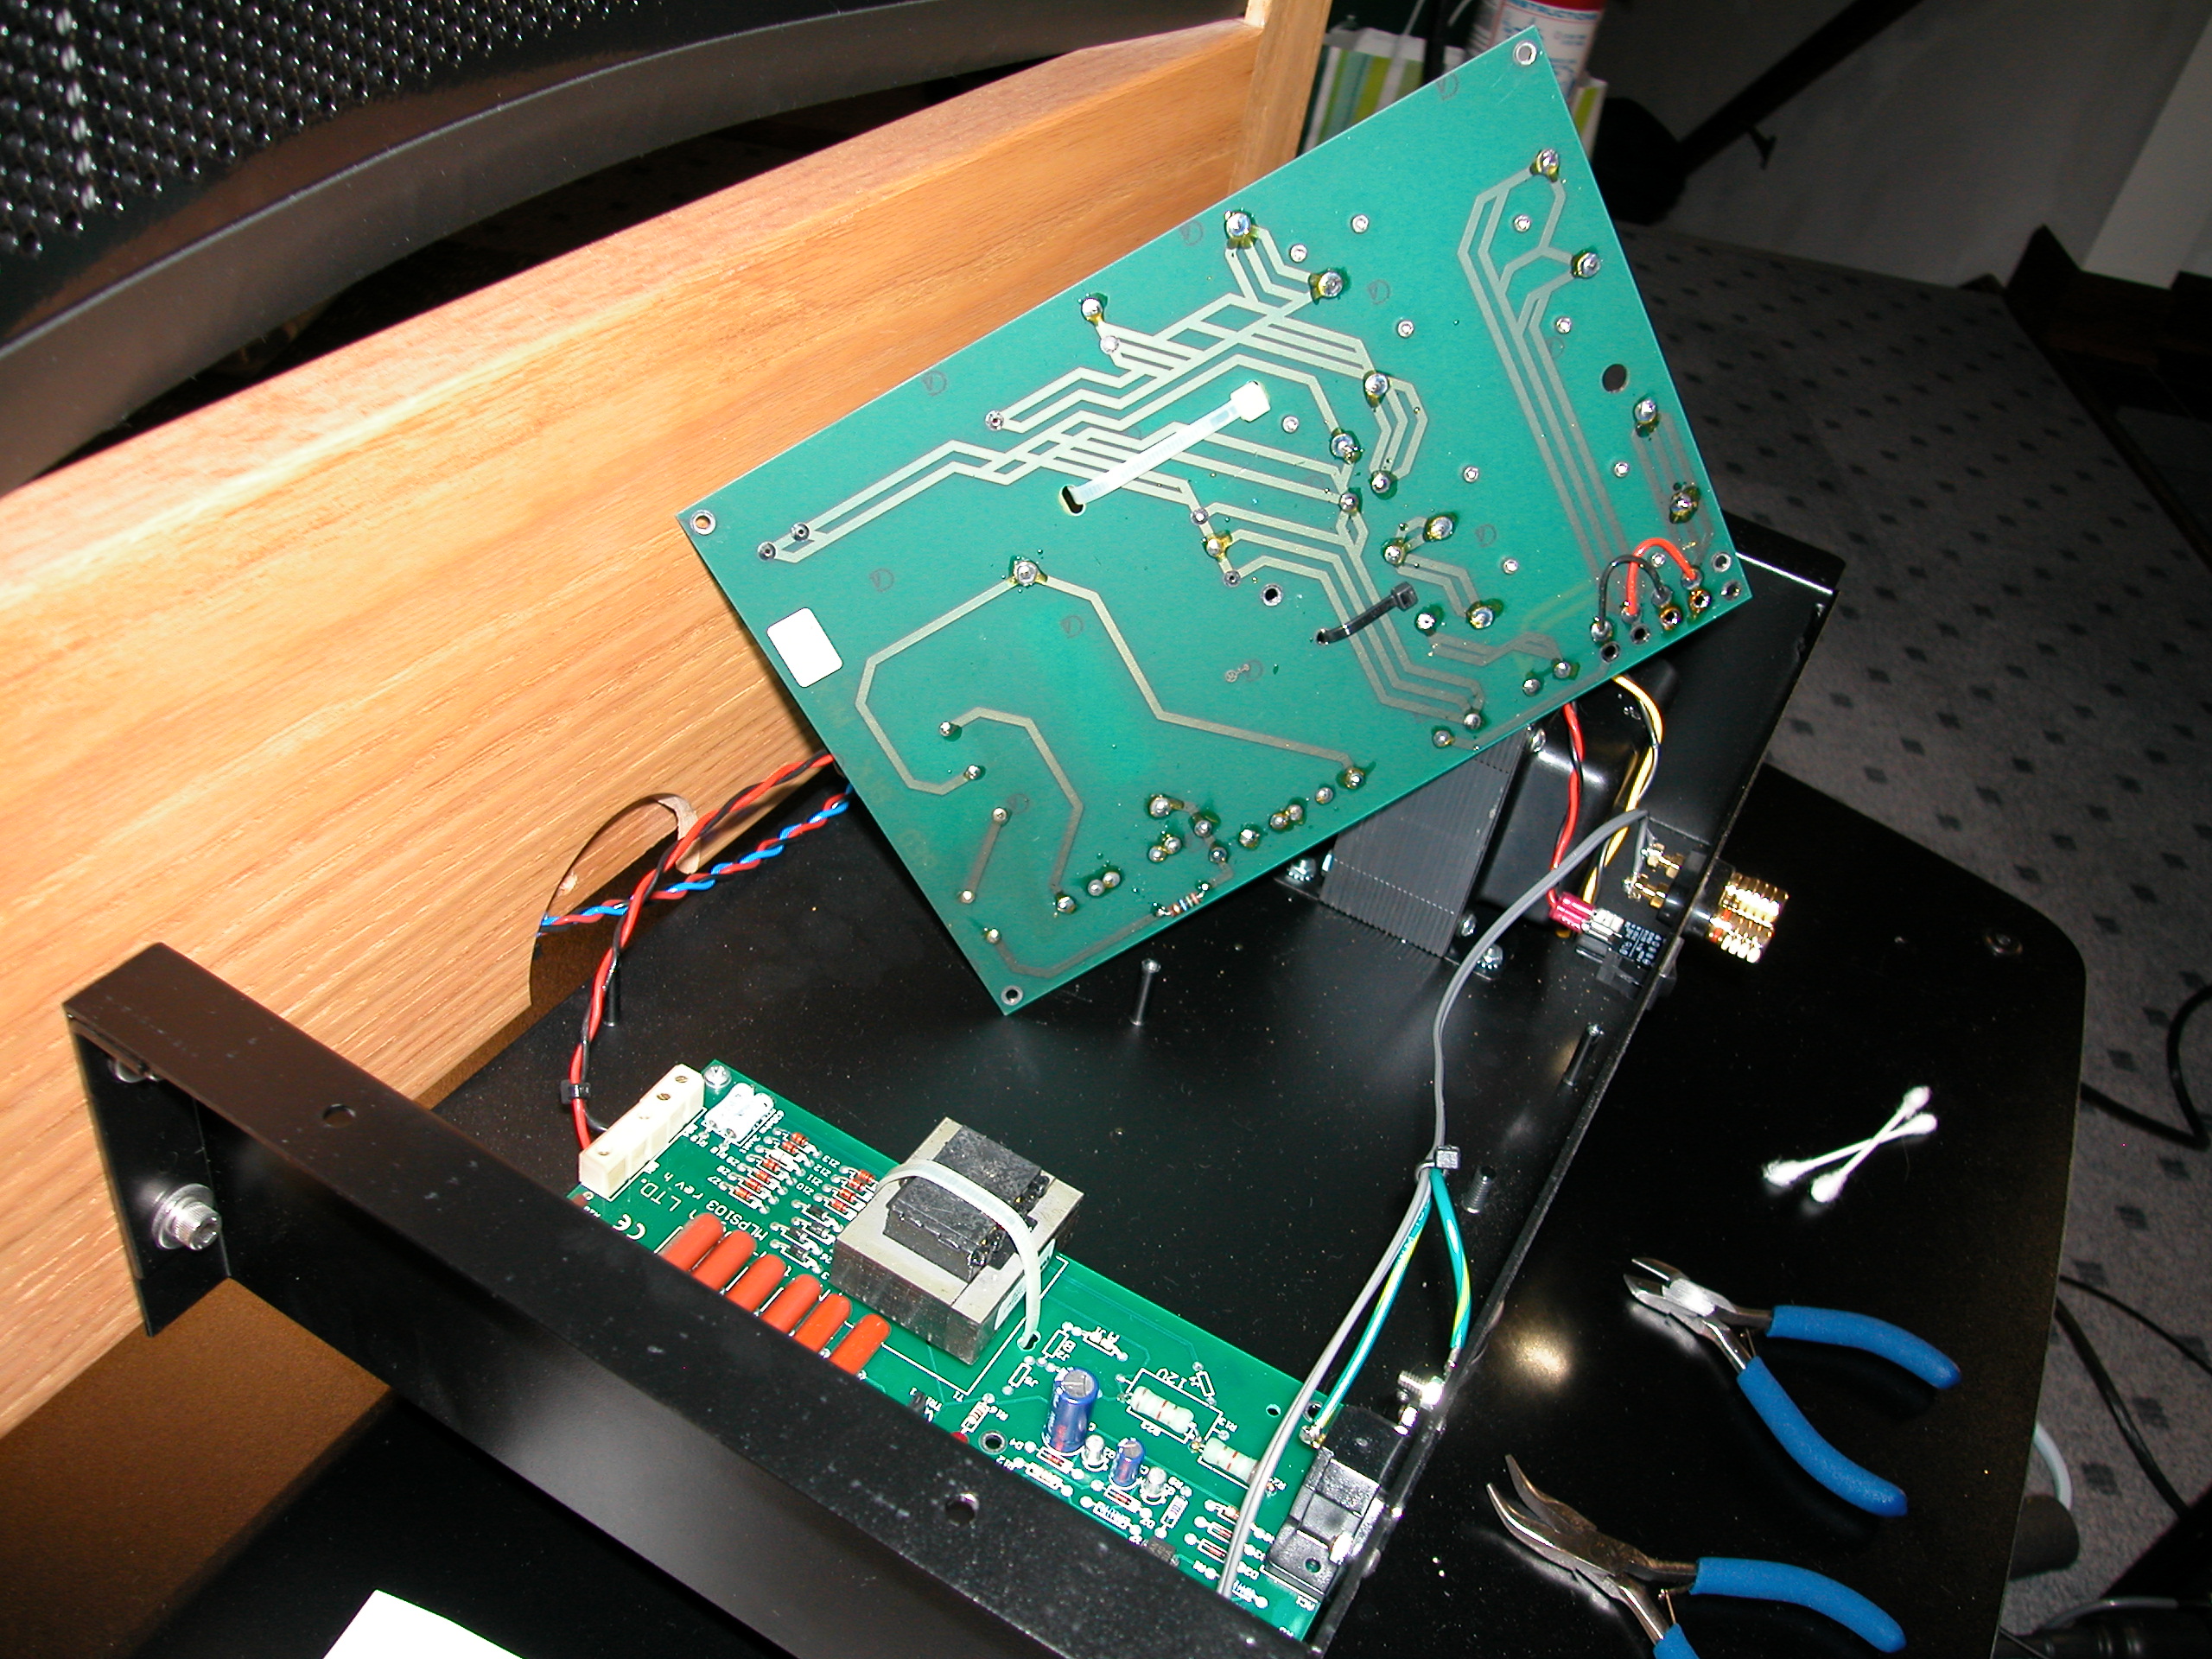 Gently pull the board up. It's still connected but there
is now sufficient room to work.
Gently pull the board up. It's still connected but there
is now sufficient room to work.
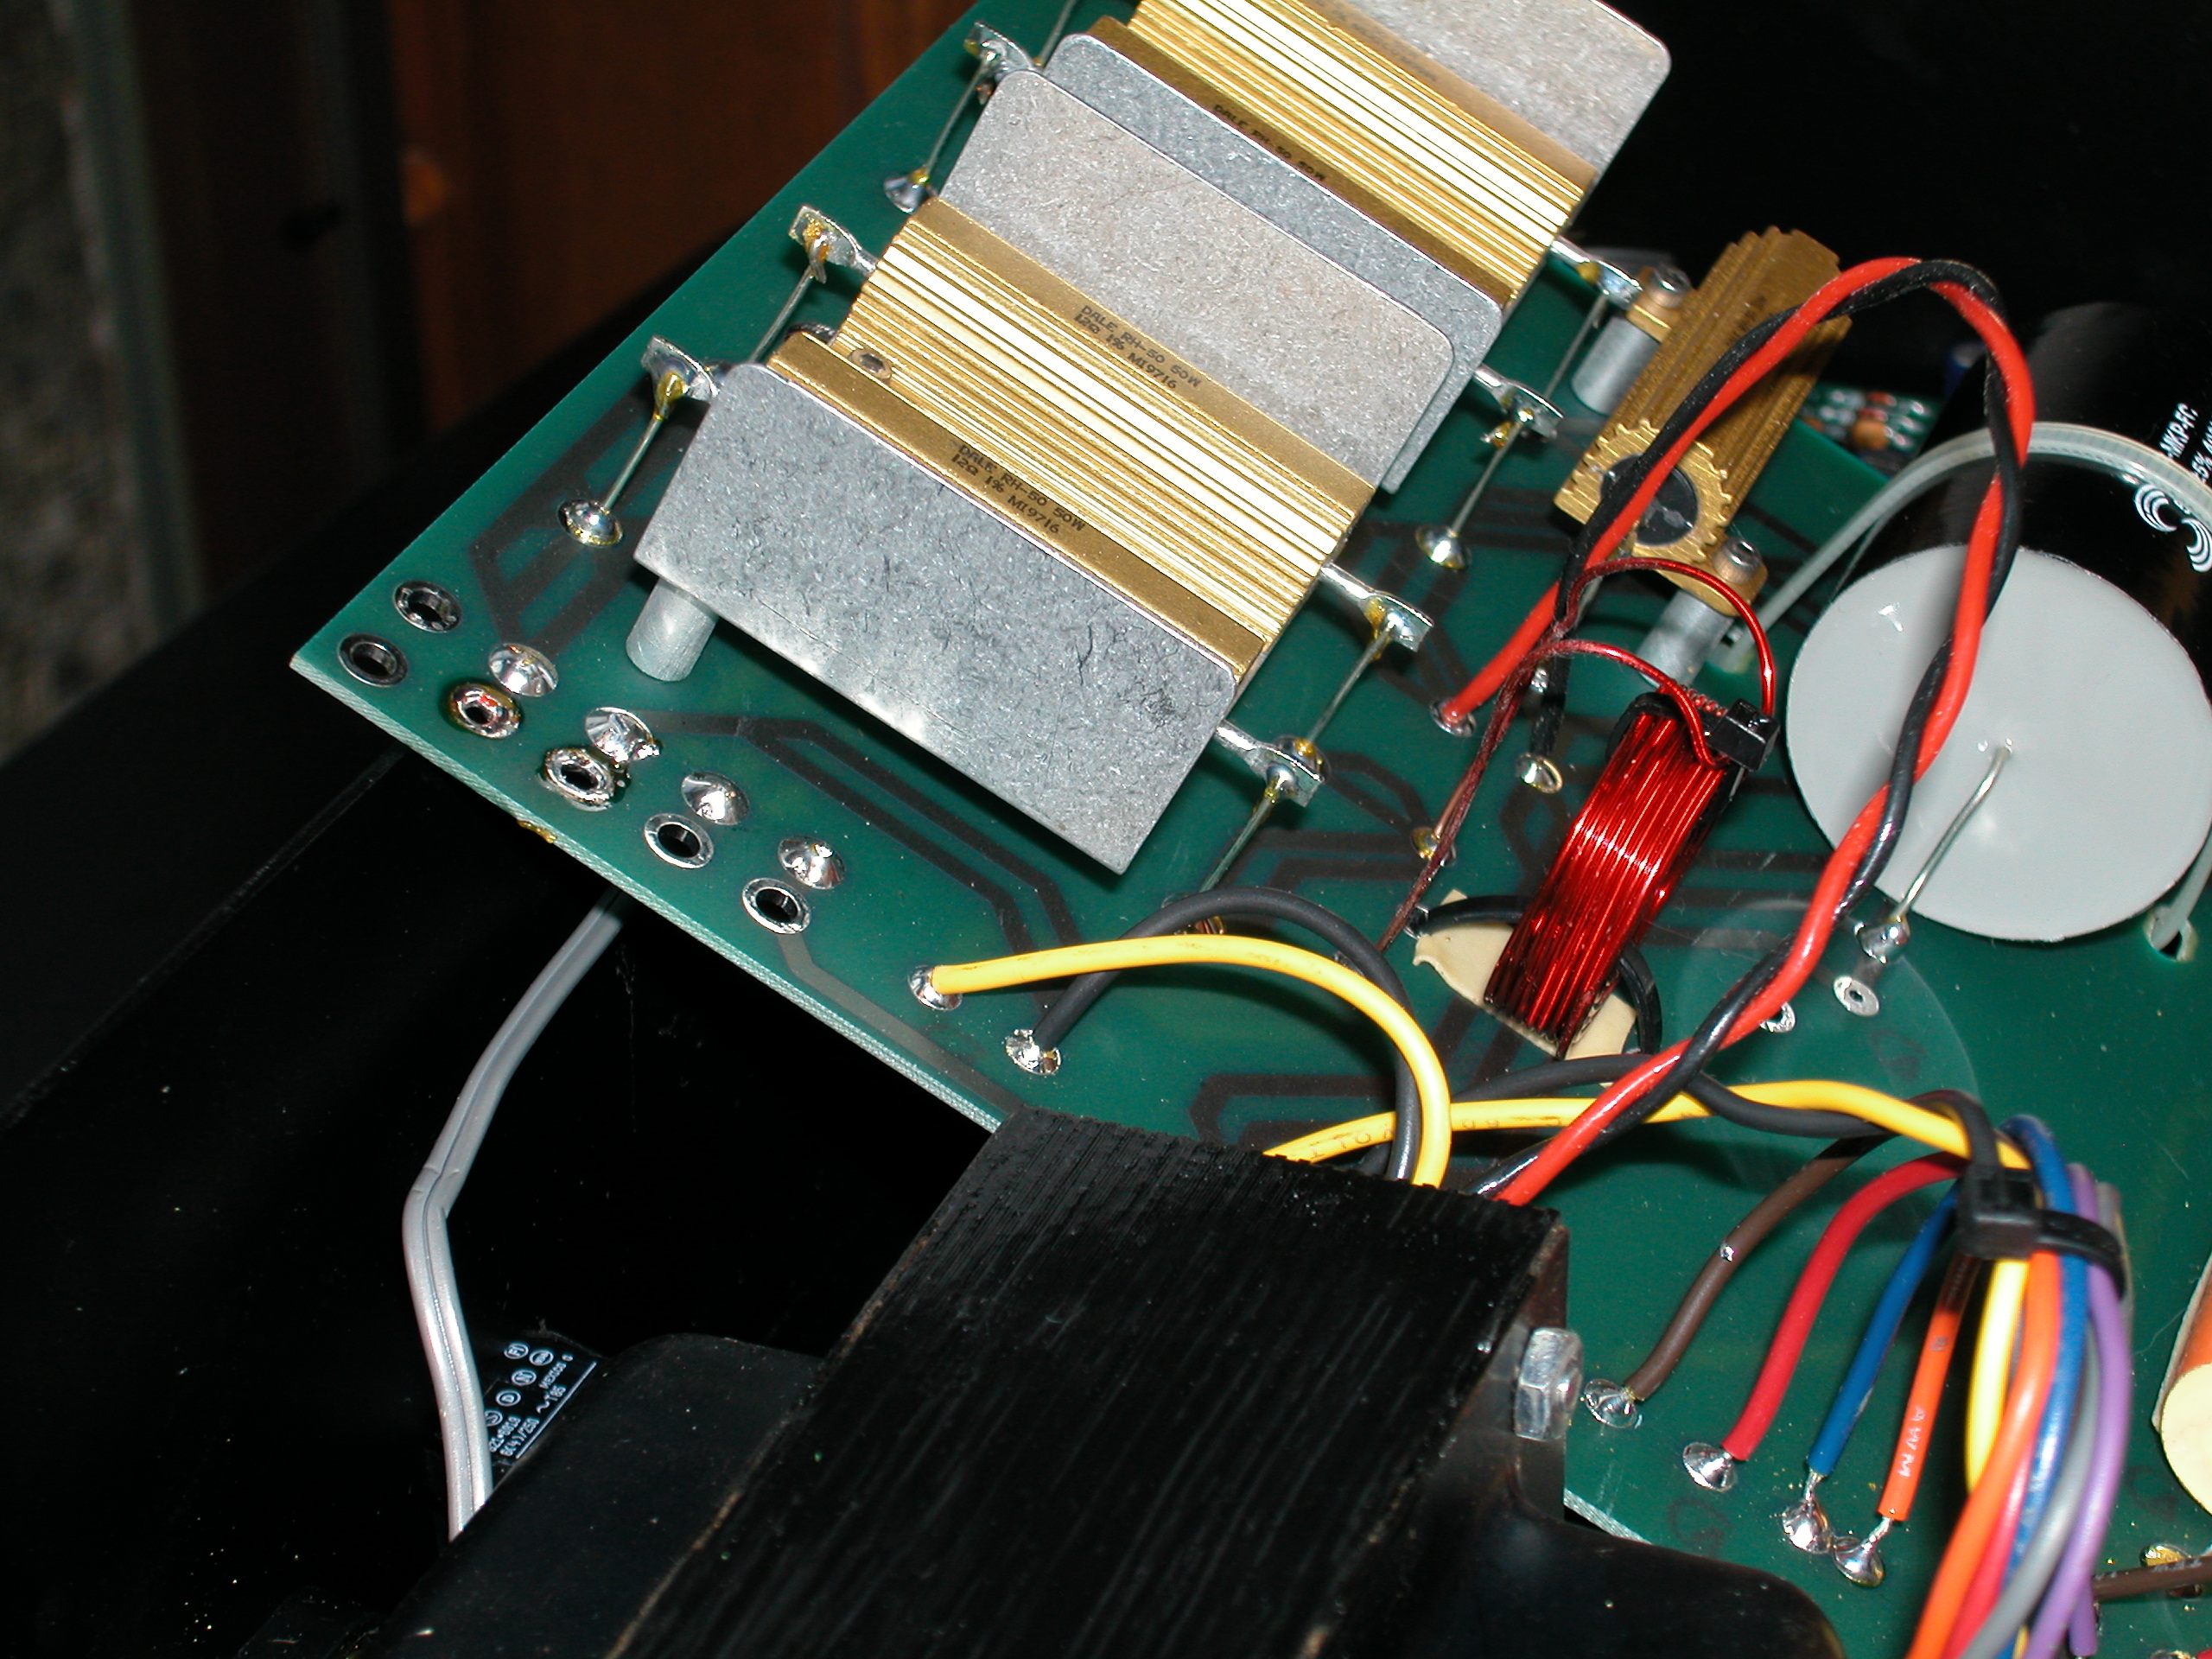 De-solder the original leads. Apply heat, remove.
 Here you can see the first Bybee installed.
 My preference is towards
the Metcal line of soldering equipment. Short tip-handpiece distance
for good control, instant heating and no temperature lag as is common
with most soldering products.
My preference is towards
the Metcal line of soldering equipment. Short tip-handpiece distance
for good control, instant heating and no temperature lag as is common
with most soldering products.
 Here both Bybees are in place. It will take a fair amount of solder
to fill the via in which these are placed.
Here both Bybees are in place. It will take a fair amount of solder
to fill the via in which these are placed.
 This is the spade donor -- Audience Au24 speaker wire.
 Carefully bend the top lead of the Bybee over and attach the wire
from the spade end to the Bybee with solder. I opted to use heat-shrink
tubing to insulate and dress the leads.
Carefully bend the top lead of the Bybee over and attach the wire
from the spade end to the Bybee with solder. I opted to use heat-shrink
tubing to insulate and dress the leads.
 Removing the second spade end of the Au24 speaker wire.
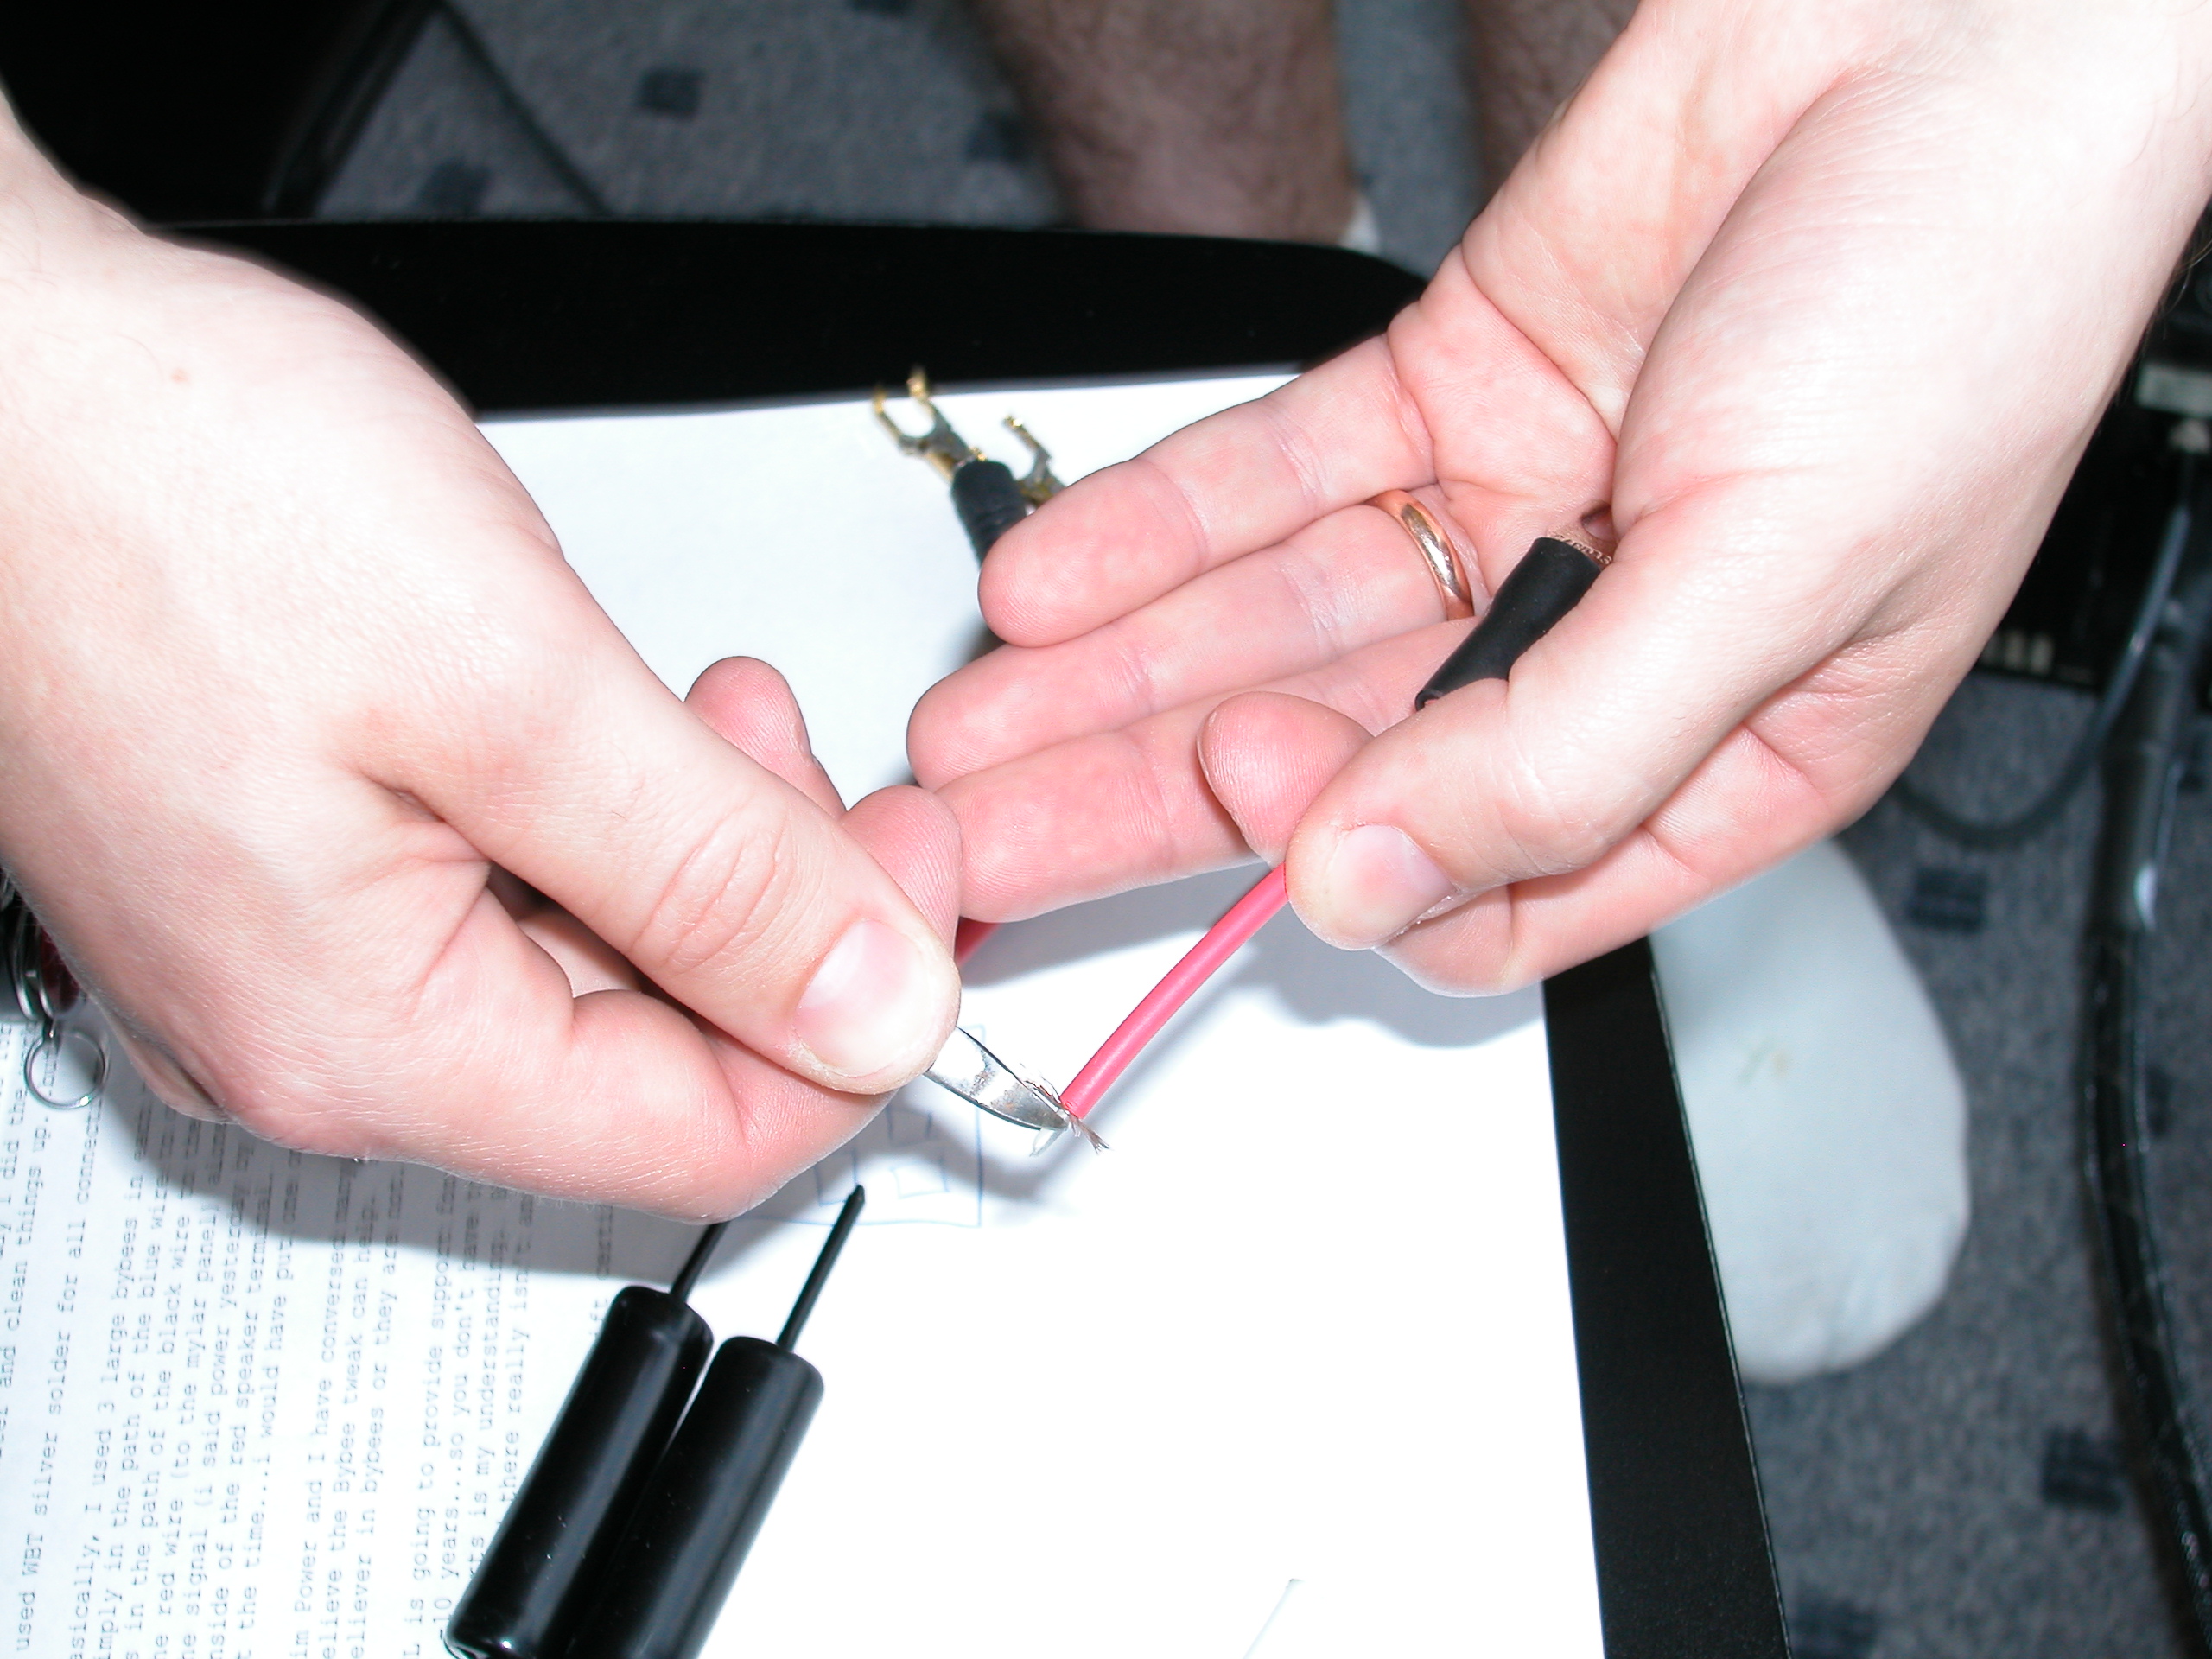 Notable with the leads for the Au24
is that the black lead was typical insulated stranded copper. The
red lead was copper shield around a center plastic insulator. You
will need to pare back the "shield" and cut the insulator.
Notable with the leads for the Au24
is that the black lead was typical insulated stranded copper. The
red lead was copper shield around a center plastic insulator. You
will need to pare back the "shield" and cut the insulator.
 The newly-installed Bybee Quantum Purifiers ready to be bent down
and screwed in.
The newly-installed Bybee Quantum Purifiers ready to be bent down
and screwed in.
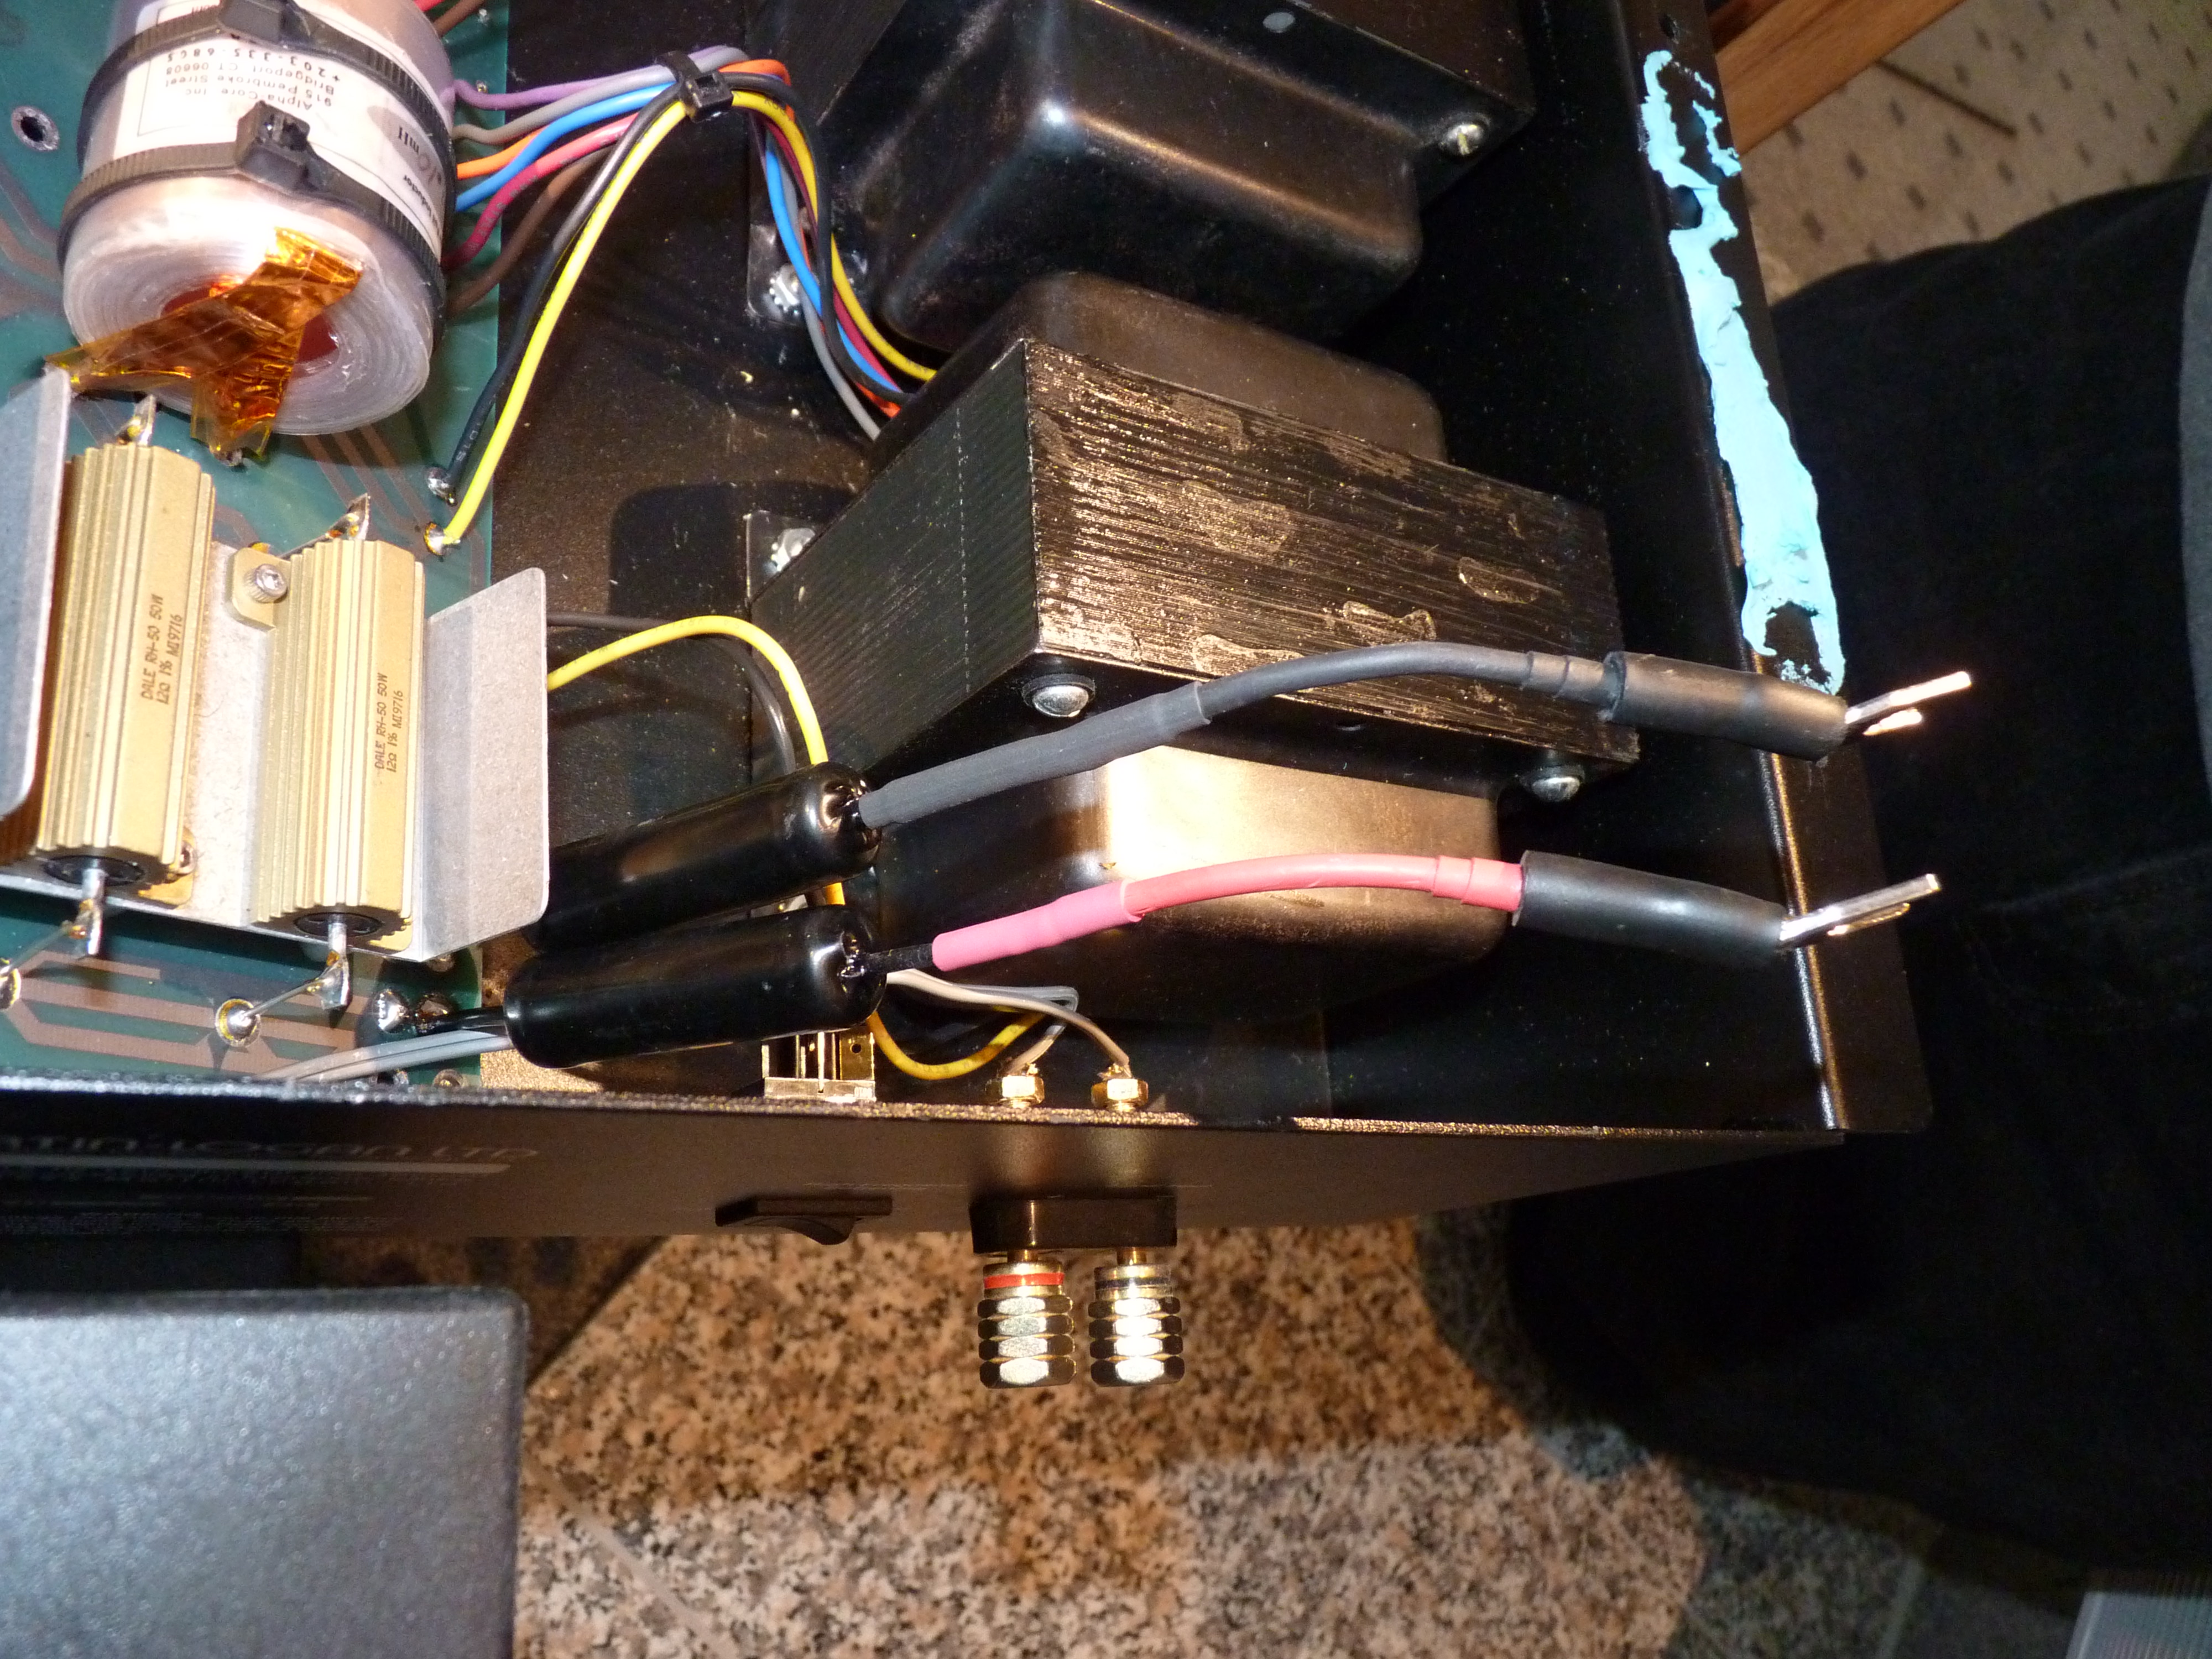
 Dress the
shield around the end of the Bybee. Solder completely. Dress with
more heat-shrink. Note that it's a bit of a trick to secure the
Au24 spades on the terminals. The opening is a bit large, the nuts
are small. Hold the spade down securely while the nut is tightened.
Take your time, this is the hardest part.
Dress the
shield around the end of the Bybee. Solder completely. Dress with
more heat-shrink. Note that it's a bit of a trick to secure the
Au24 spades on the terminals. The opening is a bit large, the nuts
are small. Hold the spade down securely while the nut is tightened.
Take your time, this is the hardest part.
 Next is a pair of Bybees on the stator leads.
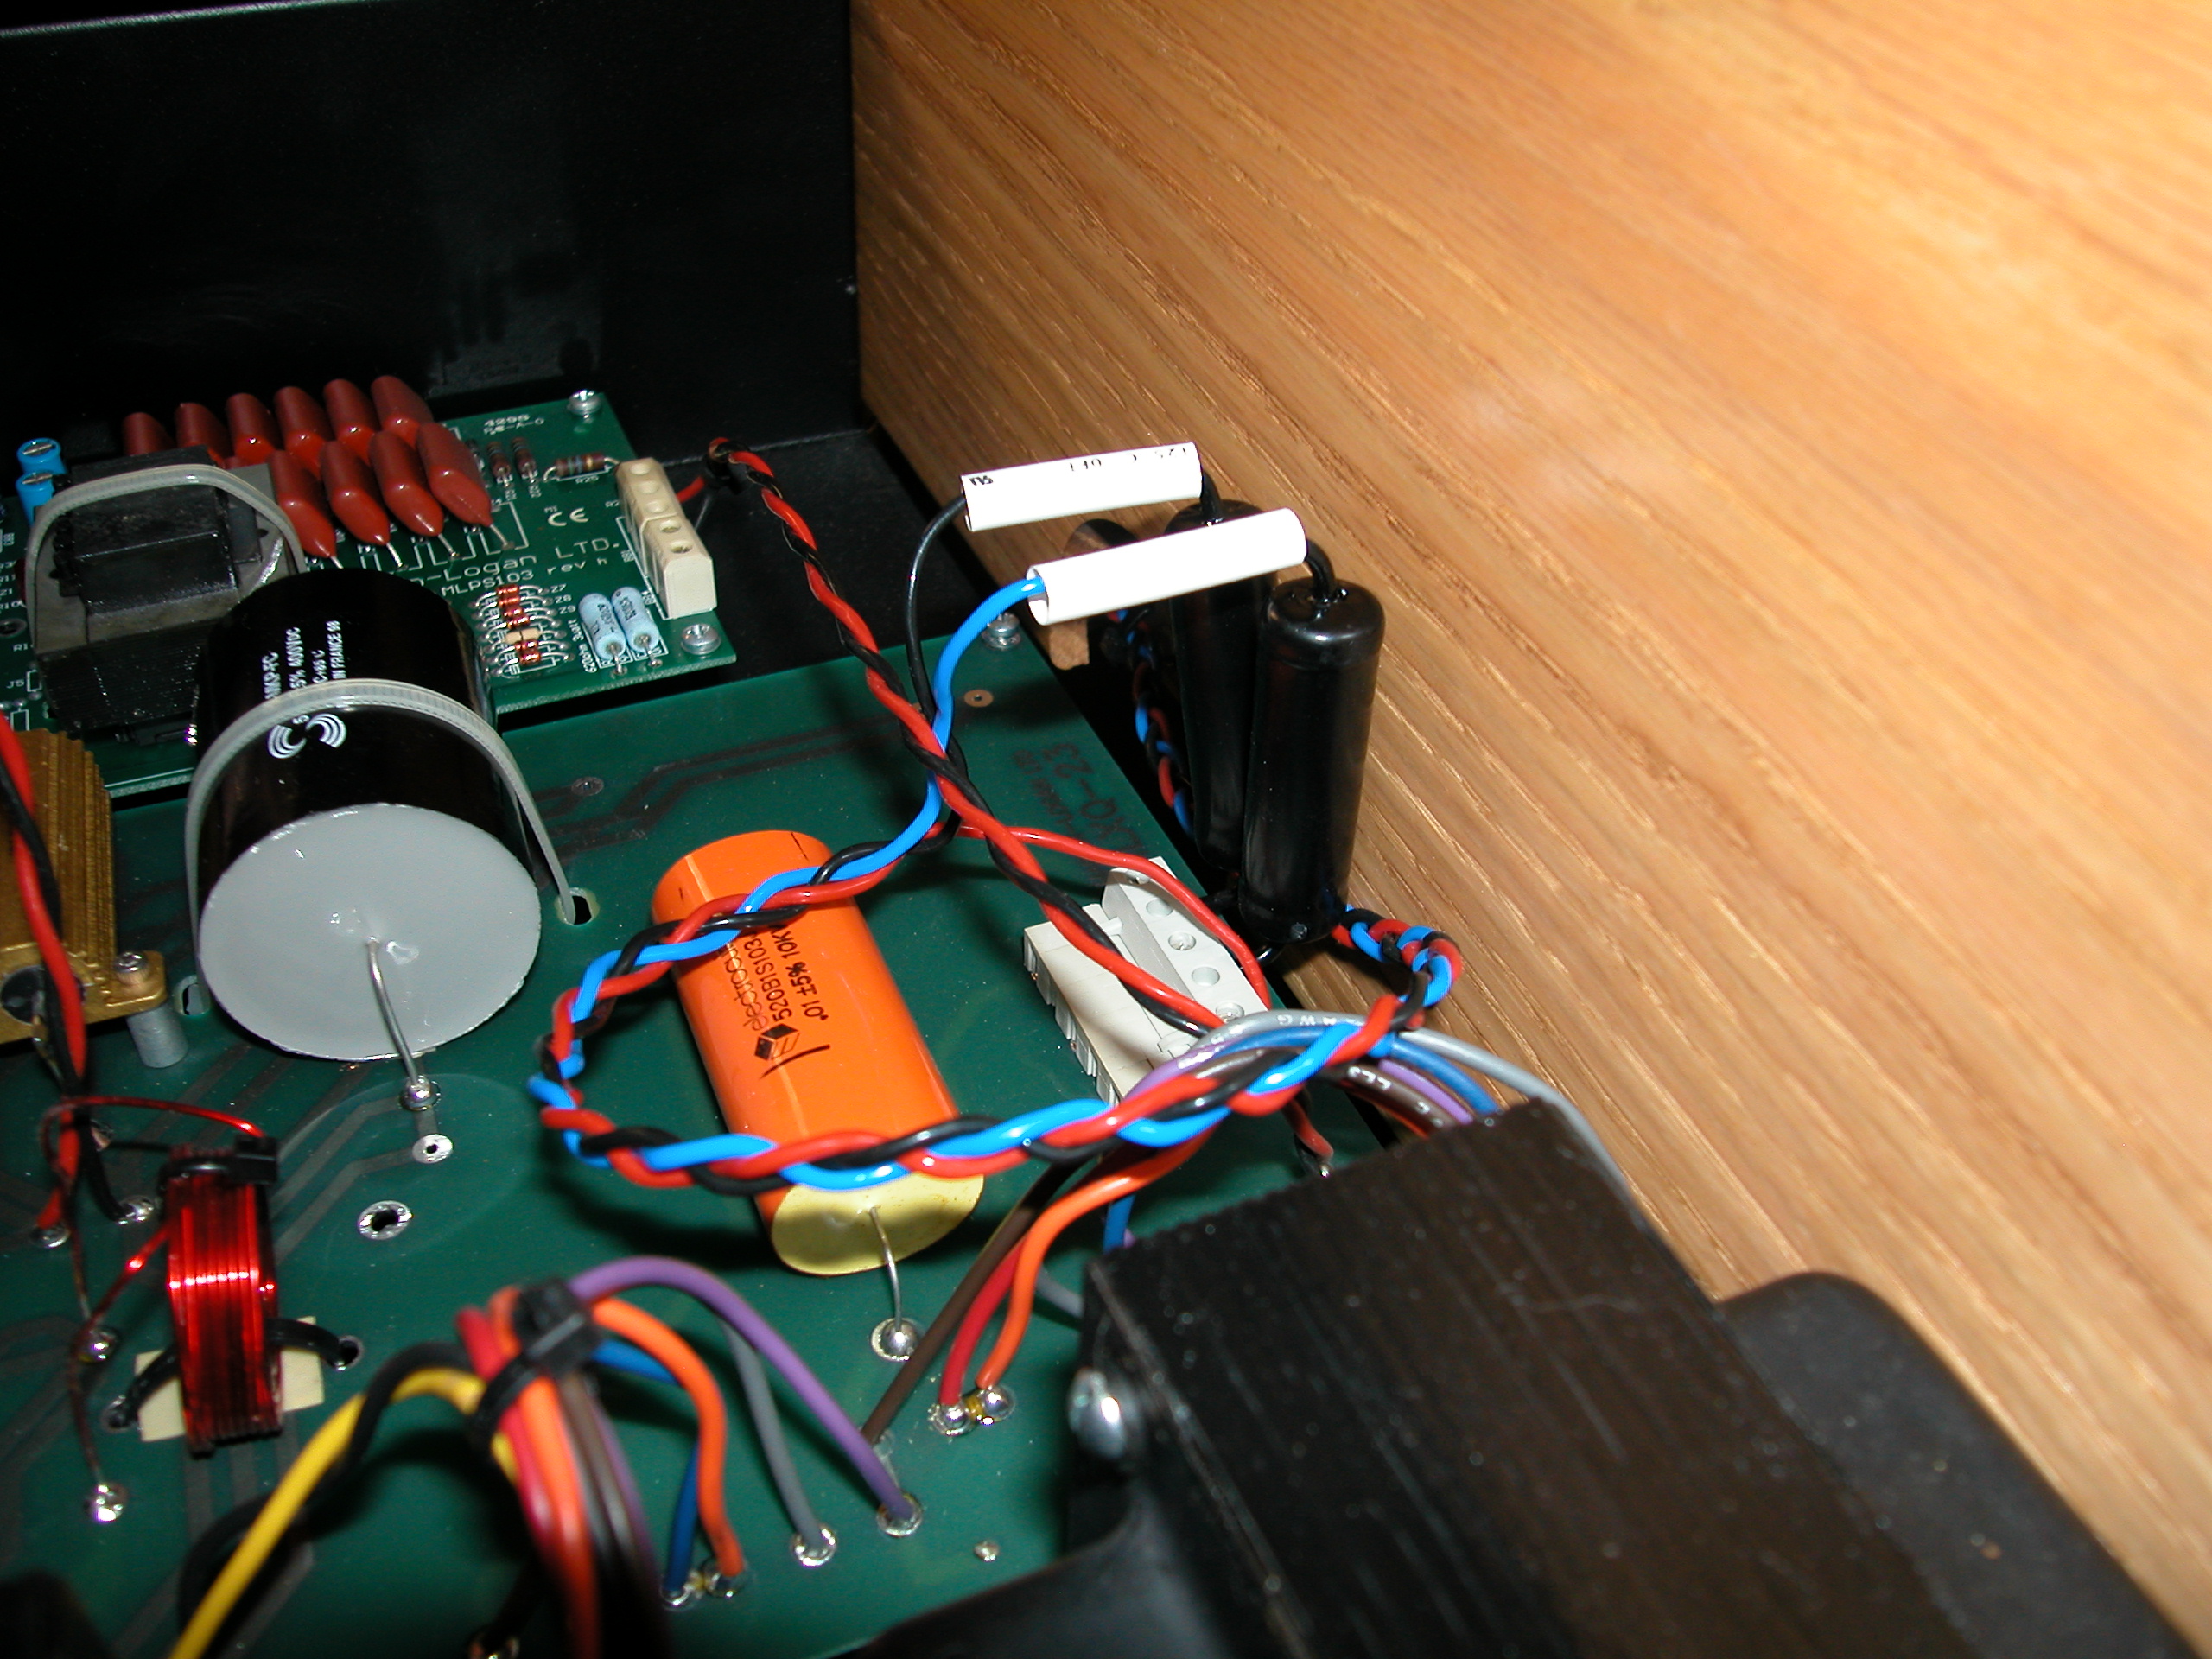 Again, heat-shrink tubing.
When done, double-check that you have everything connected. Is the panel connected to the board? Did you re-connect the HV power leads? Is everything secure? Are the screws tight and all accounted for?
This page last modified Thu Apr 21 11:24:19 CDT 2011 by timc!