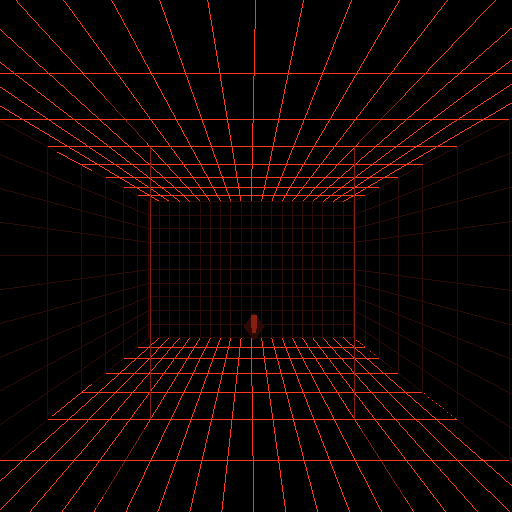
Intro: Although SMVR is meant to be interfaced into your program, its commands (and output) are human-readable. This tutorial is intended to give the programmer a feel for how the SMVR subsystem works. Once you know how to create 3-D pictures in the VR environment, it should be trivial to have your program generate the same commands. Any suggestions on this tutorial (and on SMVR itself) would be welcome by the author. Enjoy
conventions: commands for you to type at the SMVR> prompt are in bold. Output from the system is preceded by ">"
1) for the purposes of this tutorial, you might want to run SMVR in a simulator window by editing the
.caverc
file and entering
simulator yes
in the first line of the file. (Alternately, you could have one person typing the commands, and another person playing with the displayed objects in the cave (or the Immersadesk)).
You might also find the following collection of WaveFront obj files useful. The MAF at the UW has a variety of programs that will allow you to manipulate obj files or convert other 3D geometries to obj files.
2) Copy cow.obj, shark.obj, bird1.obj, bird2.obj, bird3.obj (from obj) into the working directory
3) start smvr
smvr

smvr>
4) You should now be at the smvr> prompt. First you must initialize the system and load them into objects. A file may be loaded into more than one object. Currently, this can only be done in the init state
init
no errors happened

+OK system initialized, type help for summary
smvr>
5) Next, you need to load some files into SMVR objects. After this is complete, you need not deal with file names. Internally, an SMVR object contains an OpenGL display list and attributes such as physical location, size, color, rotation, speed, etc. The format of the load command is:
load [objectname] [filename]
load COW1 cow.obj
load COW2 cow.obj
load SHARK shark.obj
load BIRD1 bird1.obj
load BIRD2 bird2.obj
load BIRD3 bird3.obj
6) Get the system out of the init state by issuing the command endinit:
endinit
smvr>
Note that you can only do this once per session. The reason lies with how glut and the CAVE libraries' shared memory allocation (not well), and was the initial drive behind SMVR's development. Hopefully it will be fixed in later versions (if anyone has suggestions, they would be welcome).
7) LET THE FUN BEGIN. Now we can display our objects. Once displayed, the object can be manipulated from the command line or interactively with the wand. The format for use of the display command is:
display [objectname] #defaults to origin
display [objectname] [x y z]
display [objectname] [x y z sx sy sz ro theta phi]
(display actually supports more than this. For a full specification, see the instructions
Display the cow:
display COW1
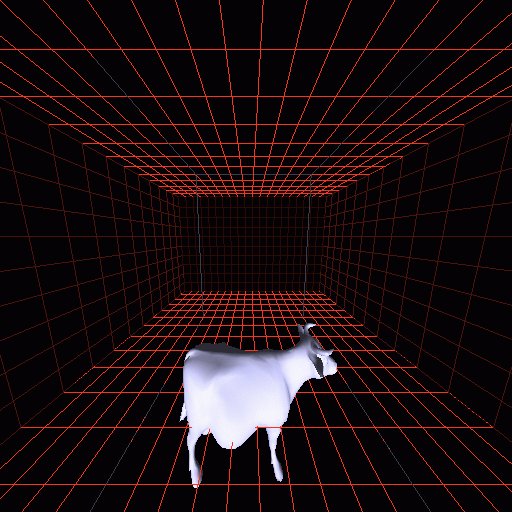
NOTE: if you do not see anything, try moving around with the arrow keys to a point where you can see it. More help on using the simulator is available at http://www.cvgs.k12.va.us/ccc/lesson1a.htm. Note that the cow defaults to the origin and is white. If you issue a display command on the same object twice, you essentially undisplay the object from its original location:
display COW1 0.1 0.9 -2.6
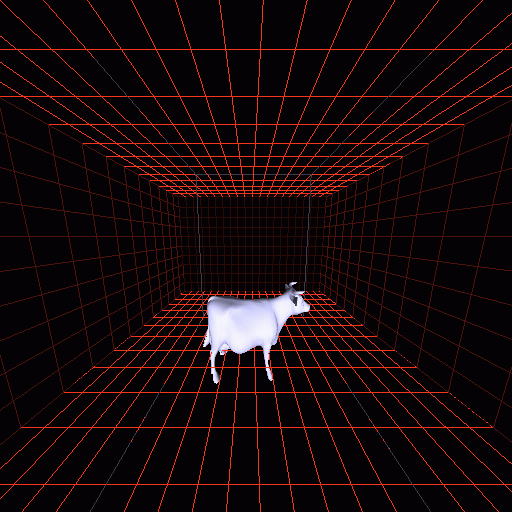
Note that you could achieve simple animation by repeatedly displayin an object with different locations, rotations, etc.
While display is a powerful command and can achieve all operations on an object when its arguments are fully specified, there are easier ways of doing things if you are a human.
color COW1 0.1 0.9 0.0
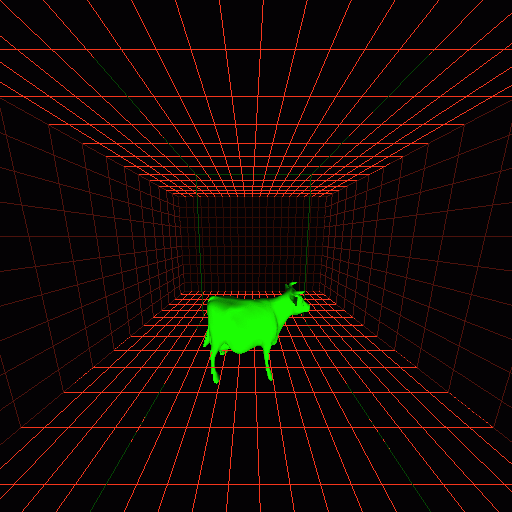
Now we have a green cow!
We can display the second cow and give it different attributes
display COW2 0.0 -2.0 0.3
color  COW2 1.0 0.2 0.0
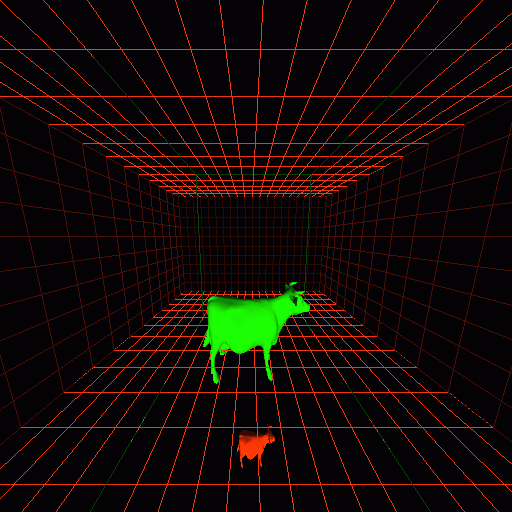
It's a cow of a different color.
The fun does not stop here, of course:
You can rotate objects. All rotations are relative to the original location.
rotate COW1 10 0.0 0.0
rotate COW1 20 0.0 0.0
rotate COW1 20 10.0 0.0
rotate COW1 20 10.0 0.0

rotate COW2 0.0 0.0 10.0
rotate COW2 0.0 0.0 20.0
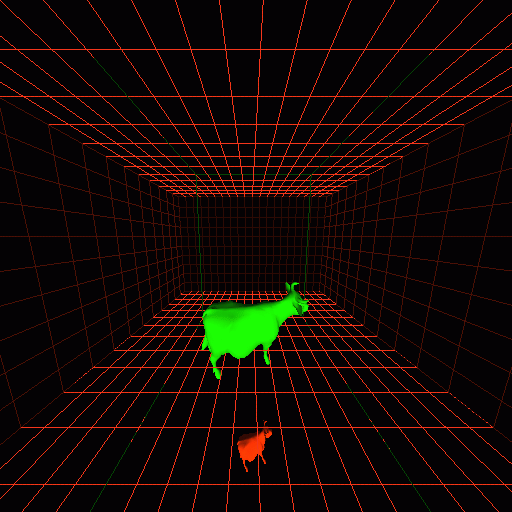 Note that doing the rotate operation in rapid succession is another way
of achieving animation.
You can scale objects in the x, y, or z direction. This allows plain scalings:
scale COW1 2 2 2
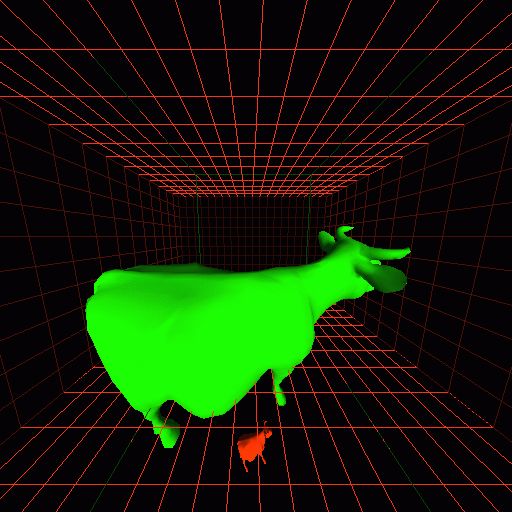
or deformations:
scale COW1 1 2 1
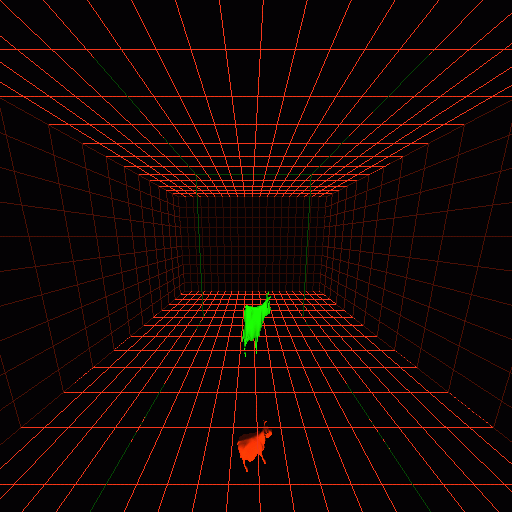 An object can be undisplayed:
undisplay COW1
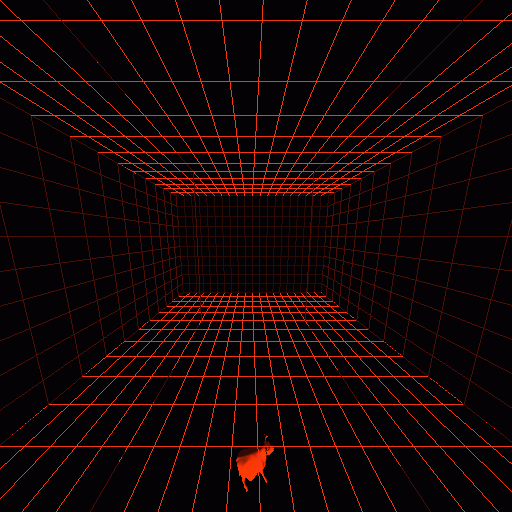
and redisplayed in a different locatation:
display COW1 0.0 0.2 0.1
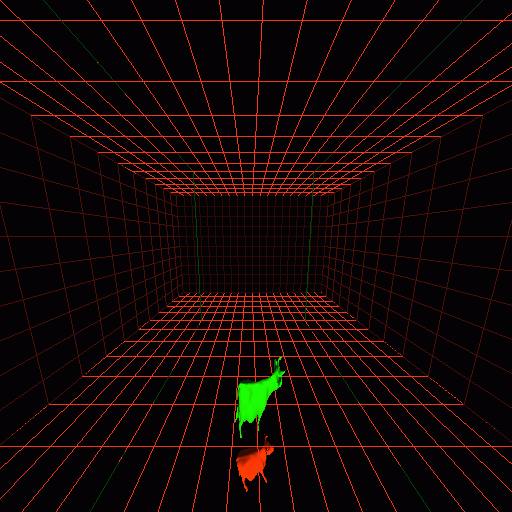
We have used the above trick with 3 different versions of the same file (for example, a bird posed in 3 different positions, such as in BIRD1 BIRD2 bird BIRD3) to do more "sophisticated" animation.
Remember, this is called Simple Minded Virtual Reality for a reason. The point is to keep things simple for programmers who want to play with virtual reality but not the low level graphics implementations. [more to come] Next: Polling object location, reading the wand, reading the observer