Implementation
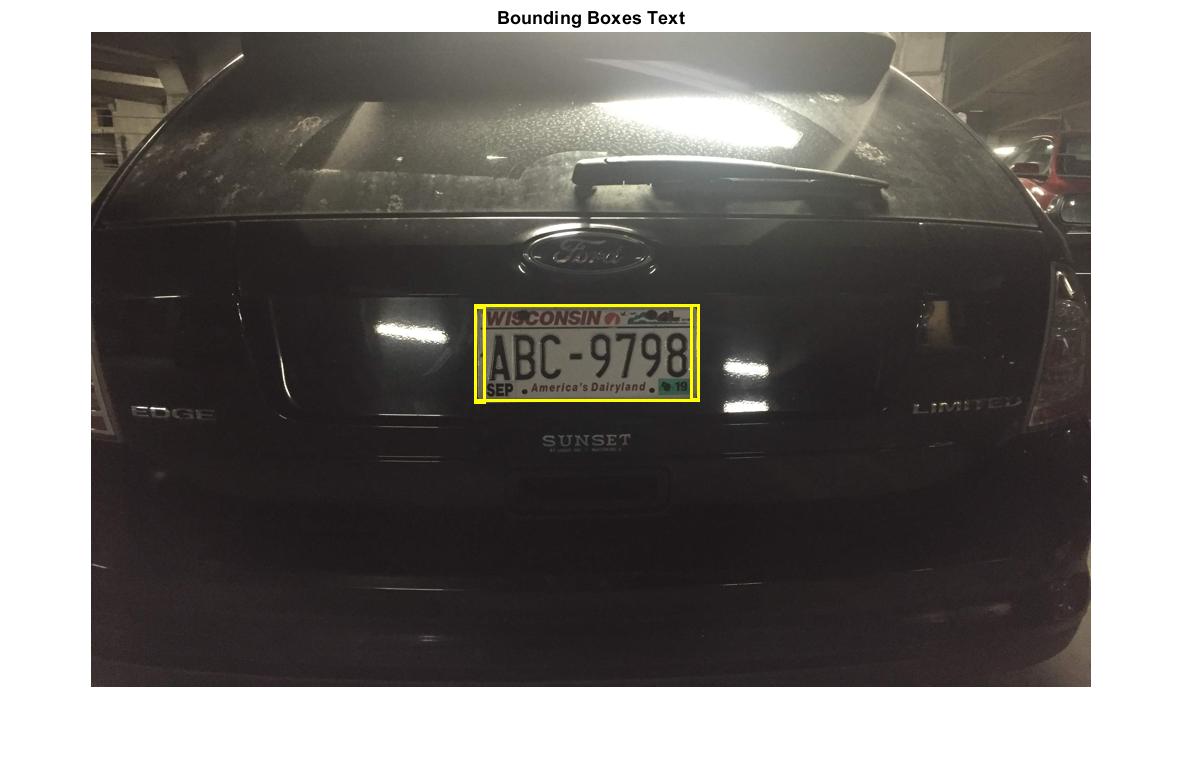
Step 1: Load Original Image
- Take the original image of the license plate and input it into the program. The image needs to be of the license plate straight on.
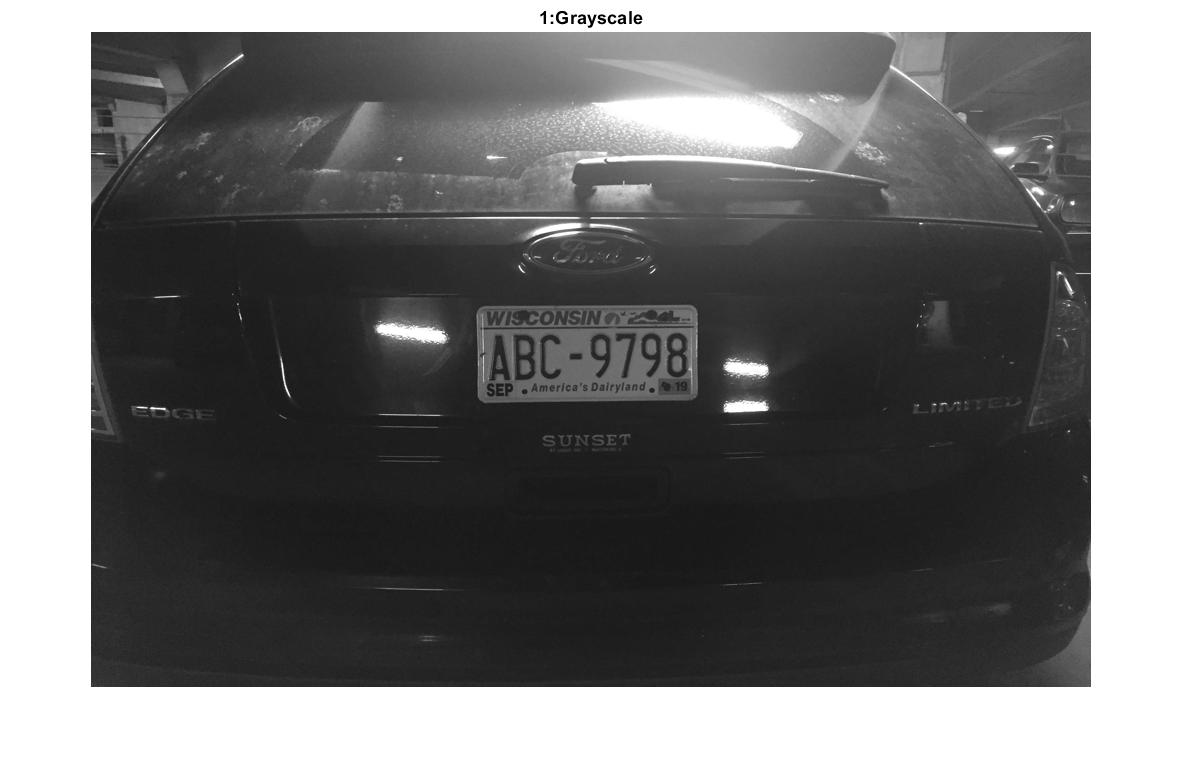
Step 2: Convert to Grayscale
- Convert the image into grayscale so its pixels can be evaluated by an edge detection method.
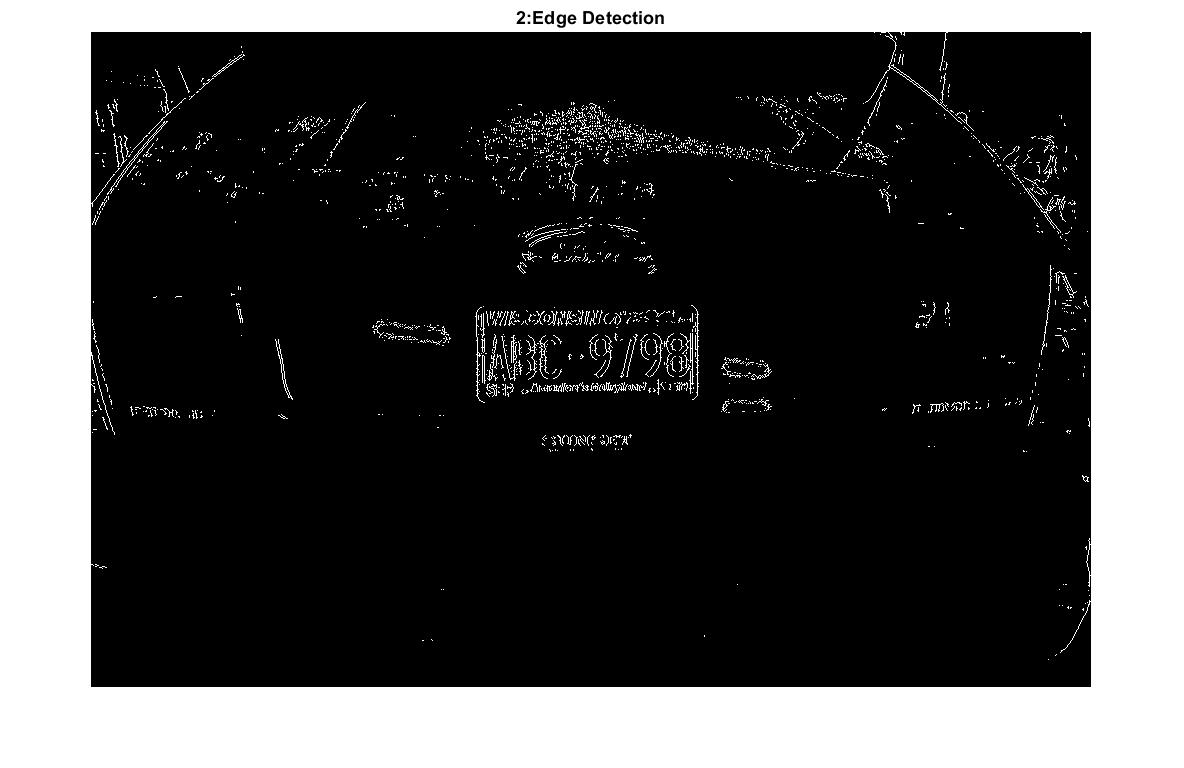
Step 3: Find Edges
- Locating the vertical edges within the image was found to be the most consistent method identifying the license plate. Often there are a number of other horizontal edges with the picture, like those made by the bumper and the frame of the window. A sobel filter was used because of its simplicity, and it turned out better results than a canny filter.
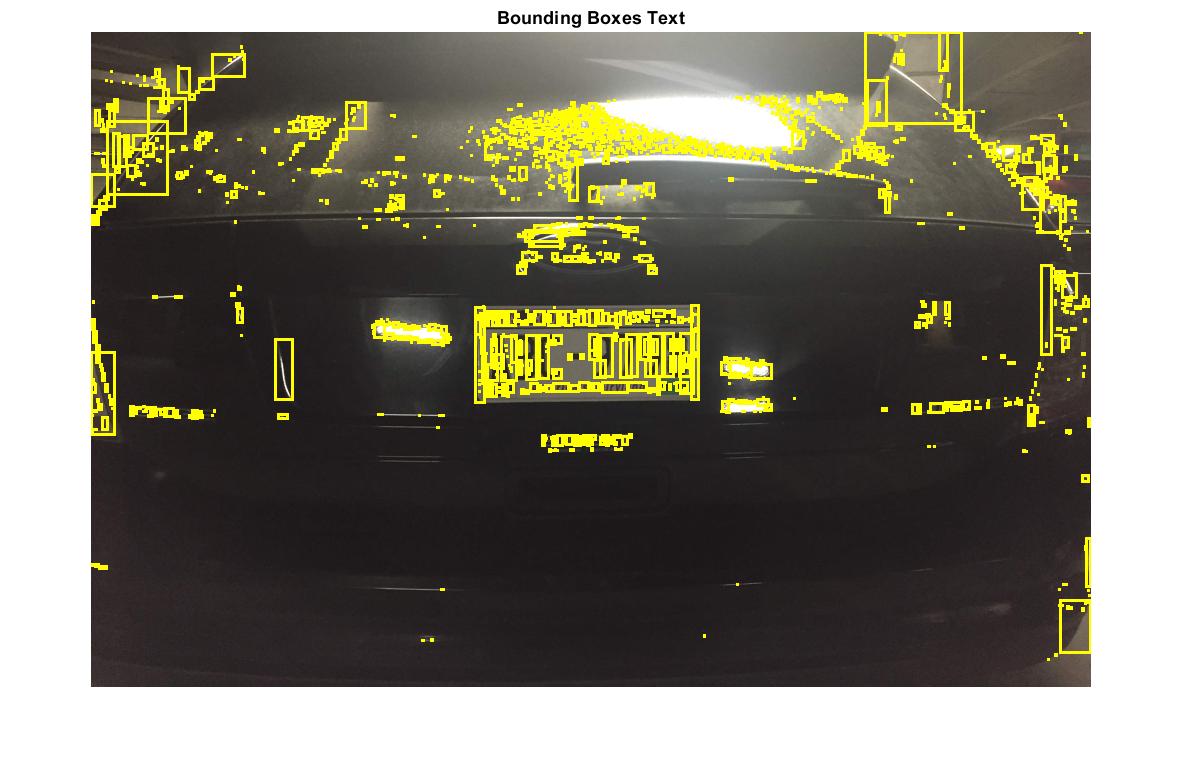
Step 4: Find Connected Components
- Using Matlab's bwconncomp each connected region within the image was identified. This allowed for each component of the image to be categorized, which allows for filtering.
- For documentation on Matlab's bwconncomp.
Step 5: Filtering Round 1
- In this stage we began looking for all of the vertical lines within the image. Using Matlab's regionprops function each component of the image was analyzed for its filledArea, Extent, Eccentricity, and Orientation. The regions were then filtered based on these properties. Those that did not align well with the values of a vertical line were removed.
- For documentation on Matlab's regionprops.
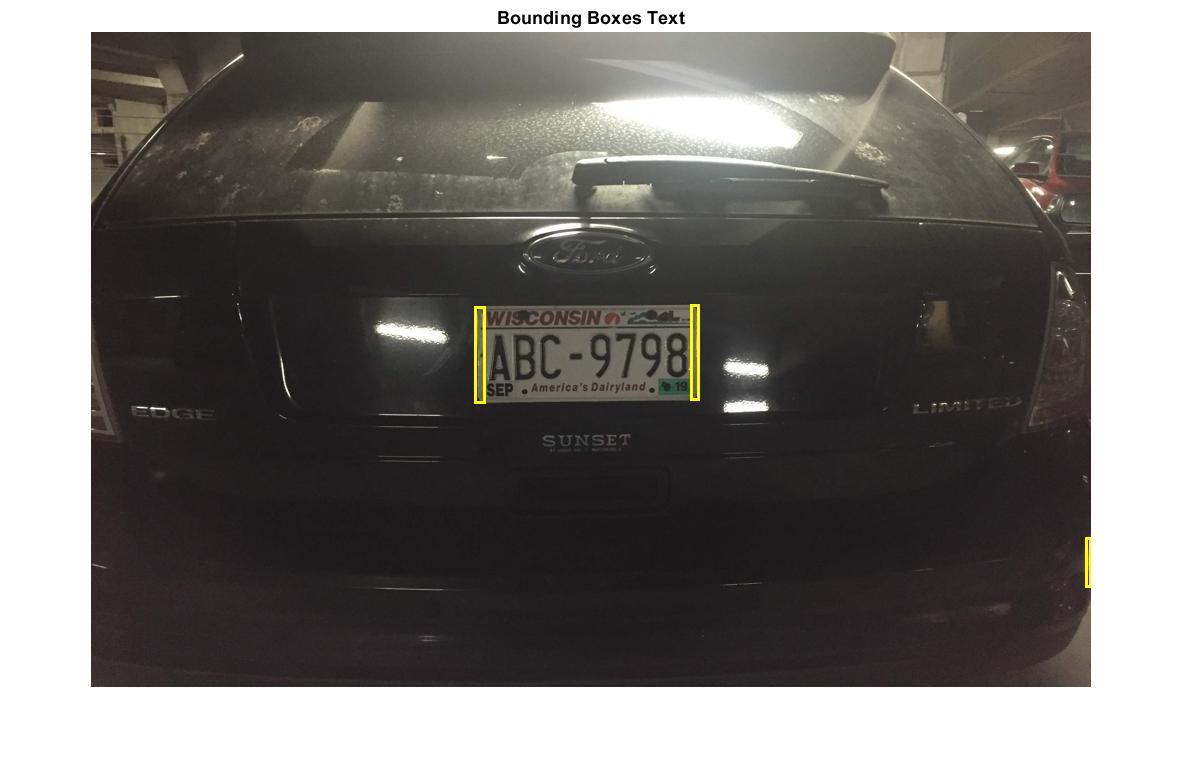
Step 6: Filtering Round 2
- Left with just vertical lines, this stage narrowed down to the two edges most likely to surround the license plate. It searched for pairs of edges that were similar to each other and of a certain size. Specifically, the program checks if their Bounding Boxes (another variable from Matlab's regionprops) were of a certain height, and within a certain aspect ratio of each other. Using the common 2:1 ratio of many of the world's license plates, the appropriate edges were identified.
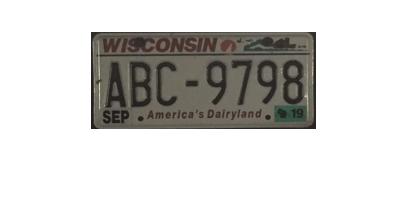
Step 7: Crop out The Area
- Using the two edges identified previously, a box was drawn around this area in the image. The edges being the two vertical sides of the license plate, this box essentially crops out the plate from the image.
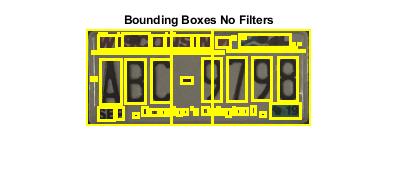
Step 8: Find new Connected Components
- Again, using Matlab's bwconncomp, the connected regions within the image were extracted. Again, this allows for the categorization of the each image component, which allows for filtering.
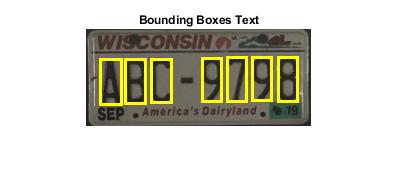
Step 9: Filtering Round 3
- Using Matlab's regionprops again, the connected components were filtered based on filledArea and Orientation. Separately, the boxes were also filtered by location within the image, as the important letters and numbers will be in the middle at this point. This narrowed down the connected components to those of the letters and numbers.
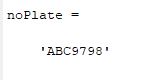
Step 10: Read the Components
- Each bounded letter and number was compared to an alphanumeric database. The best match for each box was saved as the letter or number in that location. The result was output as the license plate characters.
.jpg)