 Processing Tutorial
Processing Tutorial
Processing Tutorial"Processing is a flexible software sketchbook and a language for learning how to code within the context of the visual arts. "
This tutorial is intended to help beginning CS302 students learn how to create a Processing project in Eclipse. Processing projects are run as applets that extend the processing.core.PApplet class. PApplets are good for creating animations and are fun for displaying graphic representations of many types of information you may have track in your programs. Be sure to complete the Eclipse Tutorial first, as this tutorial assumes that you are familar with creating, editing, and running Java Applications in Eclipse. This tutorial will only introduce you to a few classes in the processing.core package. Once you create a few simple Processing projects, you can explore many other ways that you can use the Processing libraries to add a visual representation to your program.
You can navigate through the tutorial step-by-step by clicking on
the ![]() and
and ![]() links at the top and bottom of each
page. You may also use the index to jump directly to the specific step
that you wish to review.
links at the top and bottom of each
page. You may also use the index to jump directly to the specific step
that you wish to review.
| startTutorial | The start of the tutorial (top of this page). |
| AT HOME | Step 0: Getting Started.(you may skip if working on our CS lab machines) |
| Launch | Step 1: Create a new workspace and add core.jar to Java Project. |
| Config | Step 2: Make MovingRectangle a Processing Applet |
| draw() | Step 3a: Override (redefine) the draw() method |
| setup() | Step 3b: Override the setup() method |
| Execute | Step 4: Life cycle of a PApplet. |
| Extras | Step 5: Extras |
A Java package named processing.core is needed for our Processing projects. The processing.core package is not part of the standard Java distribution and contains bytecode for several classes we wish to use. To use these classes, you must download and install (unzip) the Processing library as an external jar file.
External jar files are Java archive files. They are files that contain compressed copies of folders and files that are organized in a particular way for other Java programs to use. For this tutorial, an external jar file named core.jar is needed. This jar file contains the package needed to compile the Processing programs described in this tutorial.
If you are working in the CS labs, the files have already been downloaded and all you have to do is know where to link to for your projects (described later). Skip to Step 1.
If you are working on a personal computer, you'll need to download and unzip the Processing files.
Get all the details and the latest download of Processing libraries here: https://processing.org/download/ After you download the file, copy or move it to your programs folder on your system and then install by unzipping (or extracting the file contents).
As an alternative, you can download just the single external jar file we will need: core.jar. DO NOT UNZIP the core.jar file. DO save it in a place you can recall and find again.
Downloading the file to your system is not enough. You will need to tell your Processing projects (and Eclipse) where to find the processing.core package. This is also known as linking. There are different ways to link your source code to existing code for compiling new projects. In the tutorial steps that follow, we'll show you how to link projects to external bytecode. For now, continue with launching and configuring a new Eclipse workspace.
| Launch Create draw() setup() Run Extras | |
|
Complete the Eclipse Tutorial if you do not recall how to launch Eclipse IDE on your system.
Since Processing programs require an external library, you may wish to configure a new workspace to keep all of your Processing program projects together and easy to distinguish from other Java projects. Eclipse workspaces allow you to create and save IDE configuration settings in a separate space. Workspaces can be created for each new programming course, or new IDE update, or new type of program, or just for a separate larger or shared projects. After launching Eclipse, you are likely in the workspace you chose at the beginning of the term. Follow these steps to create a new workspace.
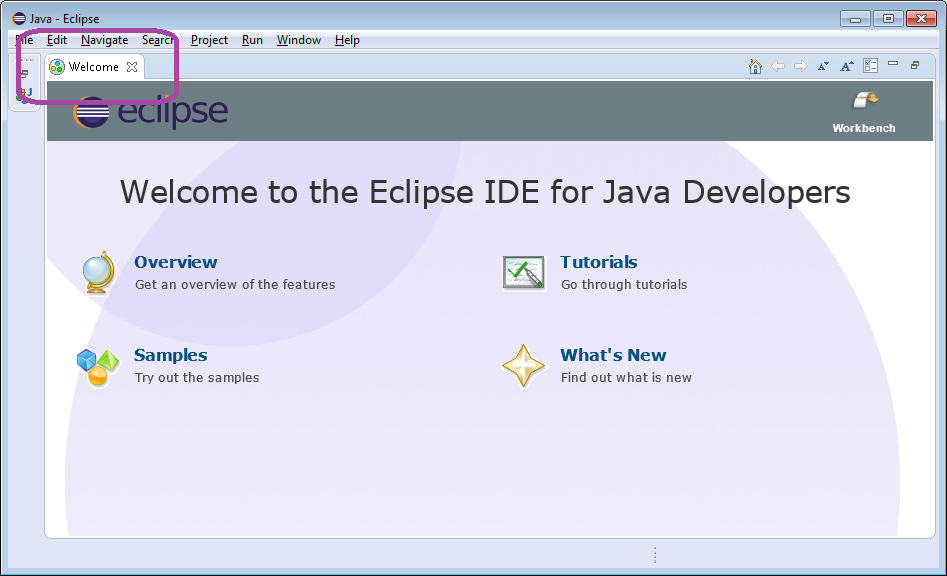
FileOther and then type desired name of a new workspace.OK to create and change to the new workspace.Once you have created a new workspace, you will need to clear the Welcome message screen. Click the small [x] in the Welcome tab lable to close the Welcome message.
You will not see any of your previous programming projects or workspace customizations. You may easily switch between your different Eclipse workspaces using the same process: File -> Switch Workspace -> Desired Workspace name. Just be patient to allow the workspace switch to complete before trying to proceed.
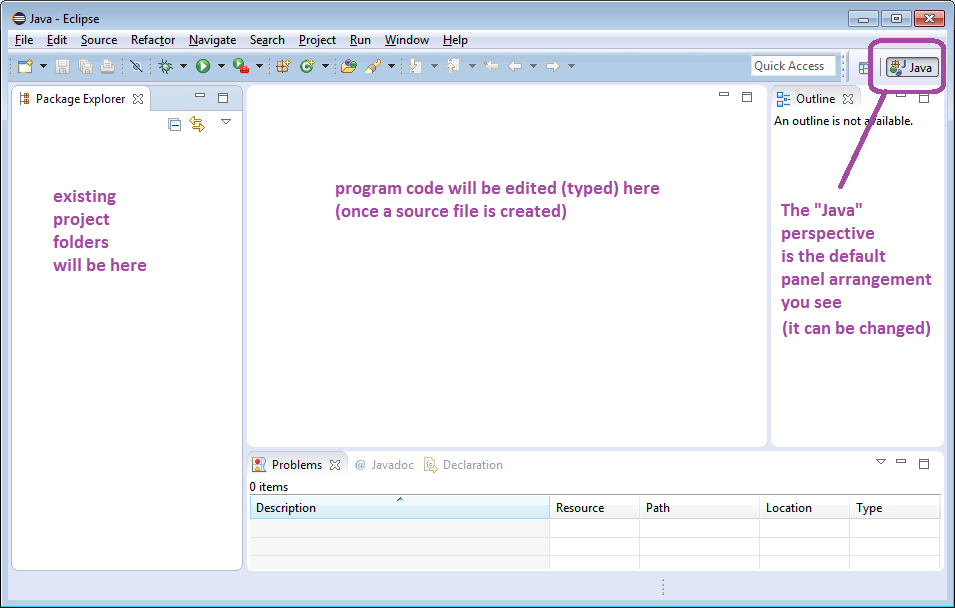
An empty Eclipse workspace looks like this.
Each Processing program will need access to the core.jar file that you downloaded in Step 0 (or was done for you on the lab machines).
For our purposes, just copying the file to each project is fine. However, it is possible to configure Eclipse or any Java environment to link to a shared location for the library file. That is how we'll have you do it when working from the lab. Create a new Java Project just like you have been doing for other programming assignments. From the Menu: Select File → New → Java Project to get the Java Project wizard dialog shown beliow.
The New Java Project wizard will appear. Enter the Project name and set options as shown. Make sure the "Use Project folder as root for sources and class files" option is selected to avoid having your source and class files in different folders.
Select and edit Configure default to change the default project layout option for future projects.
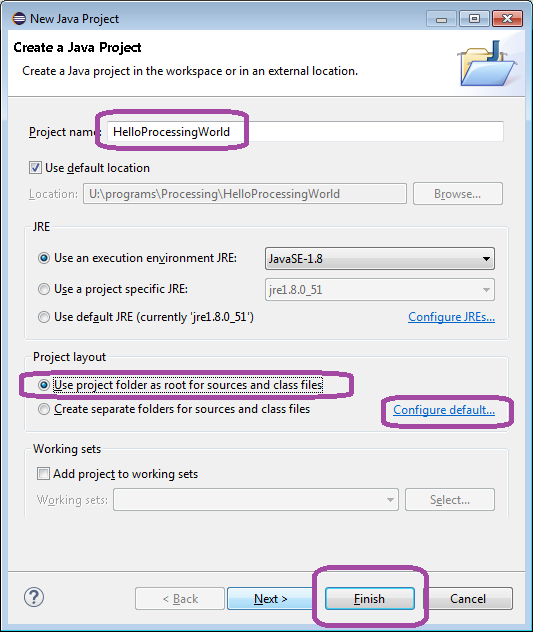
Click Finish to create the new project. So far, this is just like any other project and we will add our first class to get started.
Click the "New Class" button, and then select "Class" to create a new class in the current project. See figure below.
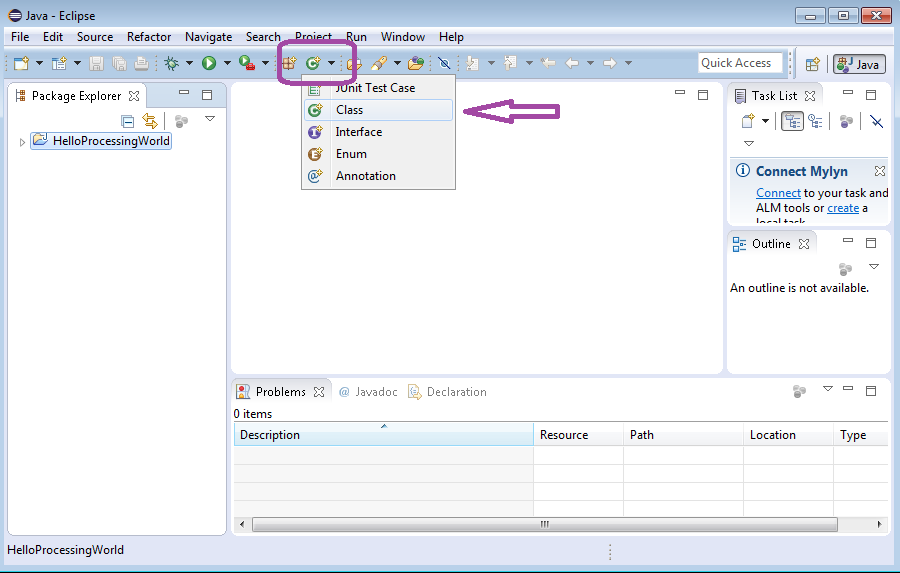
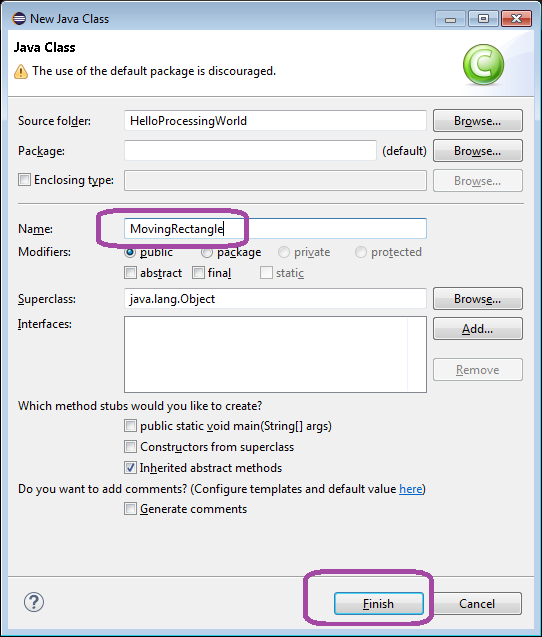
The following screen will be displayed. Type MovingRectangle for the class name and click Finish.
Now, you're ready to configure your project as a processing project. Follow, the "next" link to continue.
Launch Create draw() setup() Run Extras 
2015 Deb Deppeler