| Launch Create Edit Run |
|
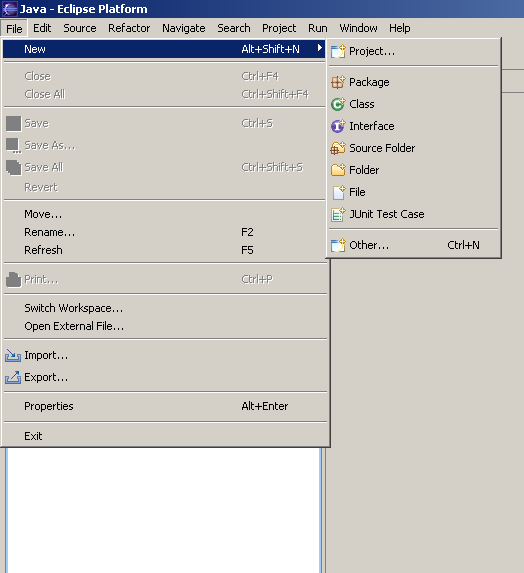
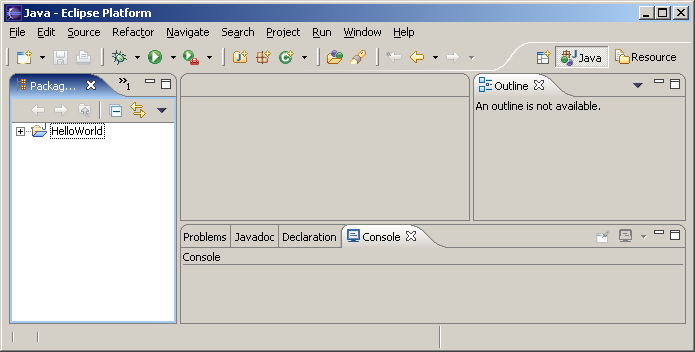
Note: If you forgot to close the Welcome screen (the big purple welcome display), then you will not see the above window. To close the Welcome screen, click the X on the tab (towards the top left of the Eclipse window). Now you should see the workspace.
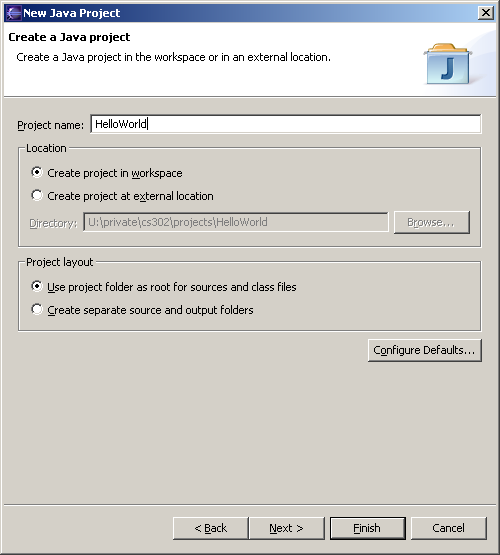
Leave this project window open, since you will be continuing with the
tutorial at this time. In general, once you have created a project and are done
working on it for the time being, you may exit Eclipse by clicking
the ![]() button in the upper right
hand corner of the Eclipse title bar, or through the Eclipse menu File
→ Exit.
button in the upper right
hand corner of the Eclipse title bar, or through the Eclipse menu File
→ Exit.
| Launch Create Edit Run |
|
Last modified September 6, 2005
Original version created by Sue Hazlett
Updated for Eclipse by Martin Hock
Updated for lab section use by Beck Hasti