 Eclipse IDE Tutorial
IBM's Eclipse is a program that is
used to write applications (other programs) in a variety of
programming languages. It allows you to complete many distinct
program development steps in one place (program window). A program
which allows you to do this is known as an integrated development
environment, or IDE.
In this course, Eclipse is used for writing programs in Java. There
are several steps that must be completed to set up Eclipse and further
steps to start up a new Java project (set of Java components which
work together to make up an application). This tutorial explains each
step with words and graphics from the Eclipse IDE.
This tutorial will help you to become familiar with the Eclipse
IDE. You can navigate through the tutorial step-by-step by clicking on
the  and
and  links at the top and bottom of each
page. You may also use the index to jump directly to the specific step
that you wish to review.
links at the top and bottom of each
page. You may also use the index to jump directly to the specific step
that you wish to review.
Index
Here is a brief description of each step in this
tutorial. The underlined word in bold is used as the link label
throughout the tutorial. Most of the images are not taken from windows XP, but they are still helpful.
| Start |
The start of the tutorial (top of this page). |
| Launch |
Step 1: How to launch the Eclipse IDE. |
| Create |
Step 2: How to create a new programming project. |
| Edit |
Step 3: How to edit an existing project. |
| Run |
Step 4: How to run your program. This also includes building or
compiling your project. |
Change folder options to display file extensions
You only need to do this once in the course, but both partners should do it. Files in windows include extensions to let the computer know what sort of file it is. For example, a file could be an image, a java program, a website, or a text document. Windows assume the average user does not need to see the extension, but as computer scientists, we want more control over our computers and the files saved on them.
- Click on the
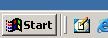 buttonon your desktop.
 - Select the My Computer from the menu.
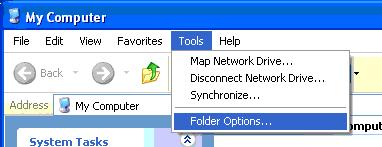
- Click the "Tools" menu and choose "Folder Options..."
- A new window titled Folder Options will appear, click on the View tab.
- Uncheck the box next to "Hide file extensions for known file types".
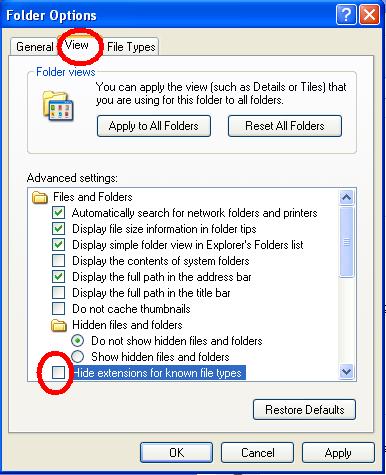
- Click OK to exit and save the change.
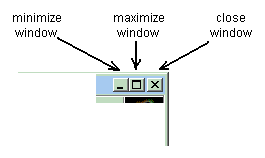
-
Click the close window button
 in
the upper right hand corner of the Control Panel to close the window.
in
the upper right hand corner of the Control Panel to close the window.
Window buttons
We're ready to start Eclipse!
Step 1: How to launch the Eclipse IDE
This step will show you how to start the Eclipse program on the
Windows 2000 operating system. This will be very familiar if you already
know how to start other programs in a Windows environment.
- Click on the
button in the lower left corner of your desktop.
- Find the Eclipse program in the Windows menu.
→ Programs →
Eclipse → eclipse.
- Note that the "Eclipse" menu may not be visible. Examine the
following image:
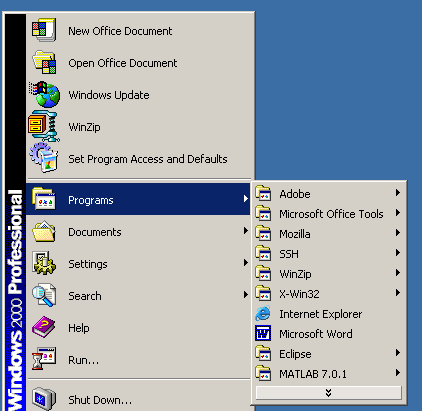
In this image, the Eclipse menu is visible. Click on the double
down arrow ( ) if the Eclipse menu is not visible. You will then see something
resembling the following:
) if the Eclipse menu is not visible. You will then see something
resembling the following:
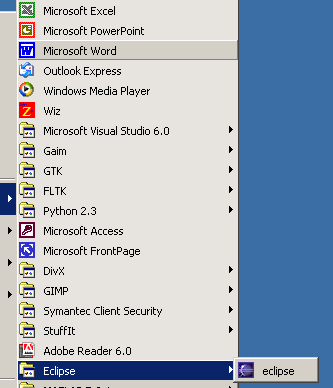
If you look enough, you should be able to find the "Eclipse" menu.
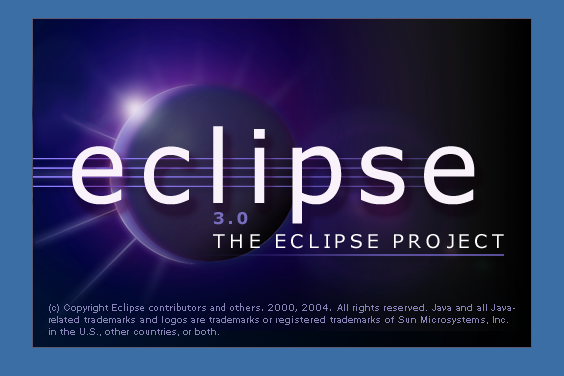
- When you launch Eclipse, you will be shown the following splash screen while
it loads, which can take a few minutes:
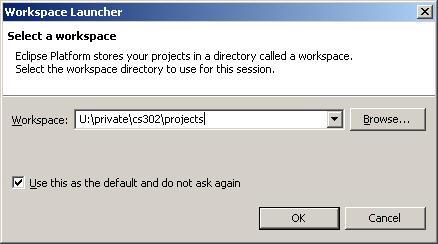
- After launching Eclipse for the first time, it will first ask you
for a workspace location with an image like the following:
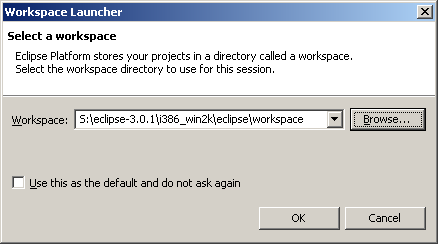
Change the workspace location to u:\private\cs302\projects and
make it so that this is the default choice, as in the following image:
- You will then be presented with a welcome workspace like the
following:
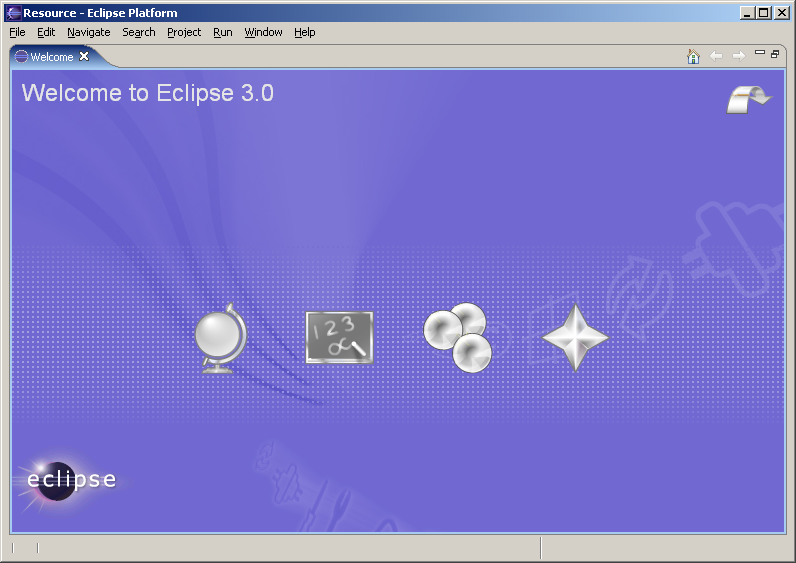
You can optionally explore the various icons as you wish. The
next time you run Eclipse, you will not be shown this welcome
workspace, but all of the information it contains can be found
elsewhere.
When you are done, close the Welcome pane by clicking the
X on the tab, then continue to the next step of the tutorial and use
the Eclipse IDE to develop your Java programming project.
Last modified September 6, 2005
Original version created by Sue Hazlett
Updated for Eclipse by Martin Hock
Updated for lab section use by Beck Hasti