|
|
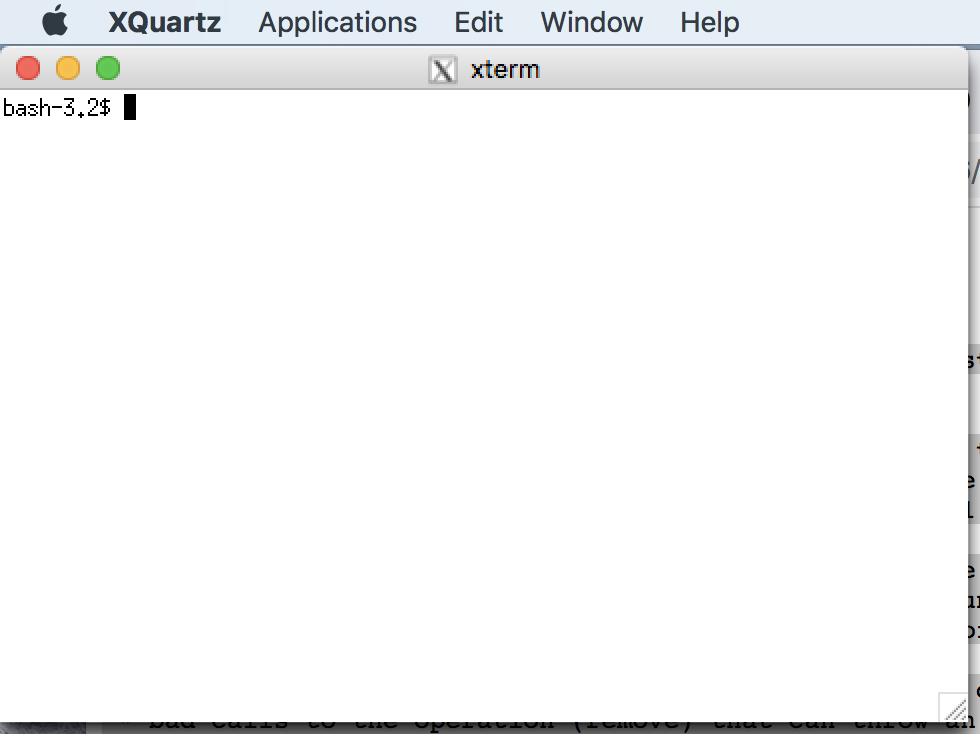
Remote access to ModelSim/Graphical Linux Applications via X ForwardingThis short guide intends to help you setup your personal computer to do remote work on graphic applications on linux via X Forwarding. X Forwarding utilizes X Window System, which you can check out here for a more detailed explanation of what it is. Most Linux distros already have a X Server natively installed, so people whose personal computer run Linux can skip the setup. Unfortunately, OS X and Windows don't have X Server built in, but luckily for us there are third party applications that enables this. NOTE that you still have to setup ModelSim in your CSL if you haven't done so. See canvas post here. NOTE 2 that there's no way to enable this in Window S Mode (at least not that I know of). Step 1: Downloading X Server on your machineThey're a few options, but for Windows we recommend XMING and for OS X we recommend XQuartz (XQuartz is actually developed by Apple, so it's pretty much native). For the installations, you can leave all the options to their default if there is any options. Step 1a: (Windows only) Making sure you can use SSHWindows machines don't have a way to connect via SSH by default. To be enable it, there's a few options. We recommend WSL, which allows me to have a Linux terminal that is "native" to Windows (and includes many of the Linux features. Some features are still missing however, such as the ability to use CUDA, although this probably wouldn't matter to you). There's a lot of guides in the internet about enabling this feature, like this one from Microsoft. NOTE that in your WSL terminal, your normal Windows files can be access in /mnt/c for your C drive, /mnt/d for your D drive and so on. If you don't want to enable this feature, you can use third party applications to connect via SSH. For this, I usually use PuTTY, which a lot of you who have taken ECE 353/551 will probably already used it to communicate serially. You can download PuTTY from here. You can also use other applications, although I won't be showing you in this guide how to set it up for SSH + X forwarding. The only problem I have with PuTTY is it's kinda annoying to transfer files between your local and the CSL machines. But maybe this is a non-issue if you use Git (wink). For this step onwards, make sure that your chosen X Server (whether it's XMing, XQuartz or anything else) is running in the background. Step 2: Set up environment variables/Set up PuTTYFor OS X, you shouldn't need to set up anything else. Note that when you open XQuartz, you get a XTerm terminal. You can choose to ignore this (and/or close it), or you can use this as your terminal. If you accidentally close it and want to bring it back up, you can right click on XQuartz dock icon, applications->terminal to bring it back up. We also recommend using the default terminal because all my settings is there. 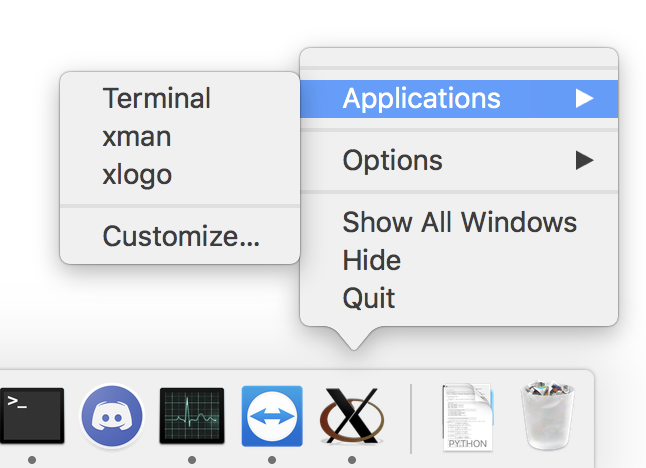
For WSL in Windows (I'm assuming you're using bash as your shell), you have to set up your DISPLAY variable in order to for your terminal to forward the display to XMing. You can type in the following command in your WSL terminal: echo "if [ -z \$DISPLAY ]; then export $DISPLAY=localhost:0.0; else DISPLAY=$DISPLAY:localhost:0.0; fi" >> ~/.bashrc
This command will add the text inside the parantheses in your ~/.bashrc file. Next, type: source ~/.bashrc
This will apply the changes. The changes we made to .bashrc will automatically set the DISPLAY variable everytime you open a new WSL terminal, so you don't have to source it everytime you open a new terminal. For PuTTY in Windows, you will have to set the following fields or options like this:Session->Logging 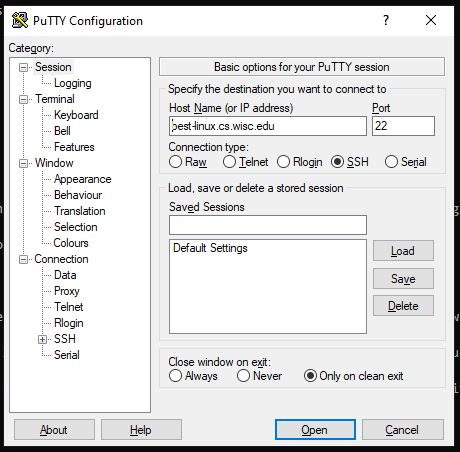
Connection->SSH->X11 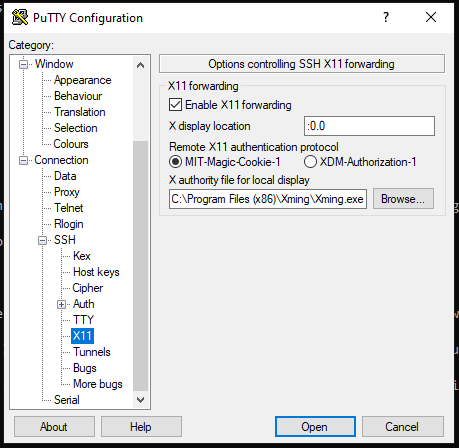
You can save this setting in the session options window so you don't have to go through all this setup again. Step 3: Using X applications remotely.First, make sure your X Server is still running (in the future also always make sure it's running when you want to remotely work using X forwarding).
ssh -X
It will prompt you your password (if you use ssh before everything should be the same). You should type in your CSL password. Don't be surprised if it seems like nothing is getting typed, it's meant to be that way.
nautilus &
A file manager and firefox browser should pop out on your computer. Pretty cool, especially if you dislike navigating your files via the terminal and if you want to download something directly to your CSL account. NOTE that the ampersand (&) in the end of the commands make each program/command run in the background, so you can keep using the terminal. The example below is done in Windows(WSL), but results should be similar in Windows, OS X or Linux. 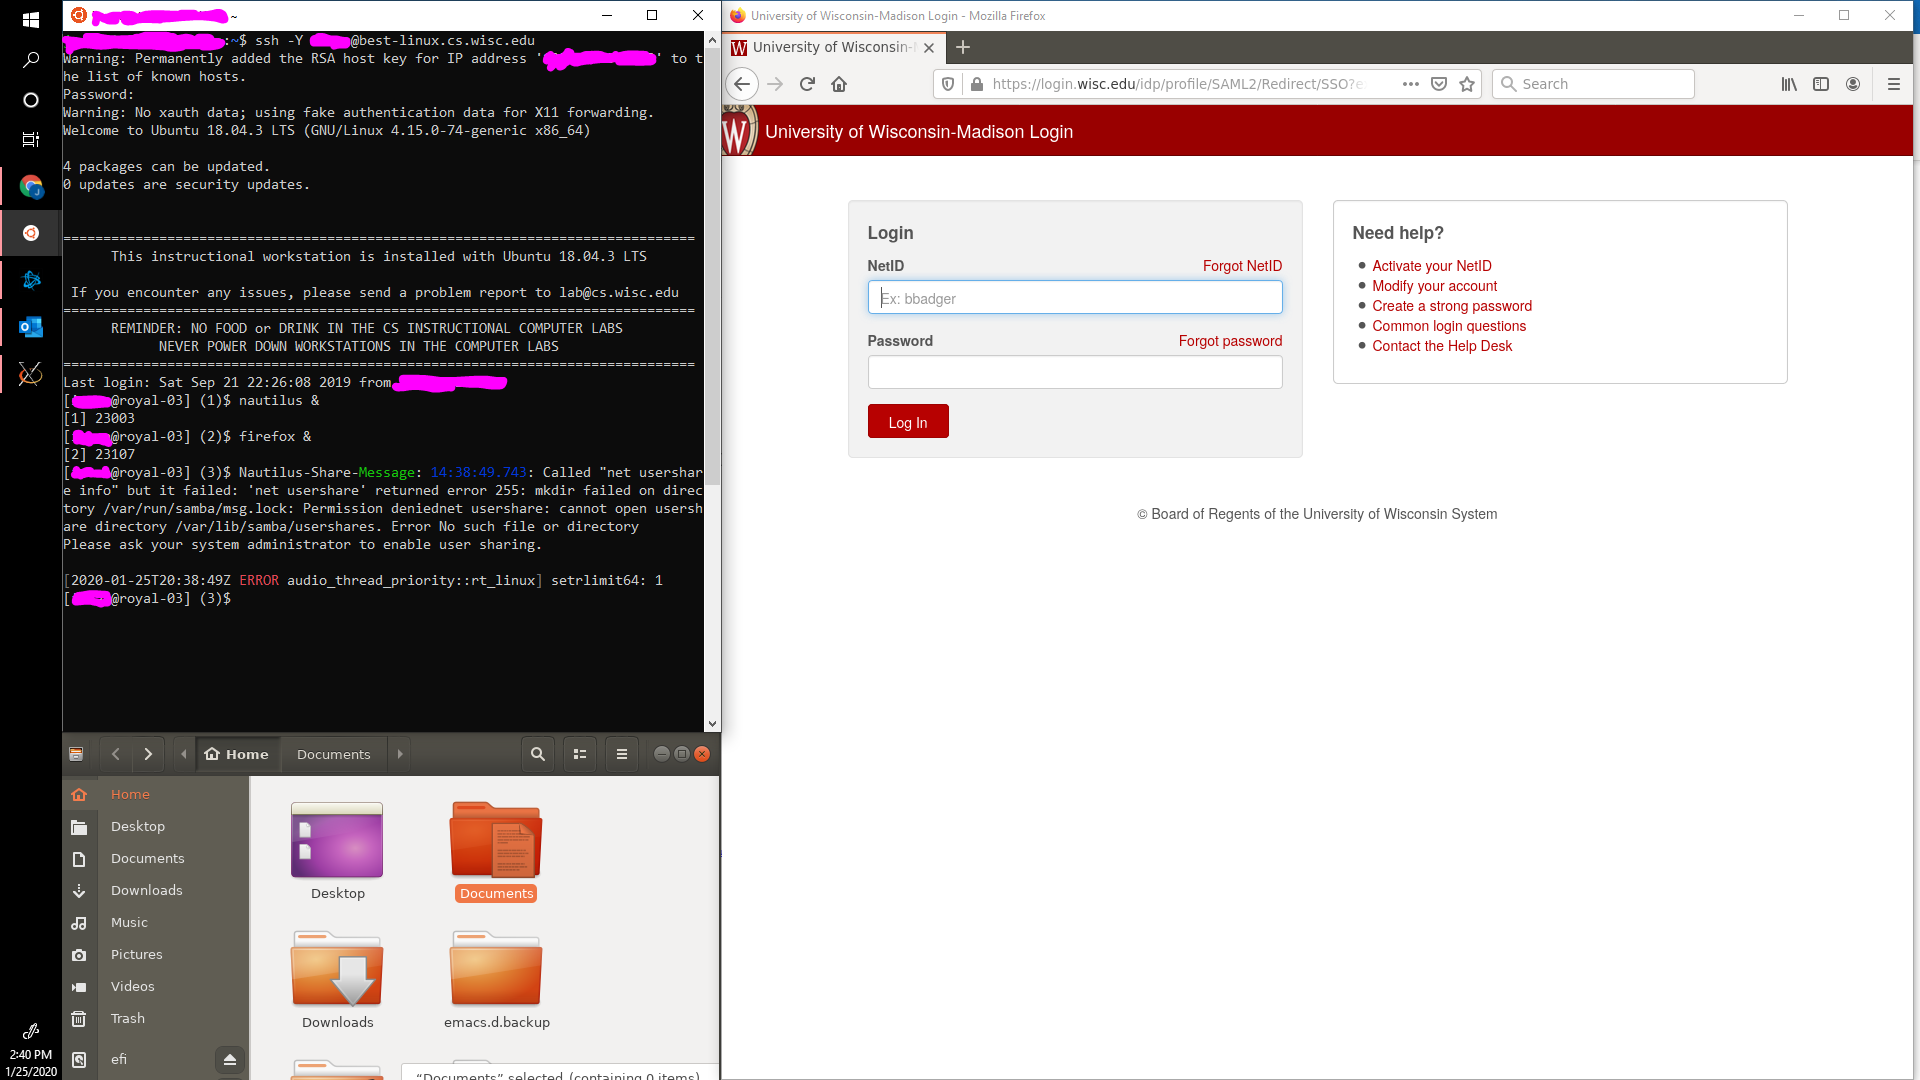
Just like in the ModelSim tutorial, you can start ModelSim like this: vsim &
Hopefully this helps you work with ModelSim from anywhere (although if you're out of town or using VPN, you may feel a lot of latency running the graphical programs). EXTRA NOTES:You can also connect to specific computers in the CSL, for example royal-01.cs.wisc.edu. However, there's really no benefit of doing this compared to connecting to best-linux.cs.wisc.edu, unless there is a temporary file that's only in that machine, or if you're doing some tmux session sharing etc. You can actually also connect to your CAE account (if you have one) in a similar manner (the address to the CAE machines are best-tux.cae.wisc.edu). The good thing in the CAE machines is that you don't have to setup your ModelSim.
|