Supercharged 2023 Corvette

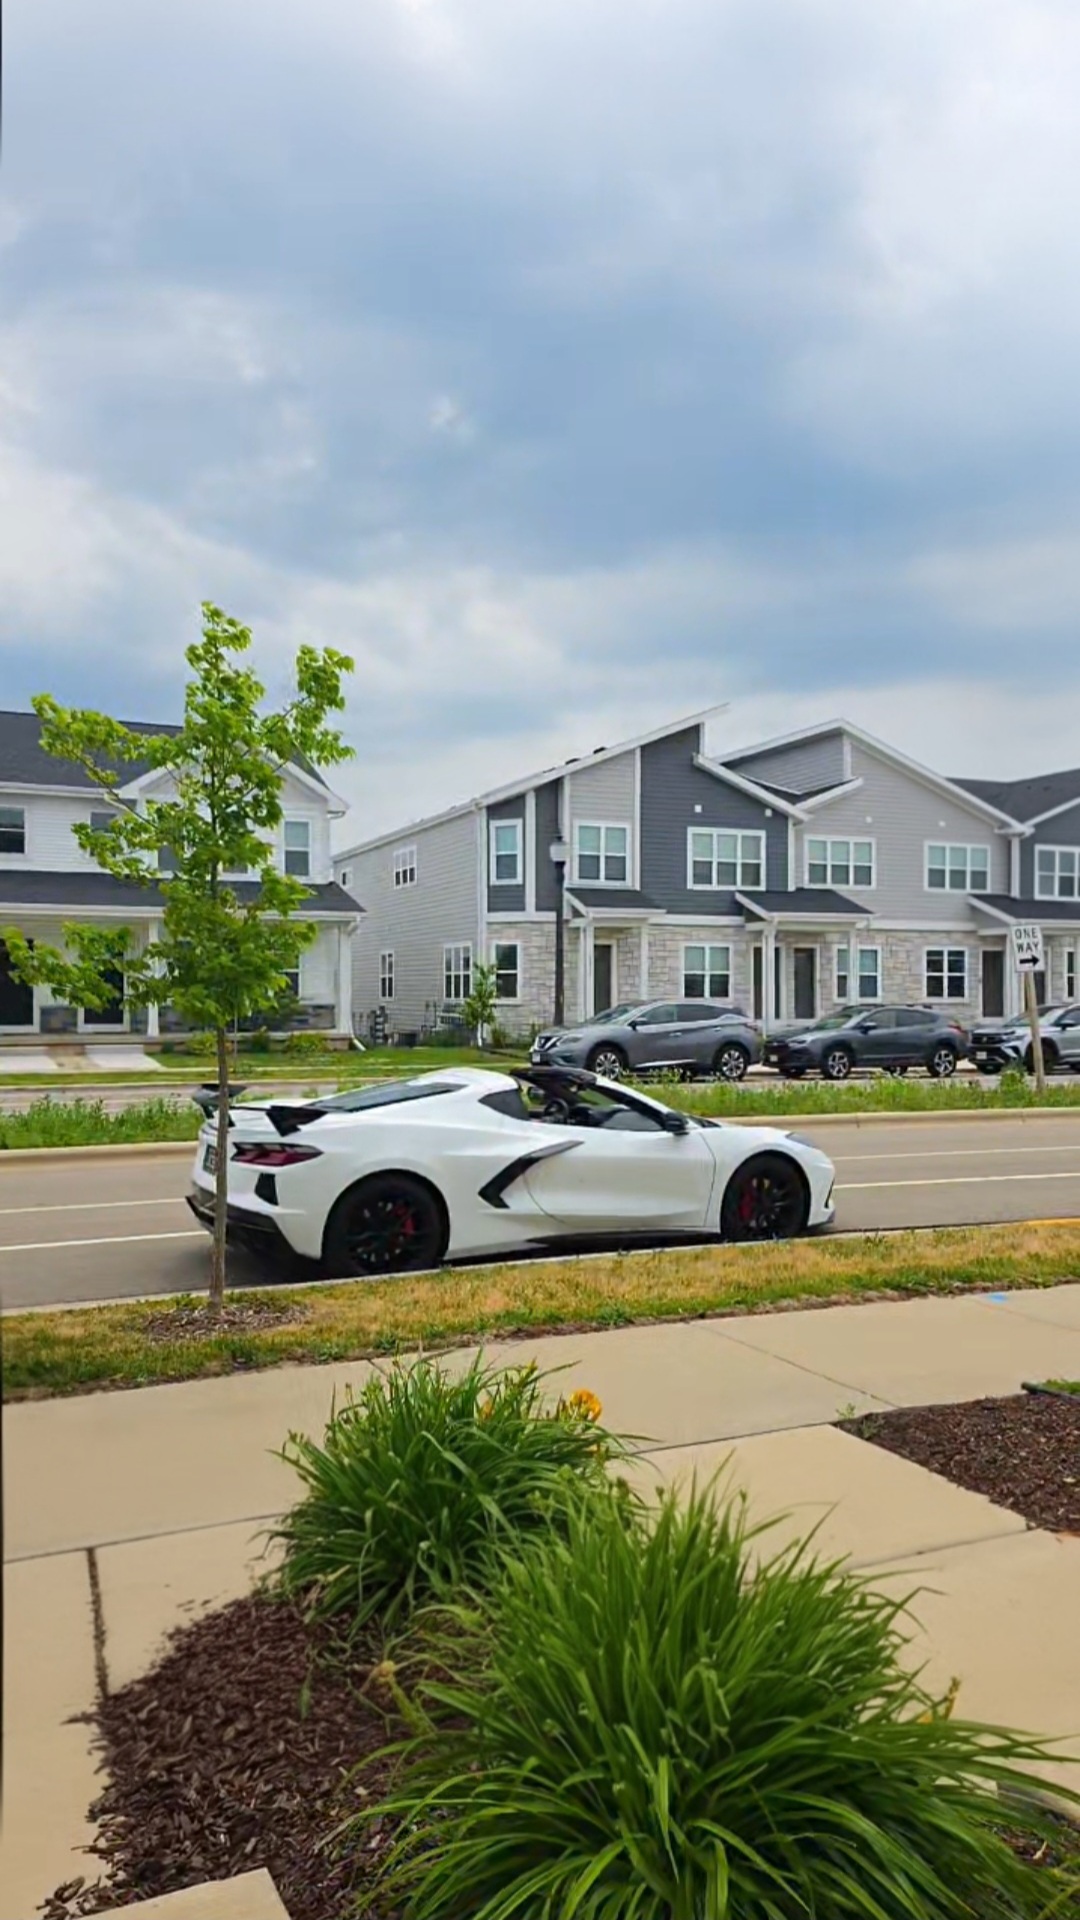
Whats cooler than a Corvette? A faster Corvette!

Goals

Add a Magnuson Supercharger kit with Charge Air Cooler onto a 2023 Corvette Stringray. Add Kooks Headers and Corsa High Flow Cats. Tune the car with HPTuners.
Seat wiring diagram

ECU Unlocking

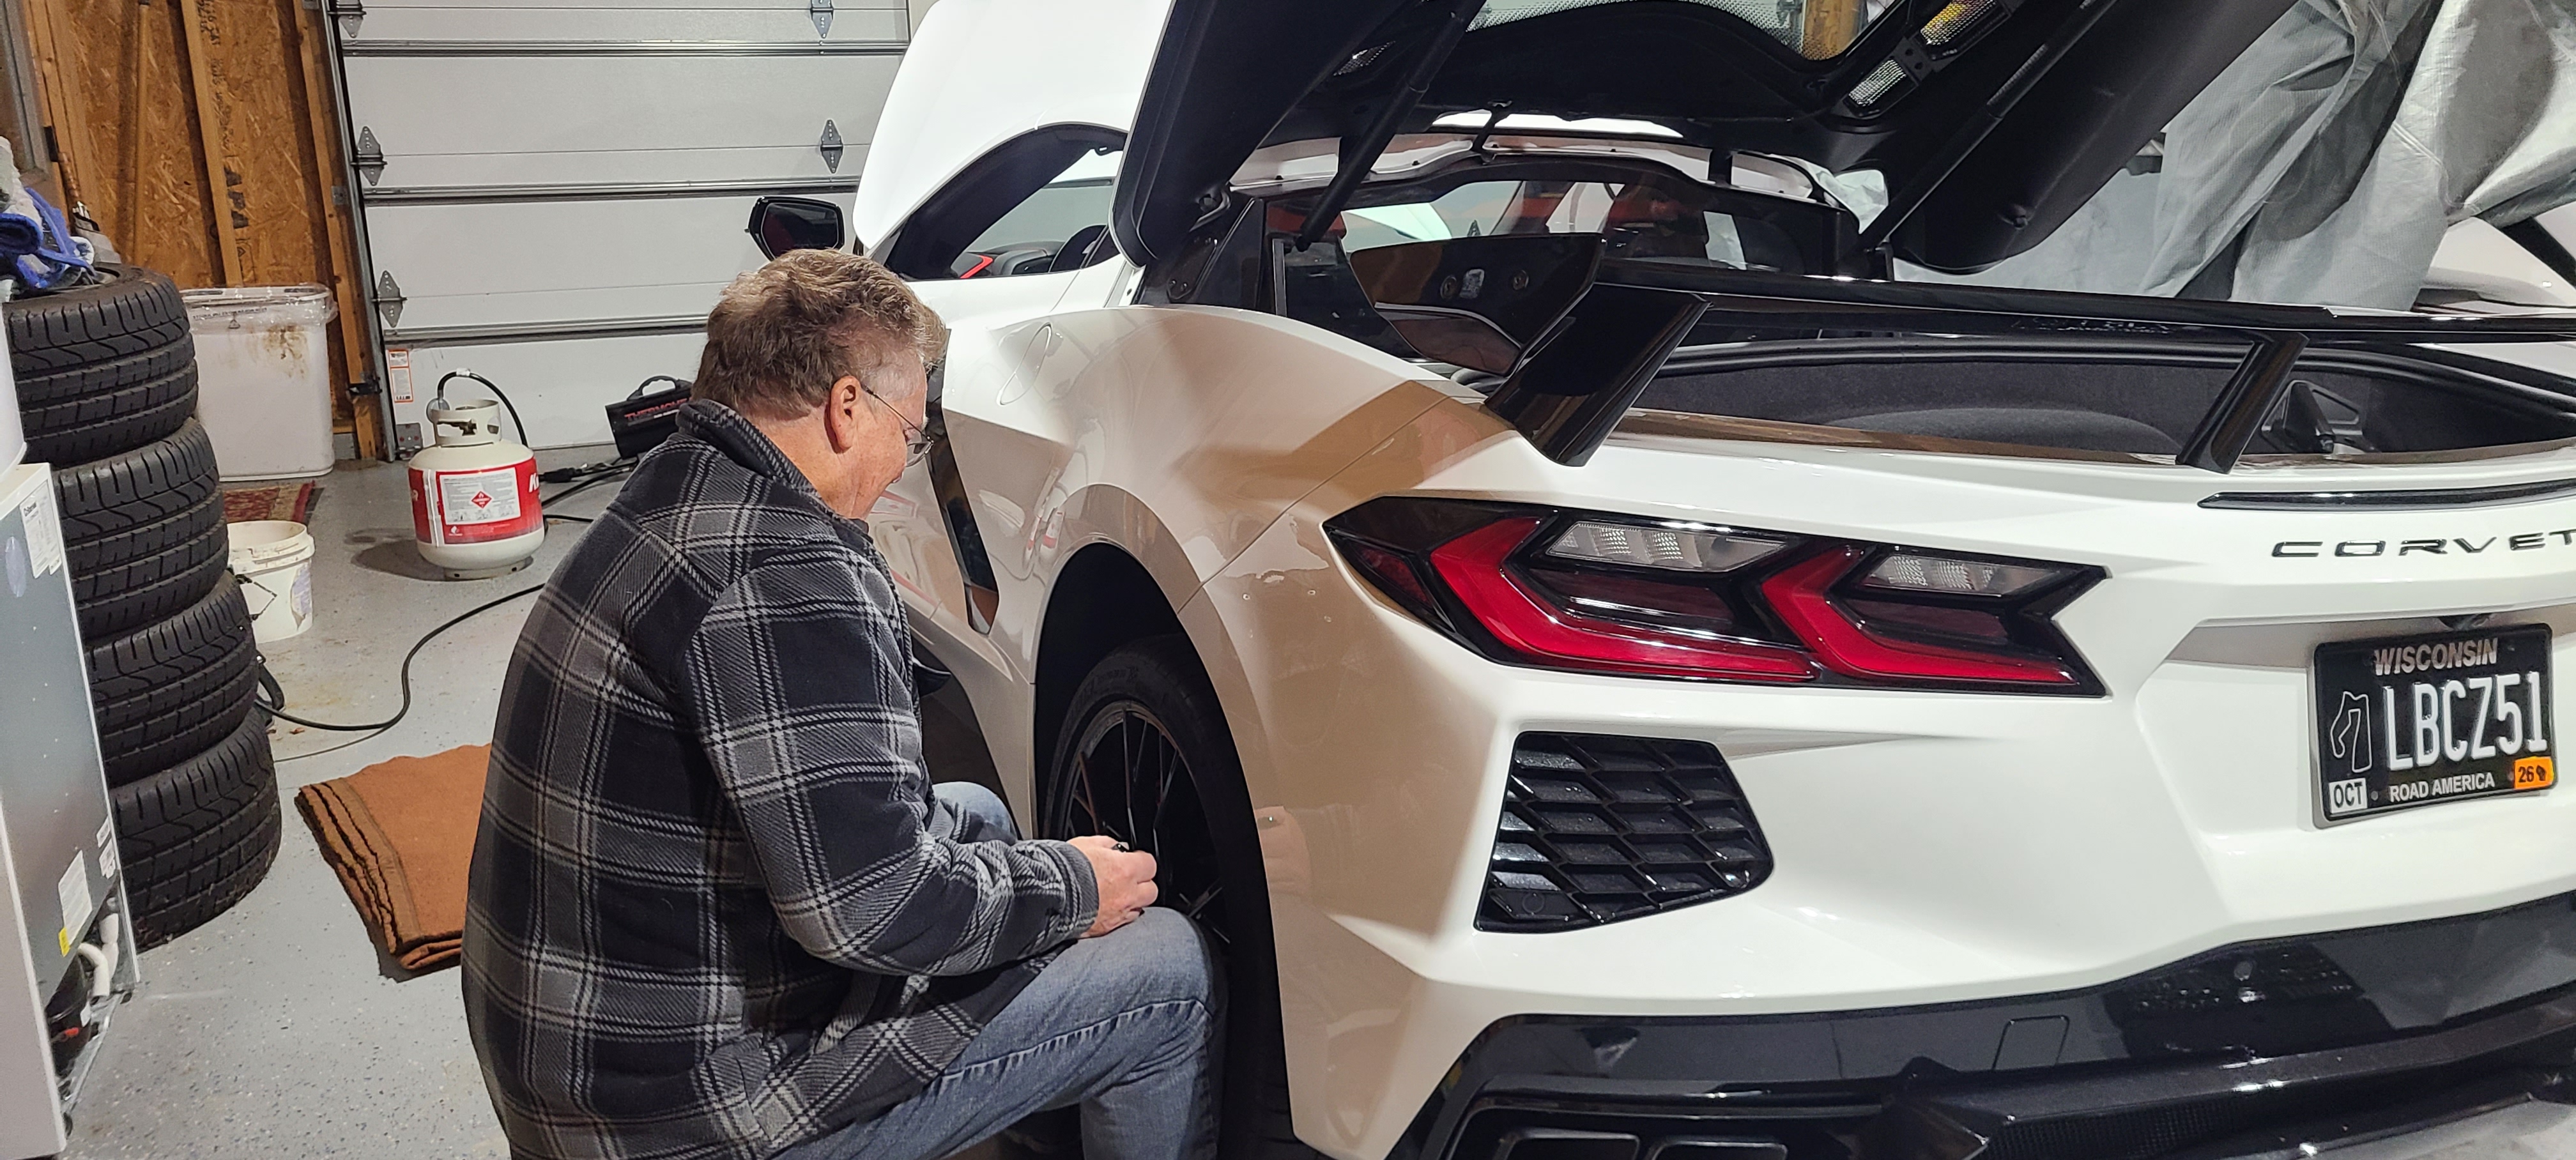
I removed the ECU with my Dad. Sent it to HPTuners. Got it back unlocked and re-installed it.
Seat wiring diagram
Removing the wheel to get to the ECU behind the rear wheel well.

CATs and Headers

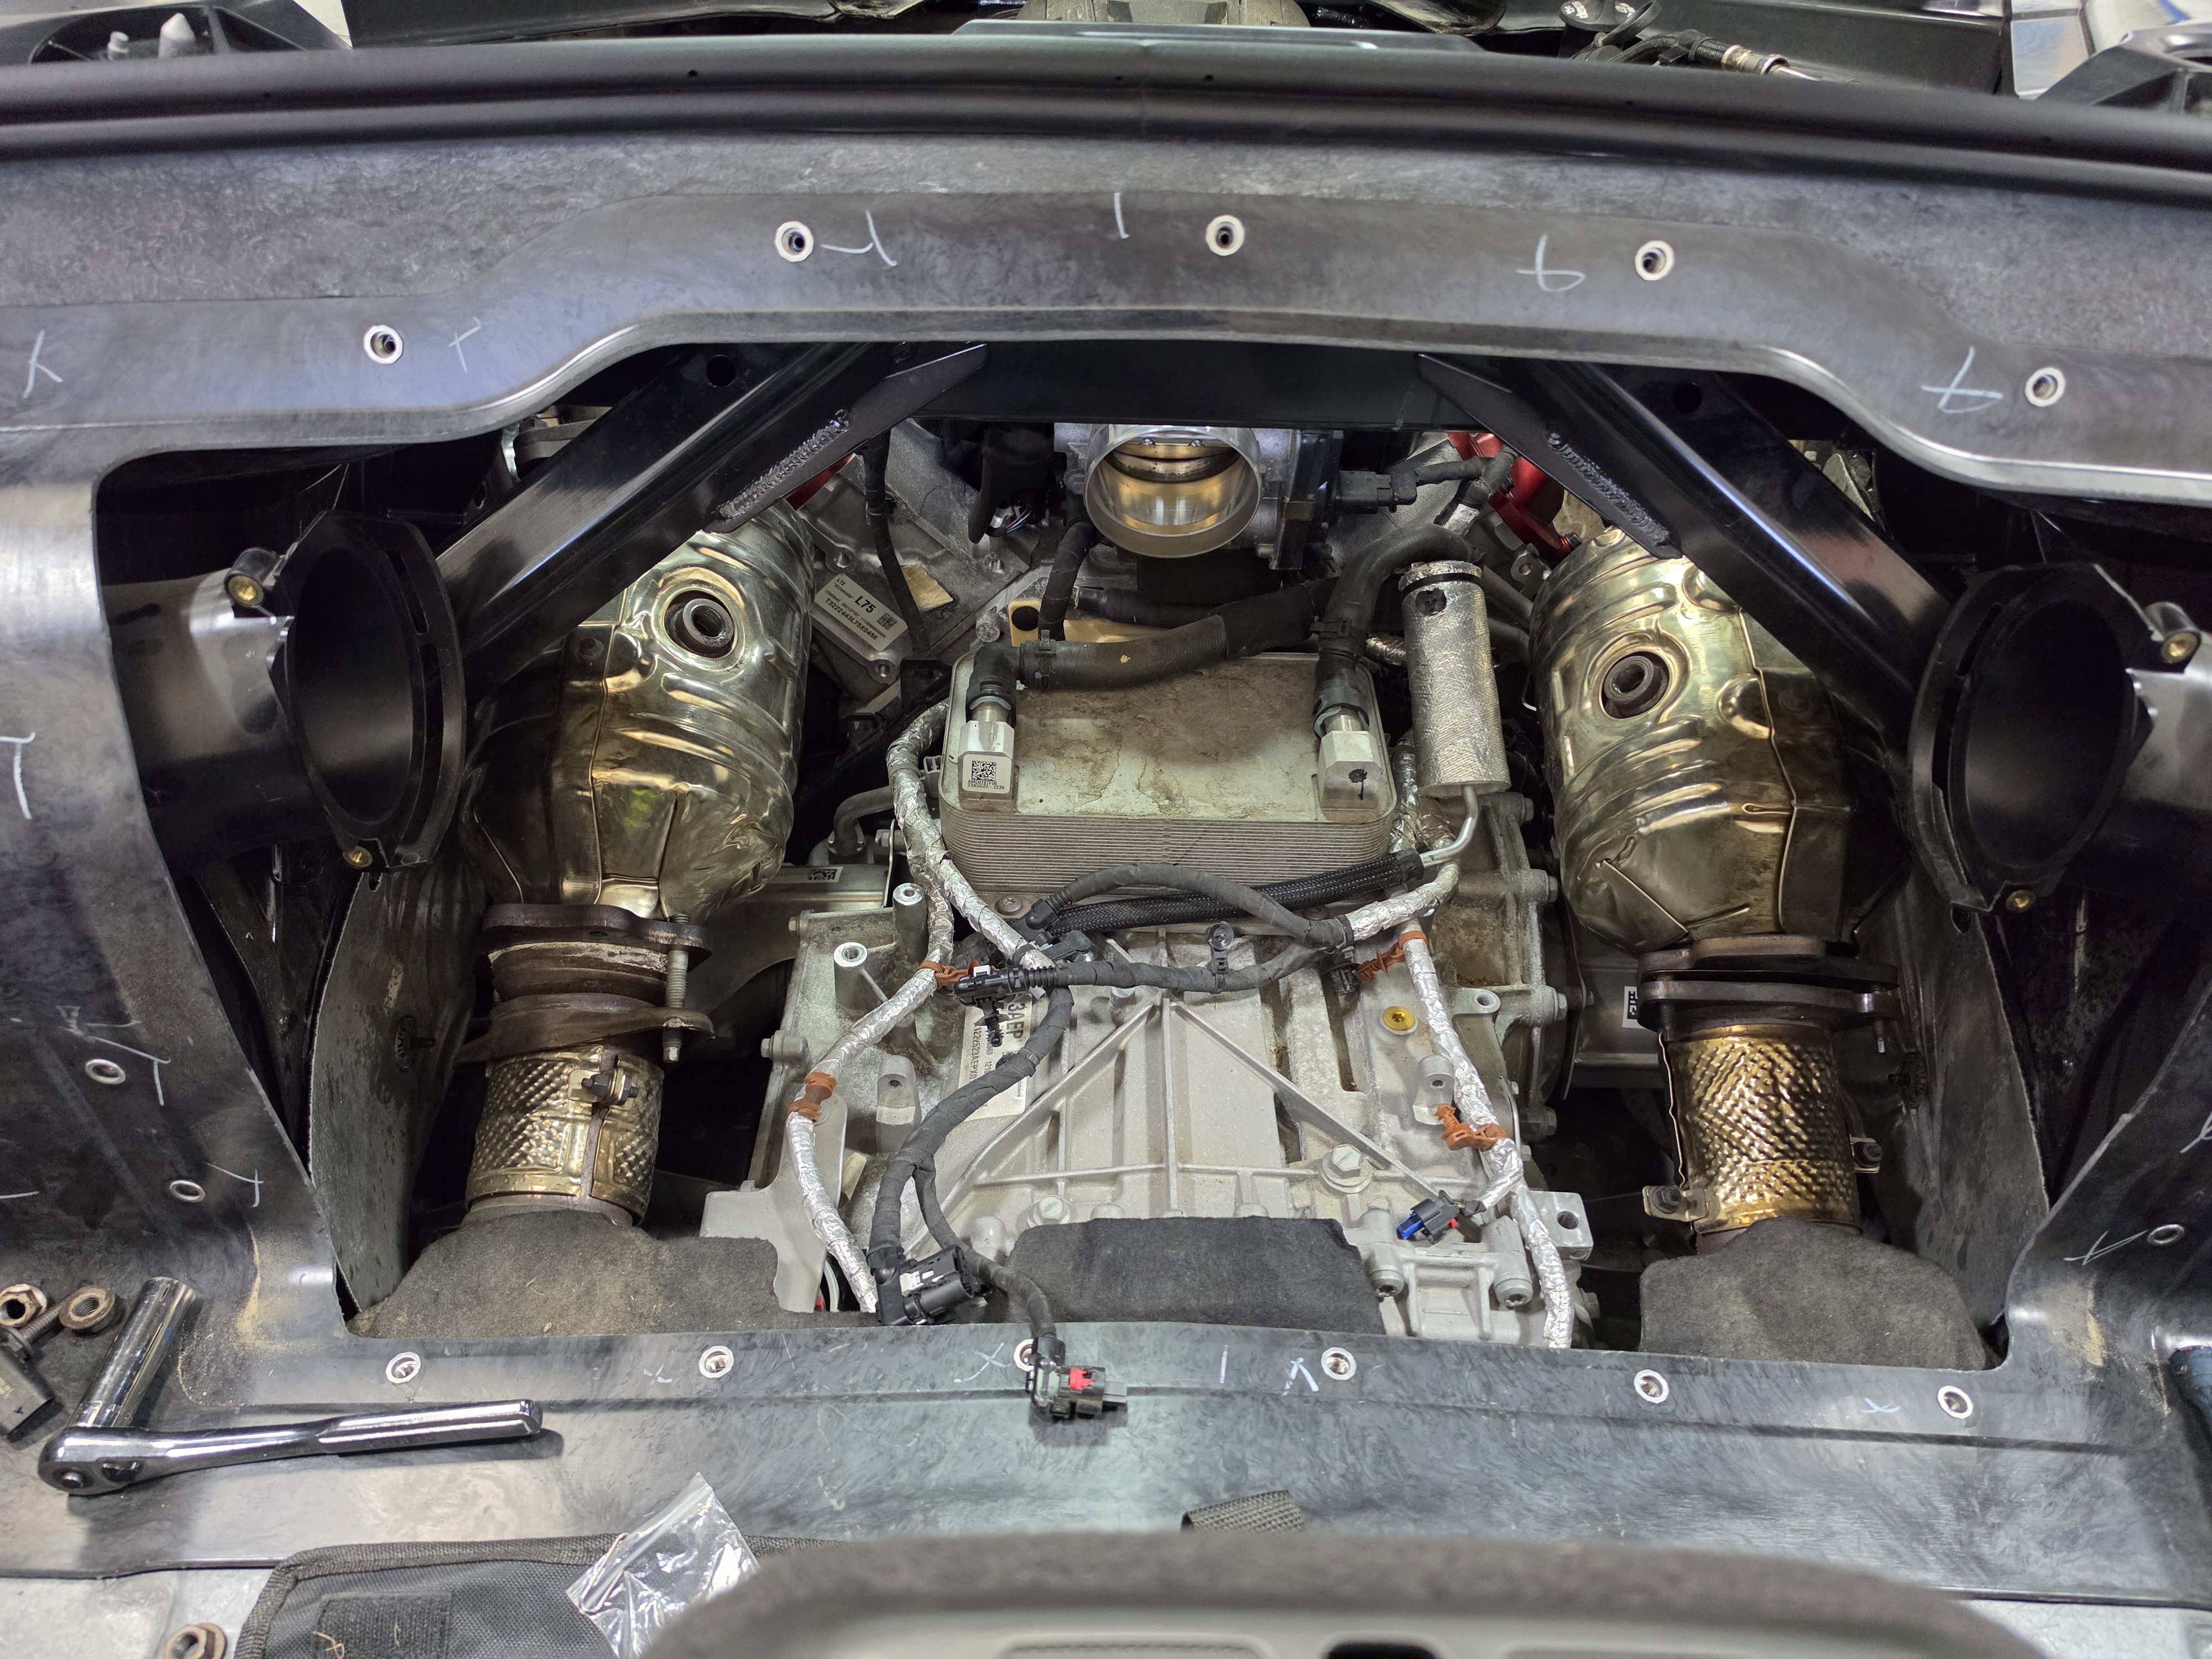
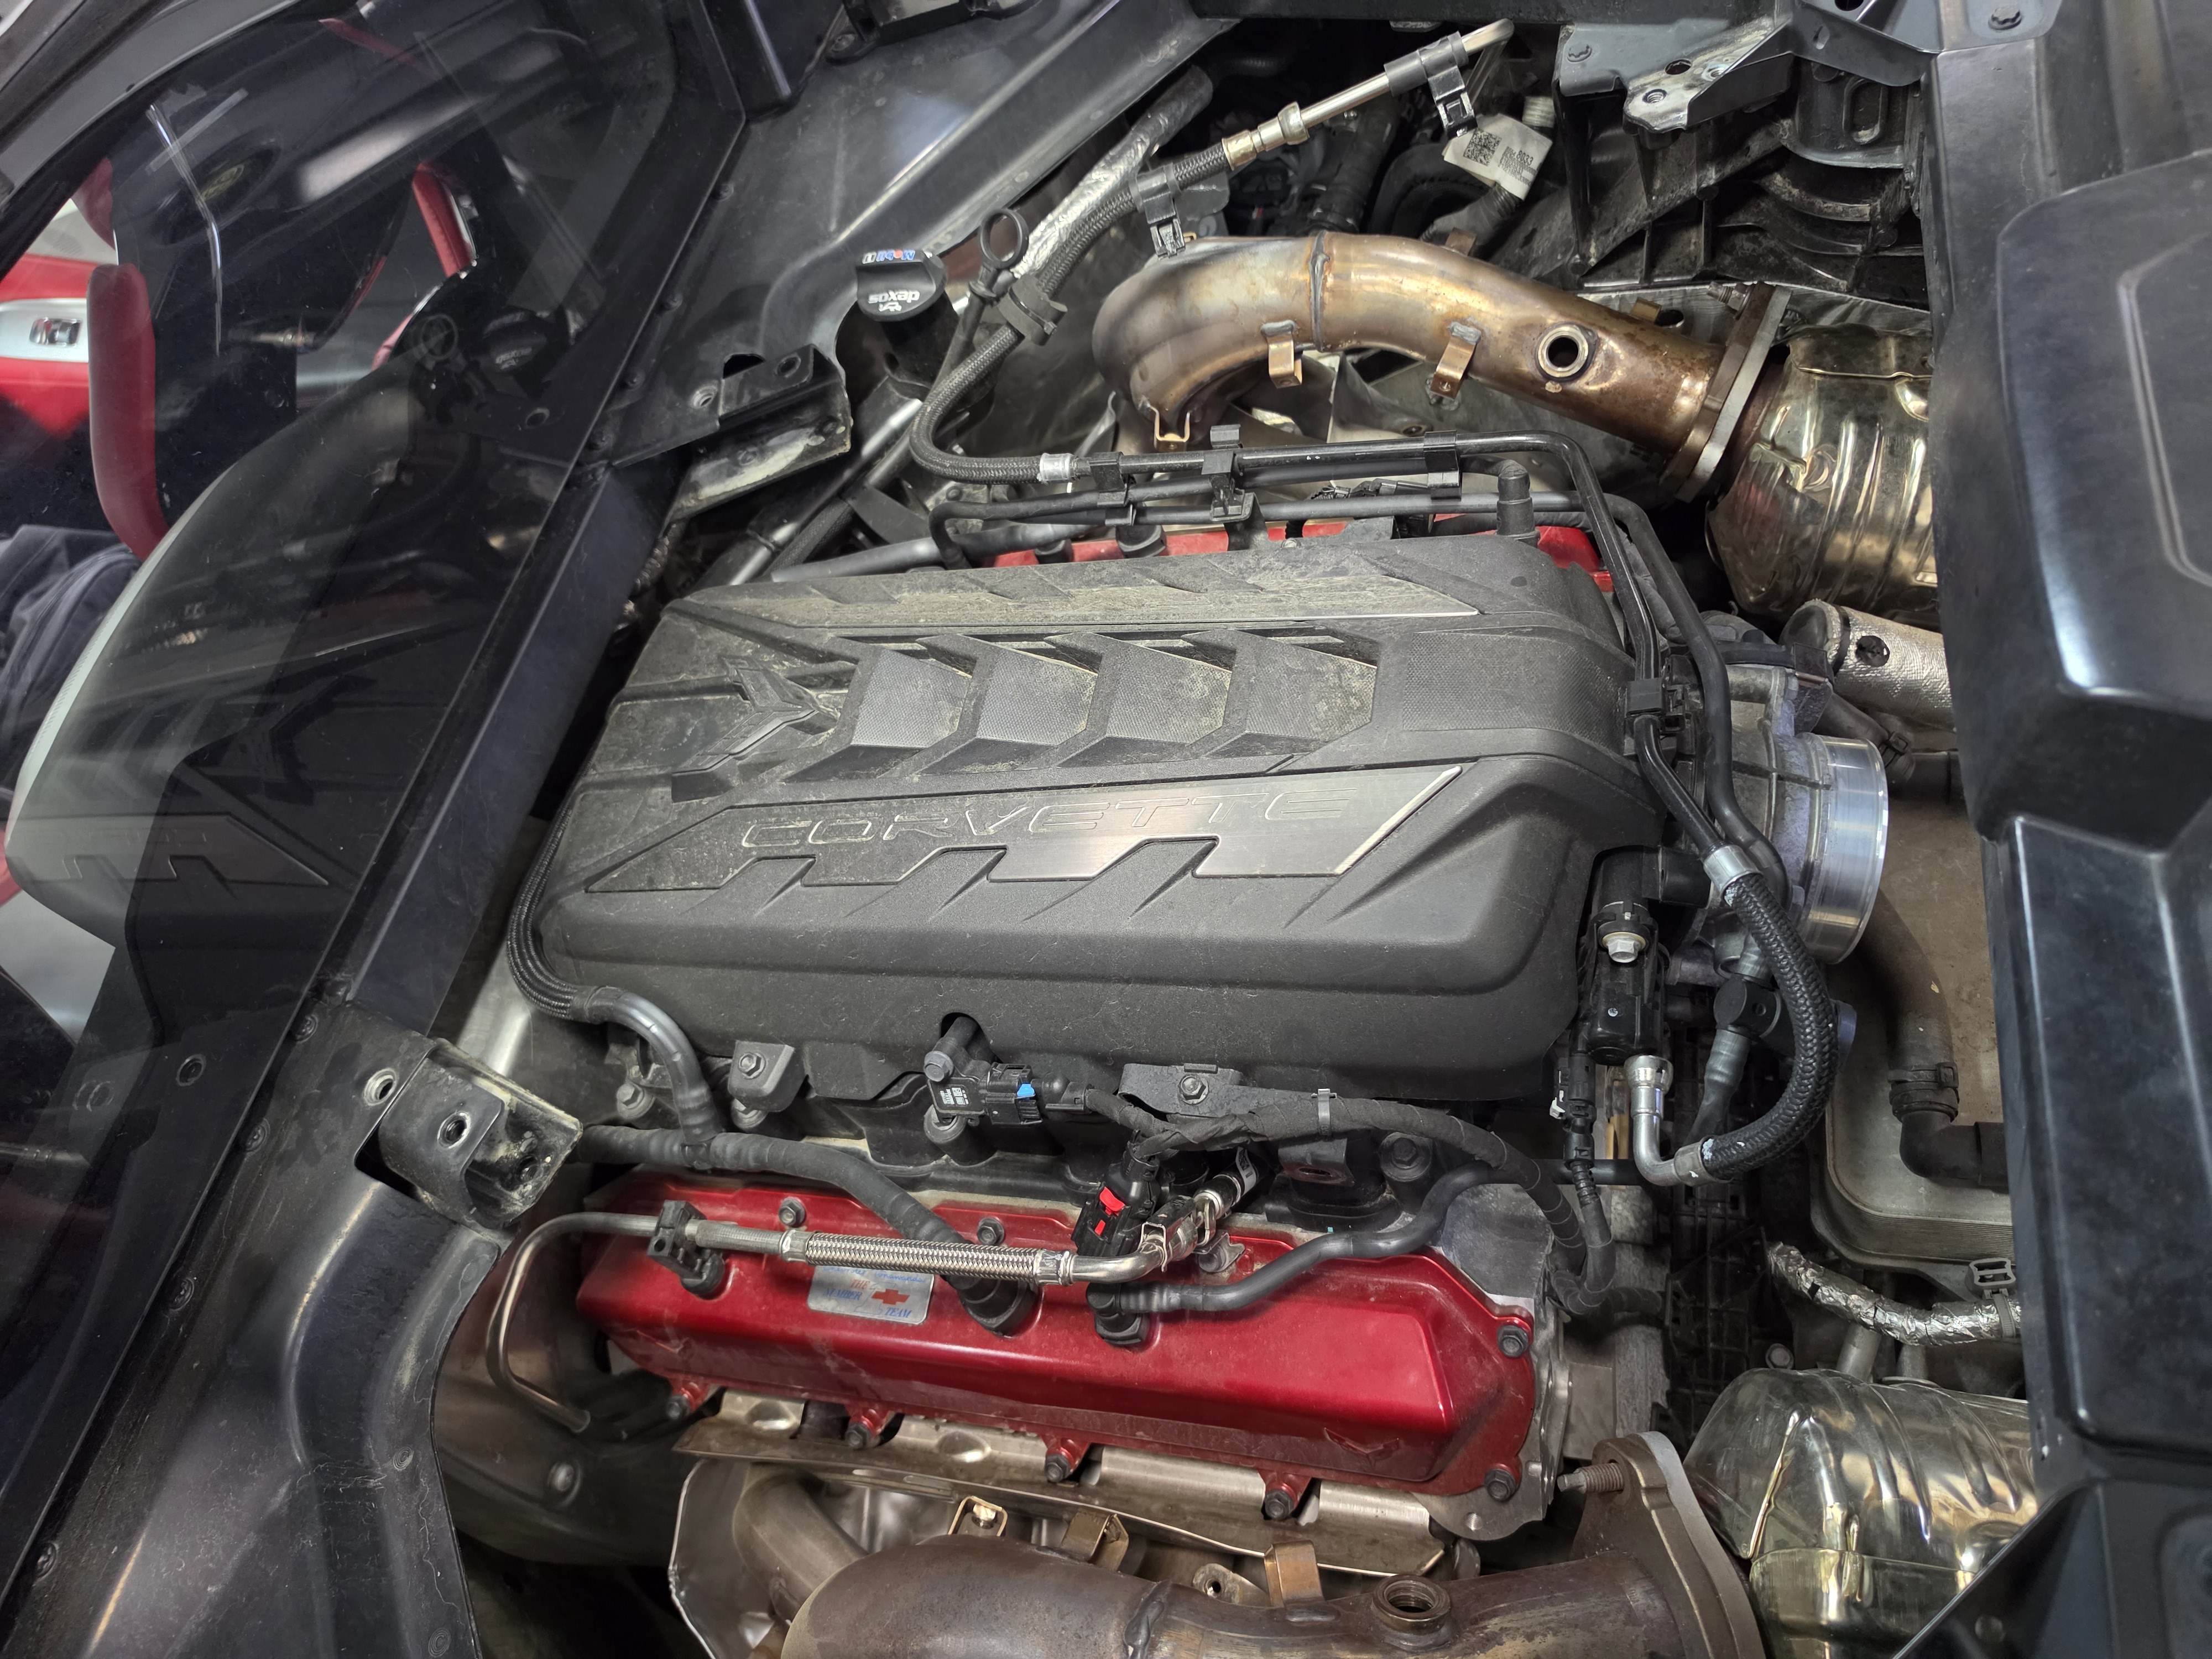
It made more sense to install the headers and CATs before the supercharger was installed and in the way. I had to remove the air box, cross braces, old headers, CATs, and heat shielding before installing. Once installed, I added the FabSpeed header blankets and Corsa CAT blankets to protect meltable parts in the engine bay as well ask keep as much heat out of the engine bay as possible.
Seat wiring diagram
Removed the air intake to have easy access to the CATs.
Seat wiring diagram
Here are the headers pre-removal. Also the OE Air Intake Manifold which will be removed later to make room for the supercharger.
Seat wiring diagram
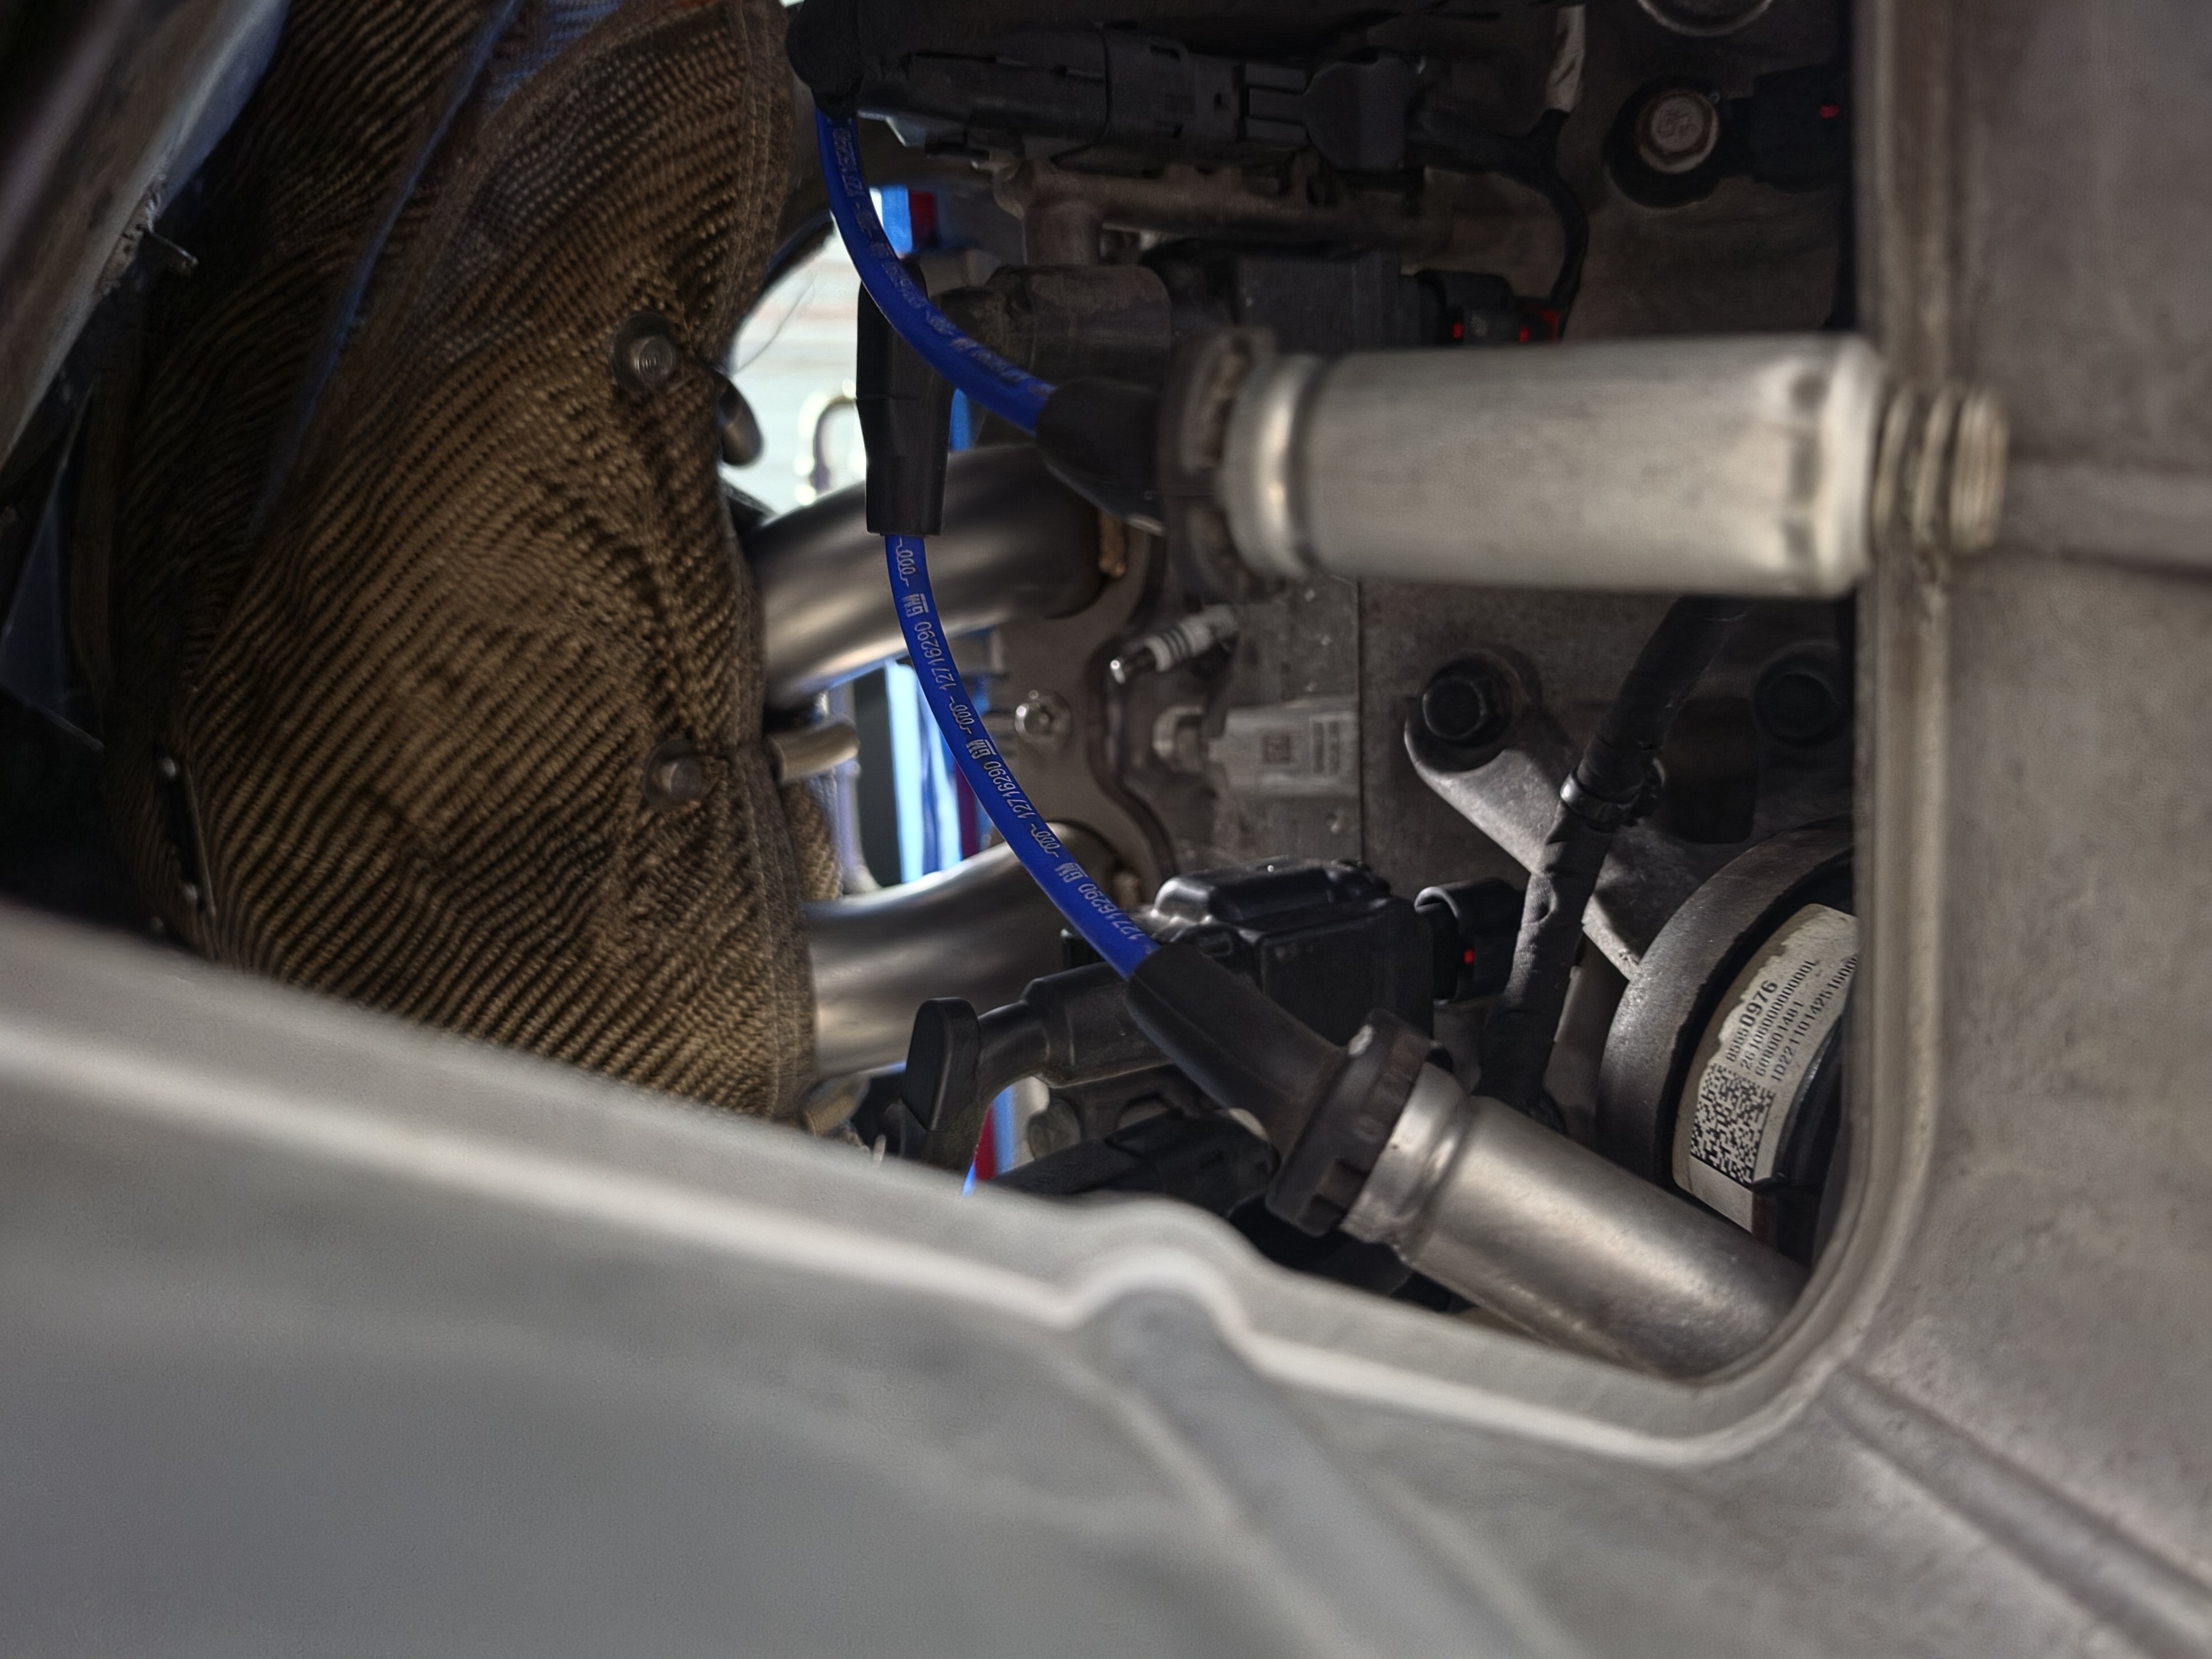
Tight work space to access the header bolts.
Seat wiring diagram
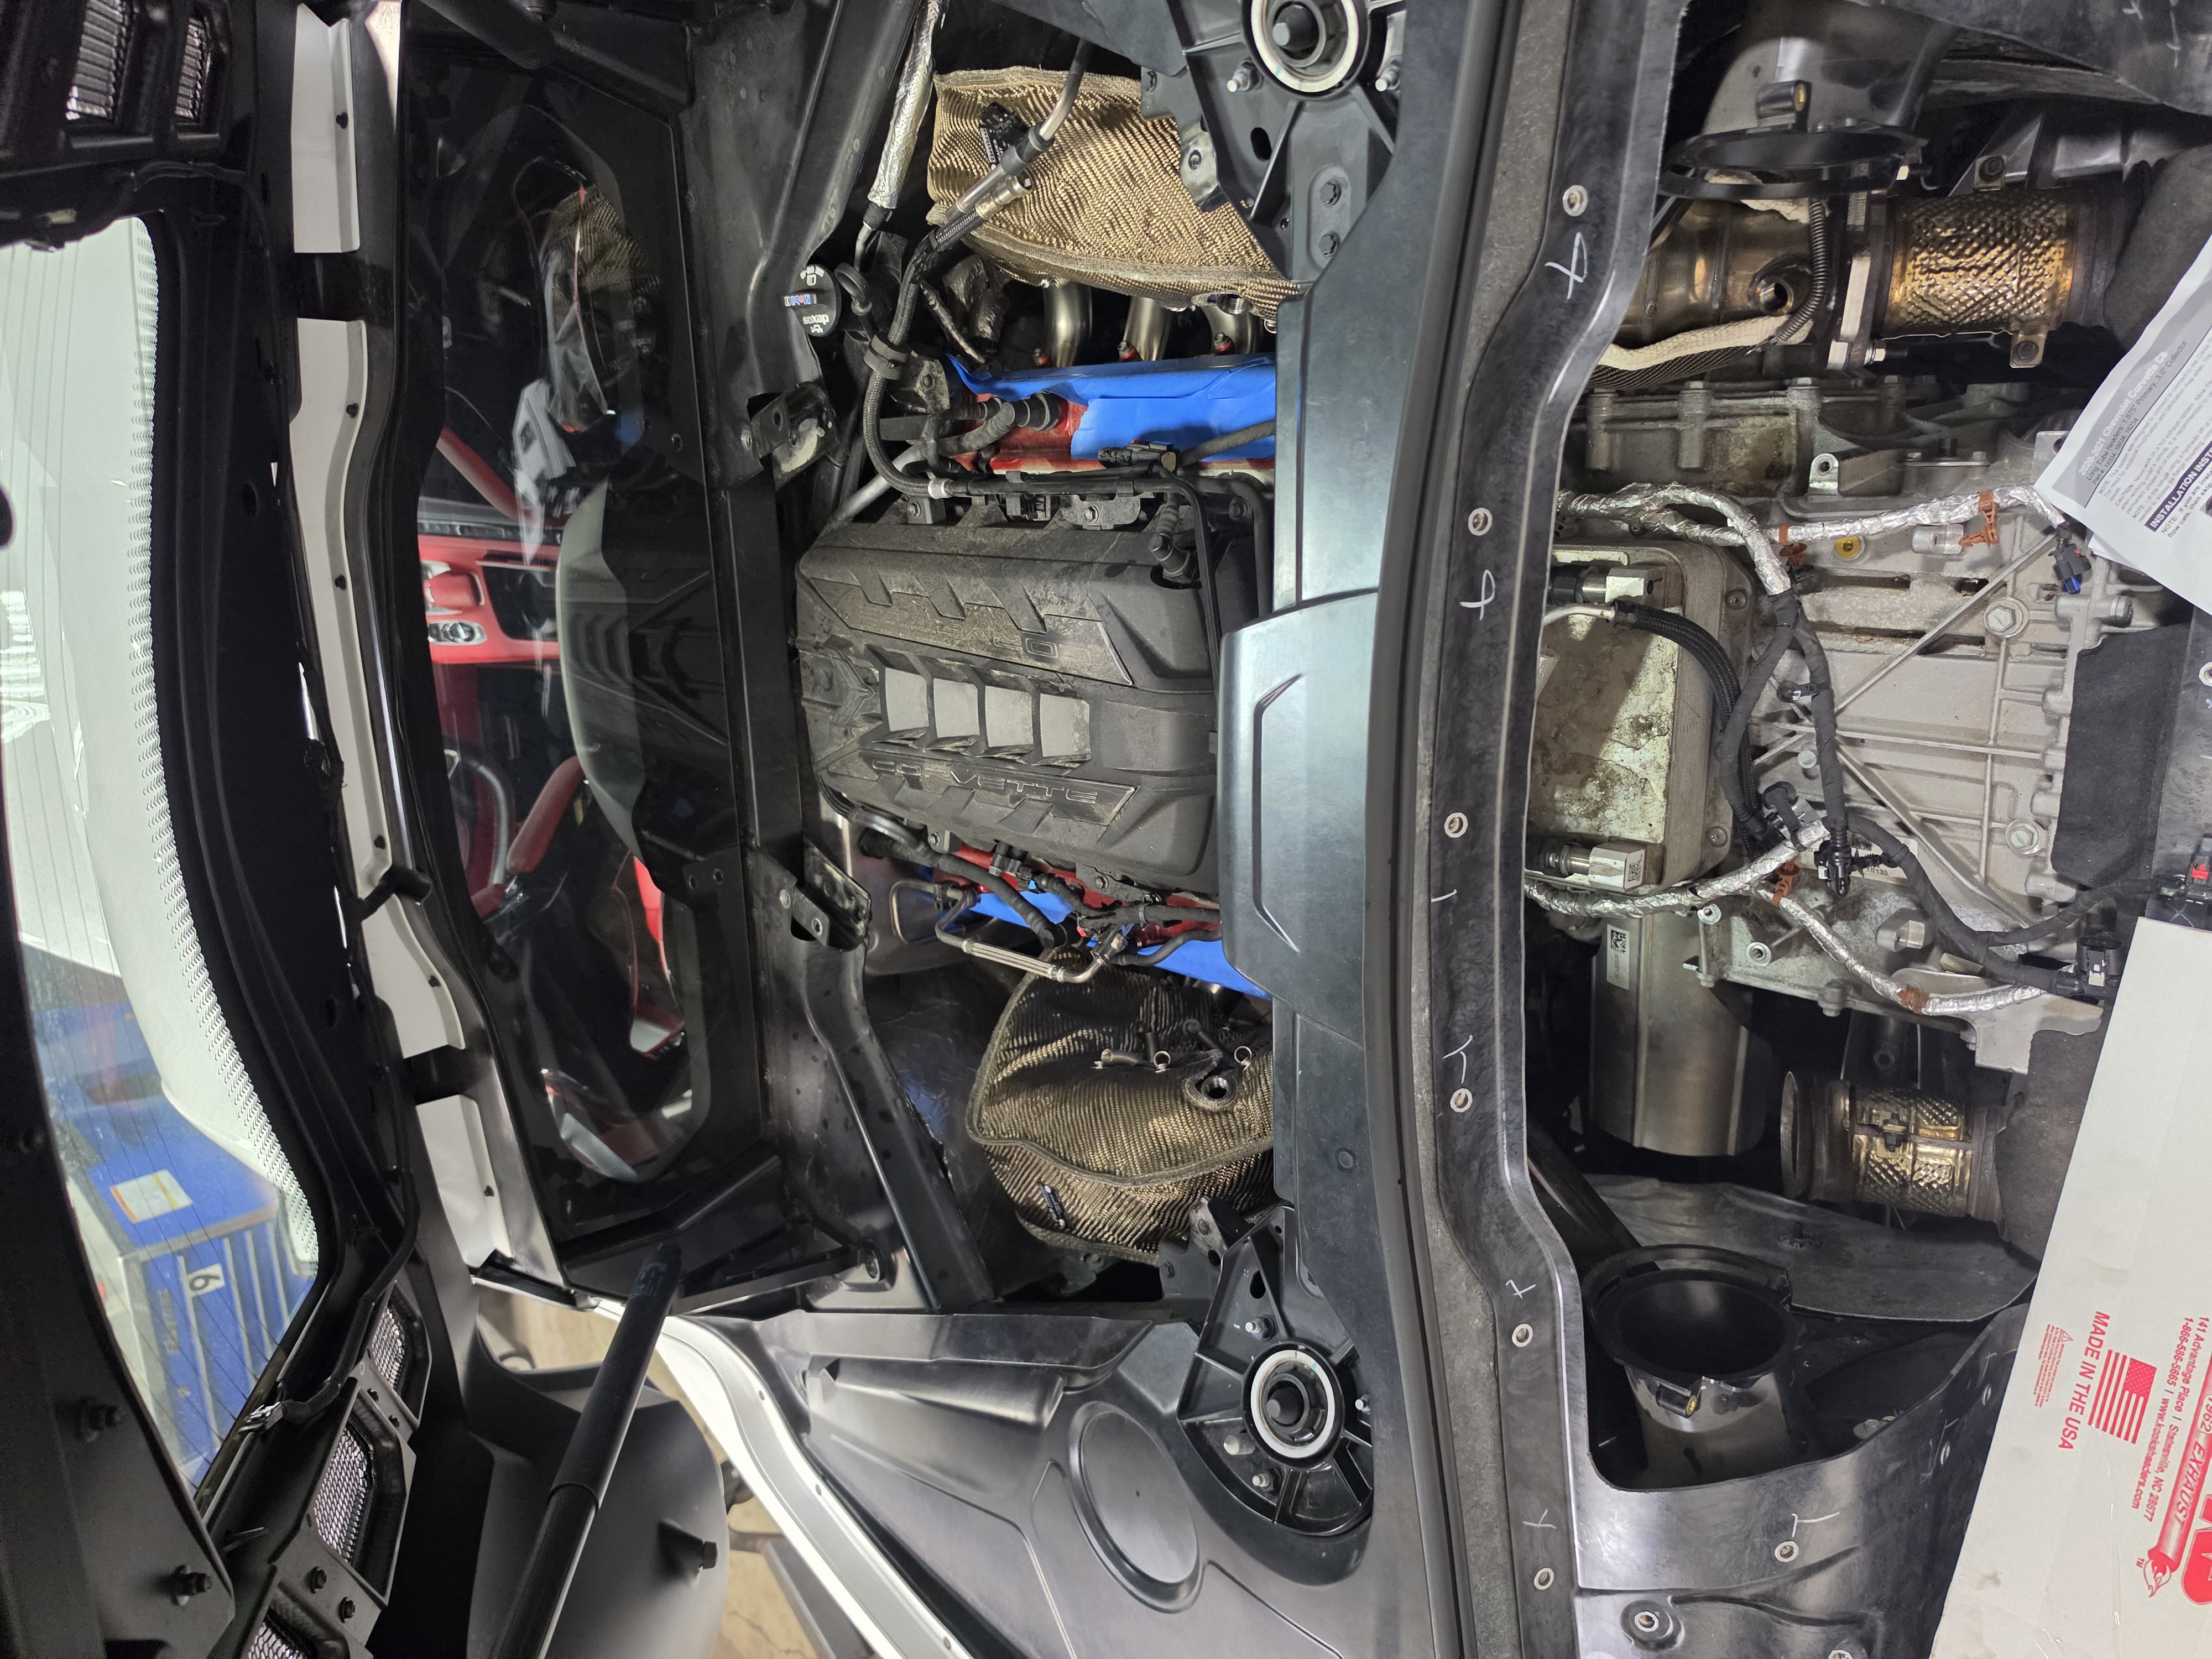
Got the headers and CATs on, they're looking great! Blue painters tape on the valve covers to keep them from getting scratched.
Seat wiring diagram
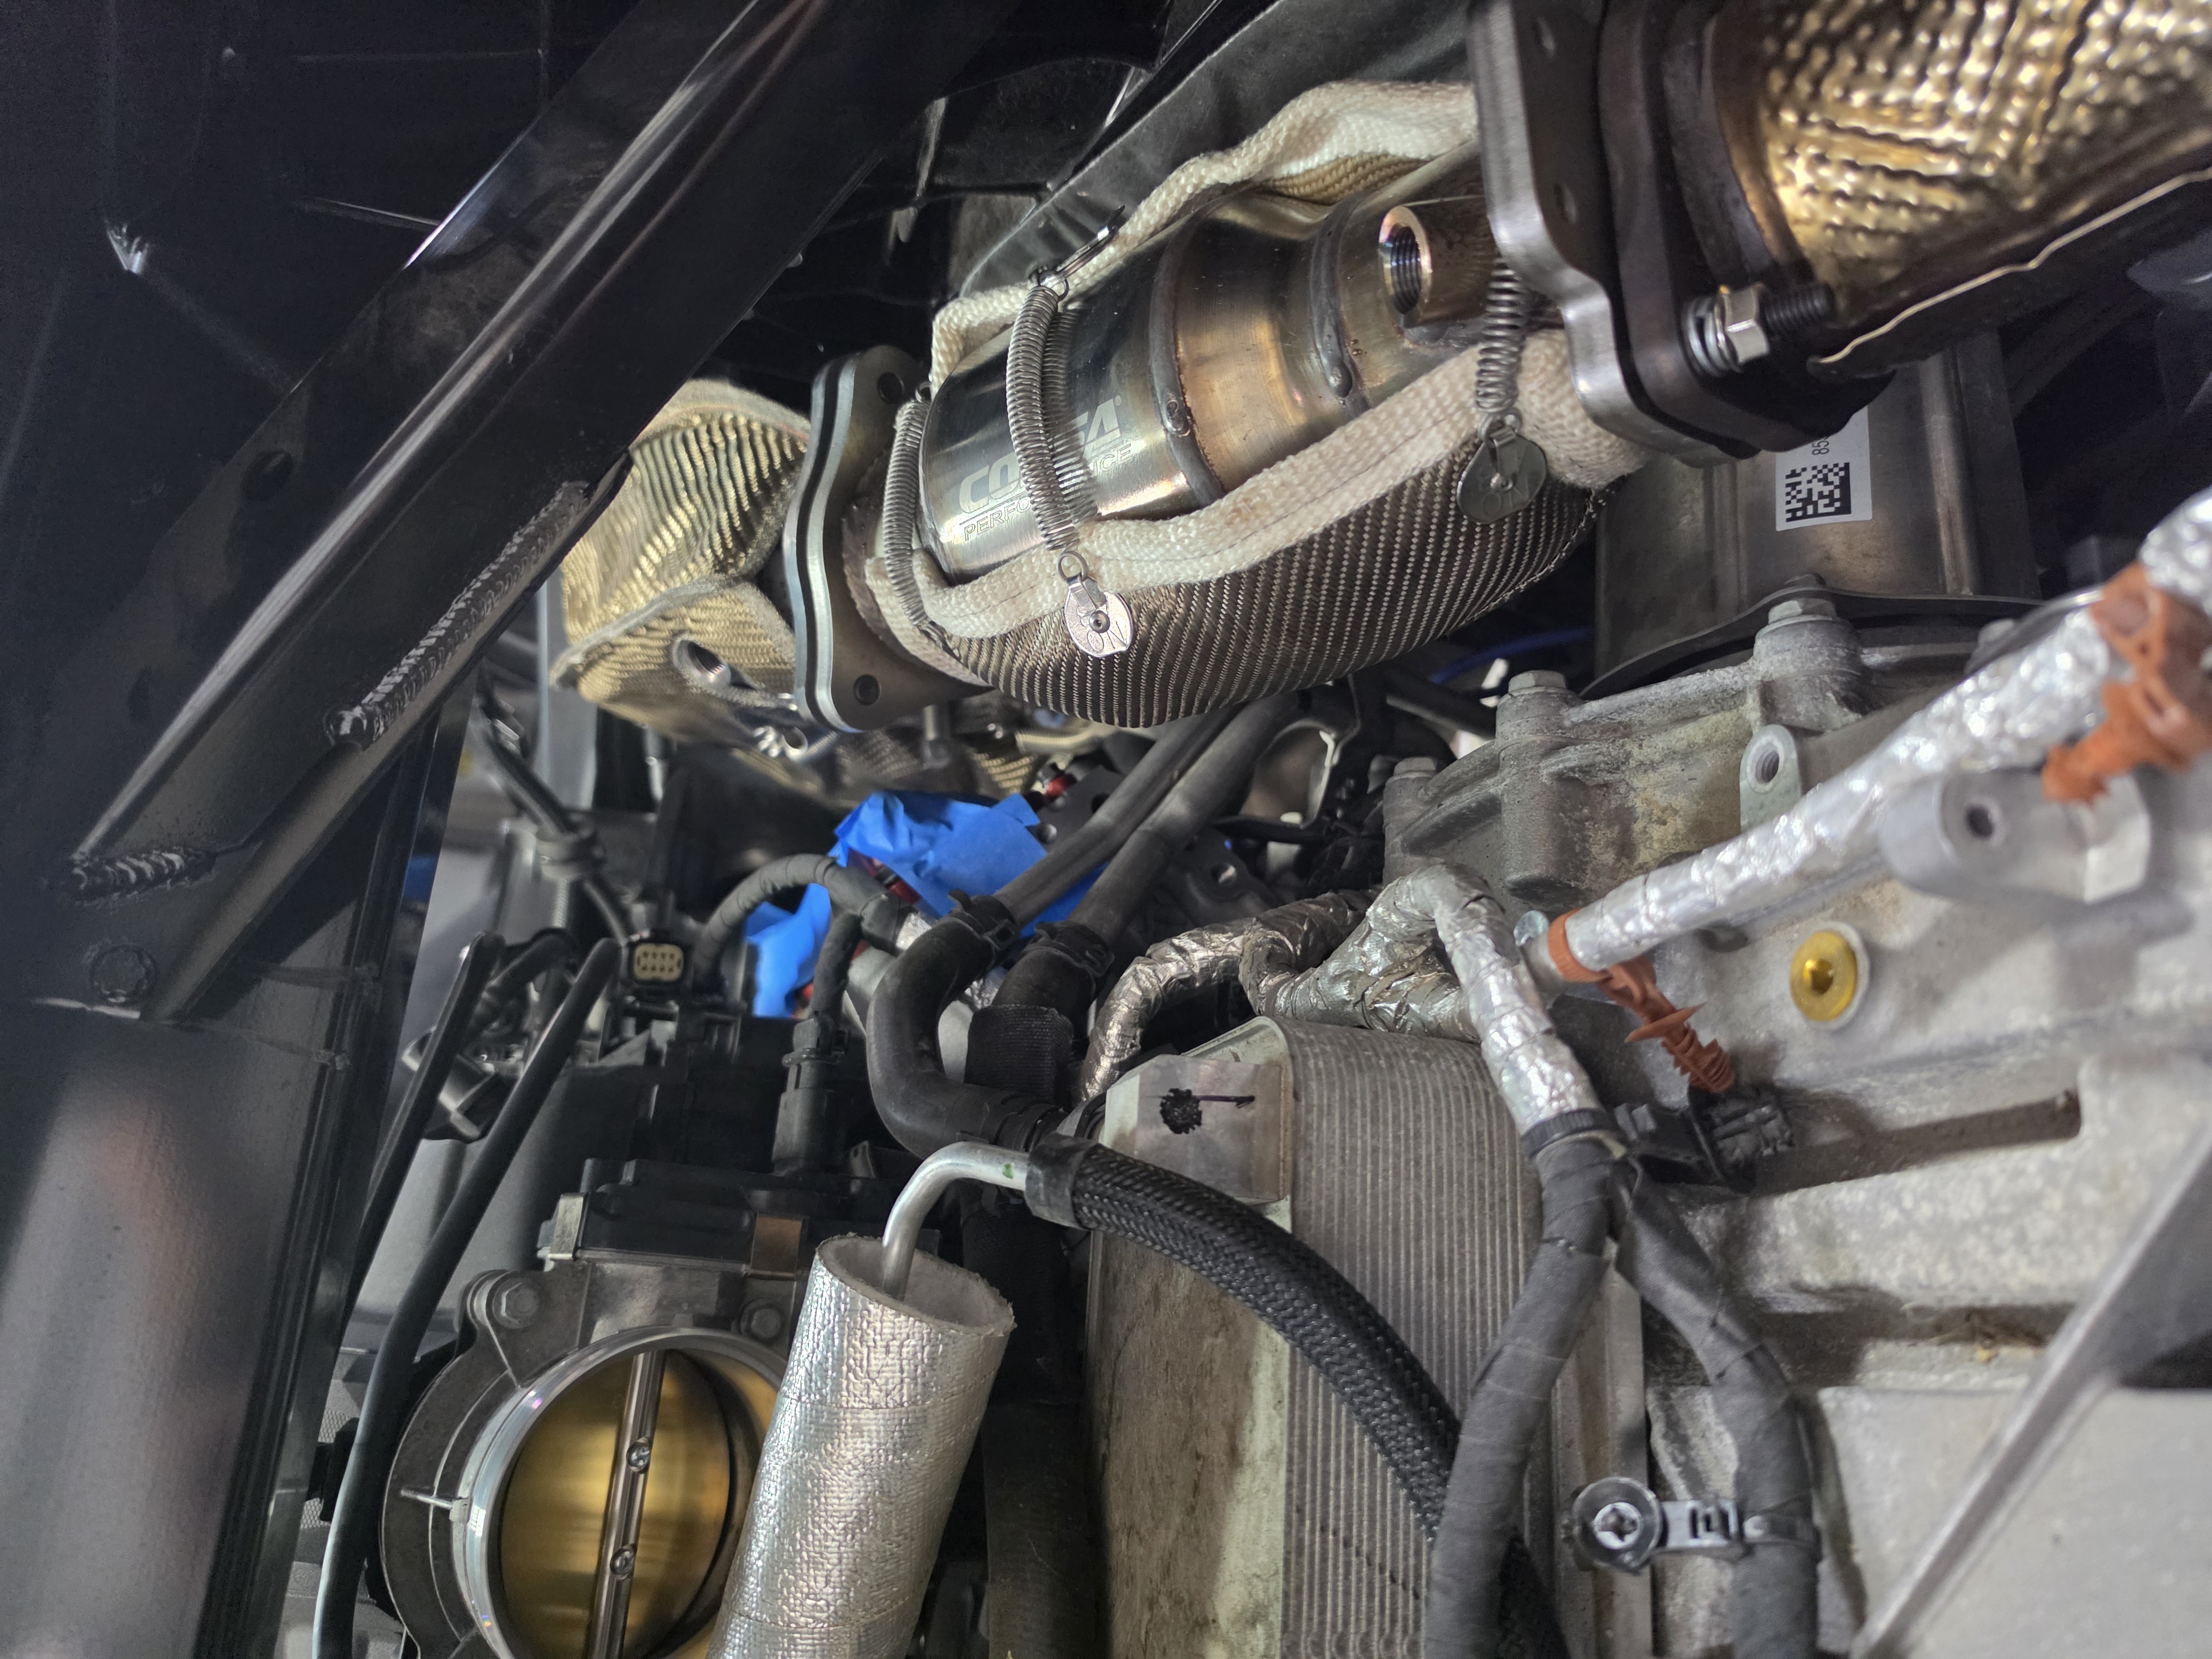
The CATs installed.
Its happening!!!!
IT SOUNDS GREAT!
A Rev!

Supercharger - Air Intake Removal

The supercharger box came in with a weight around 100 lbs.
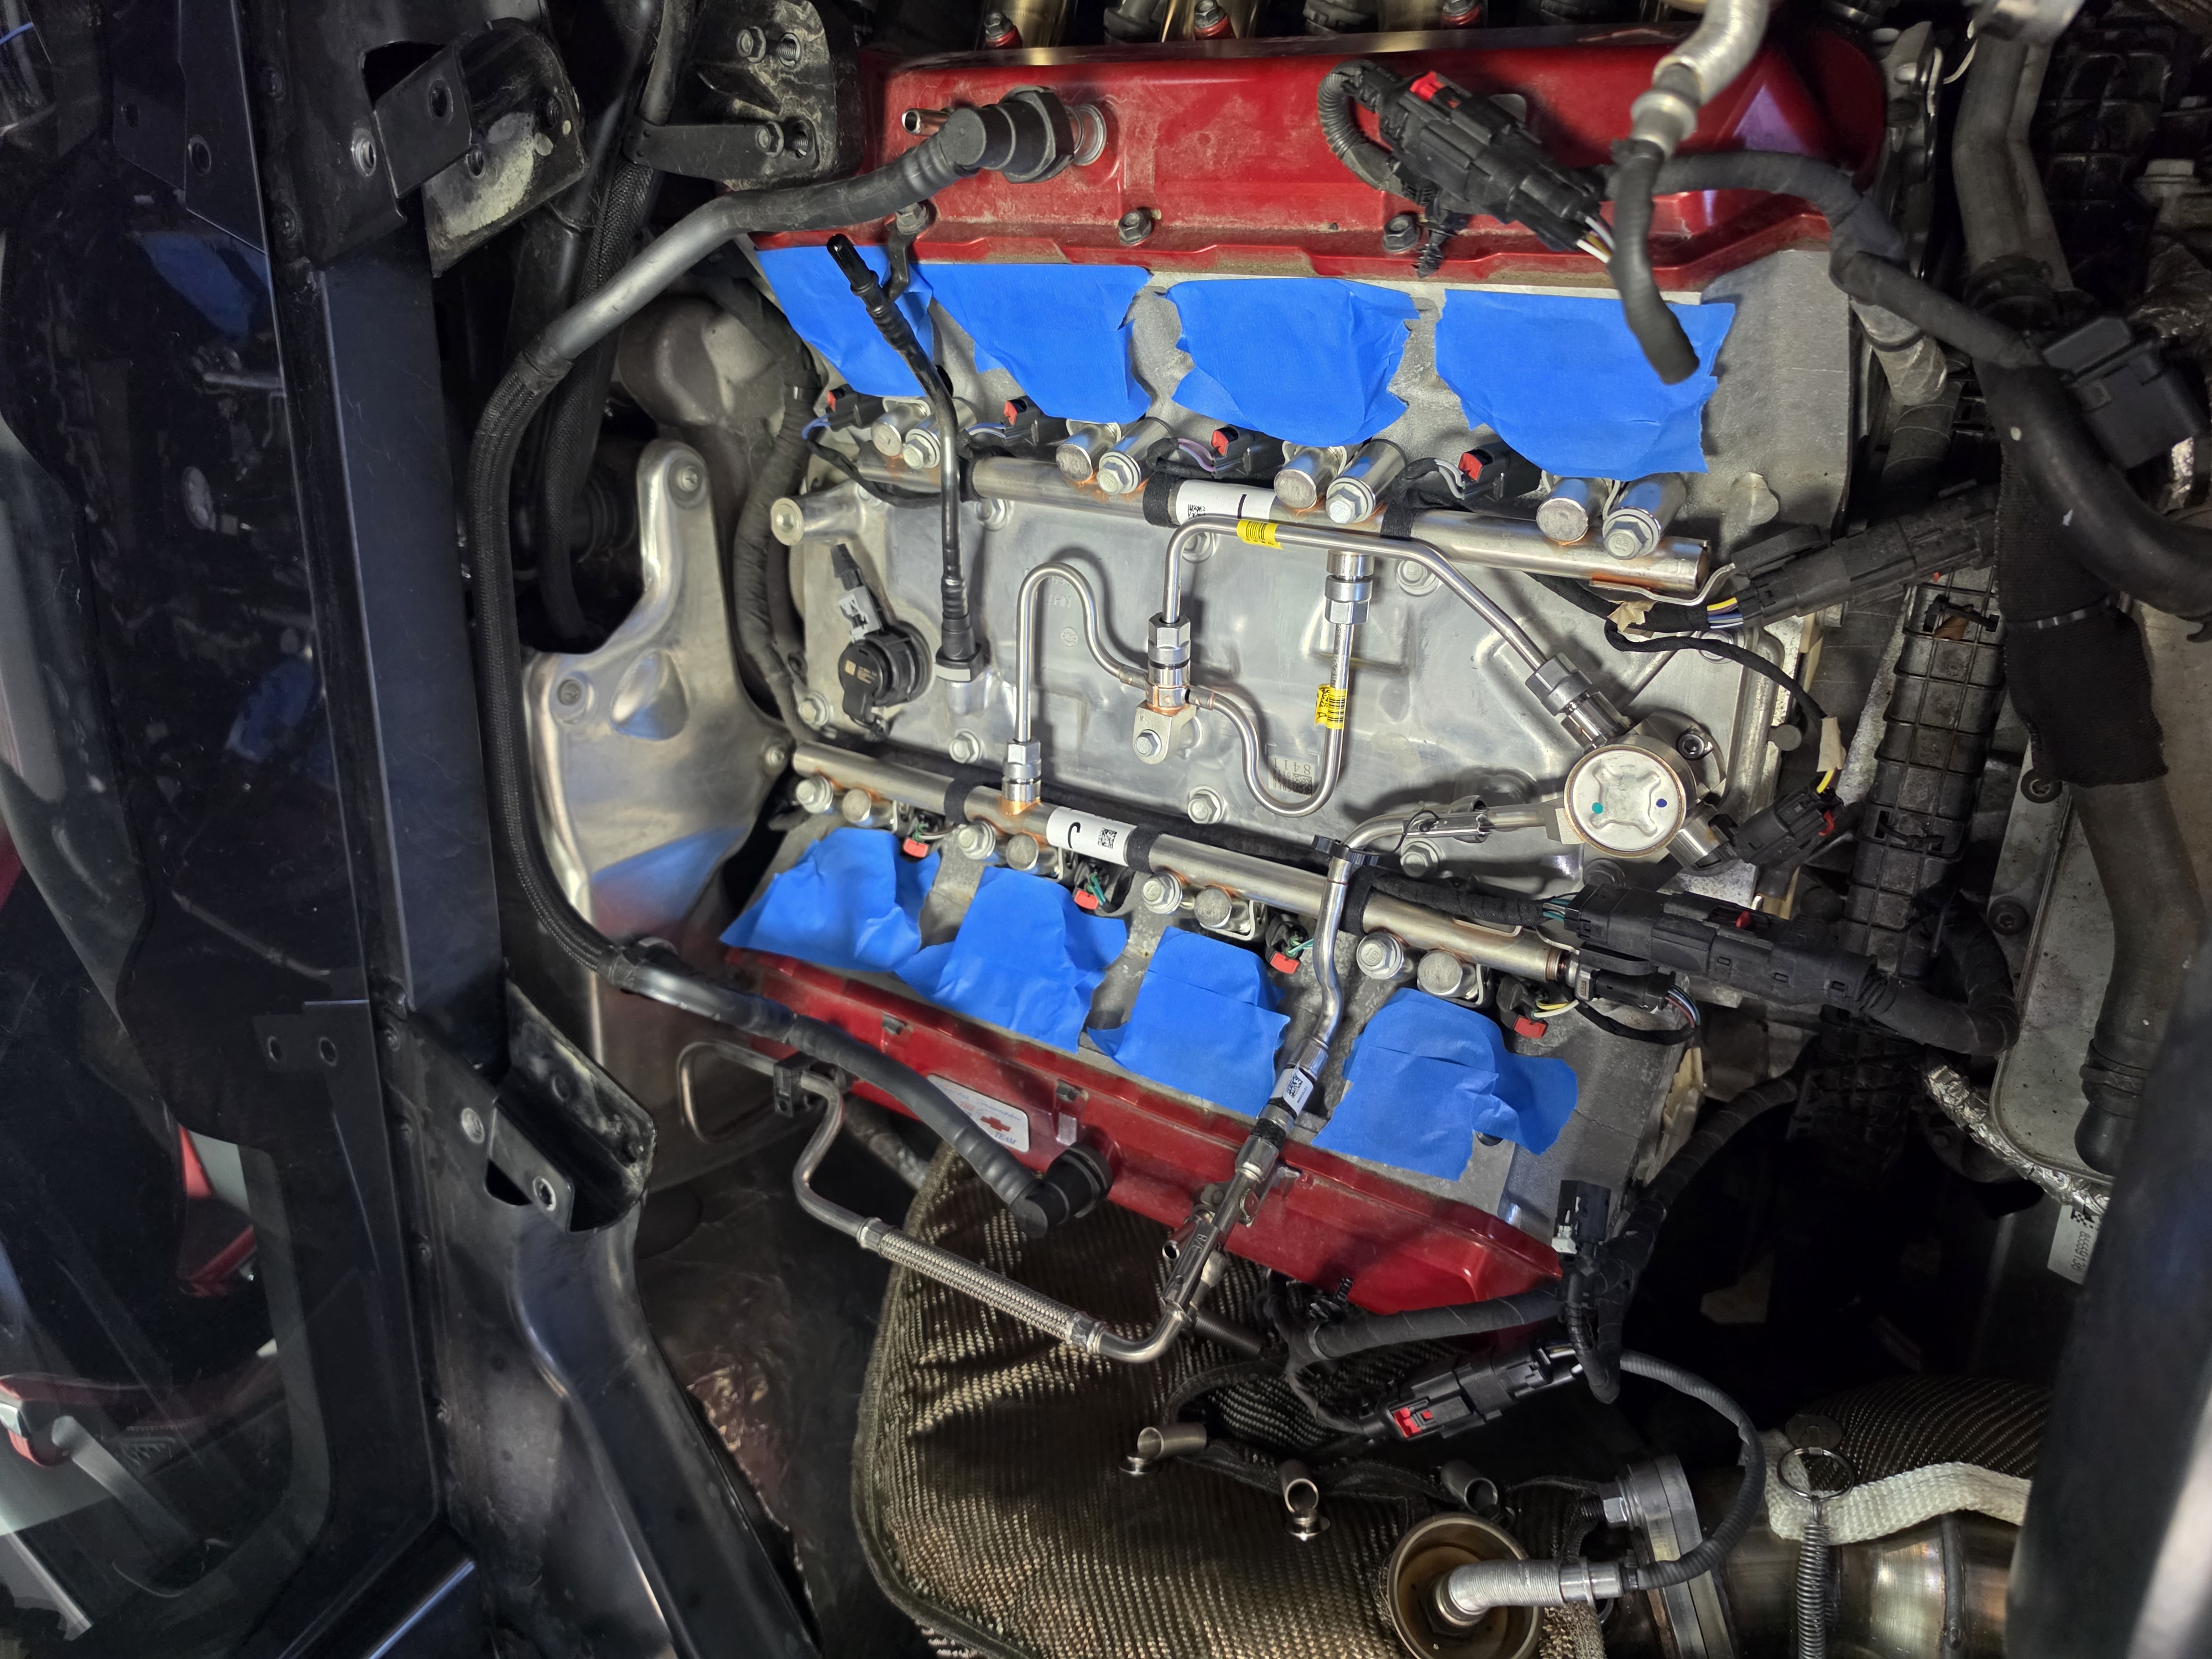
Air intake manifold comes off first
Seat wiring diagram
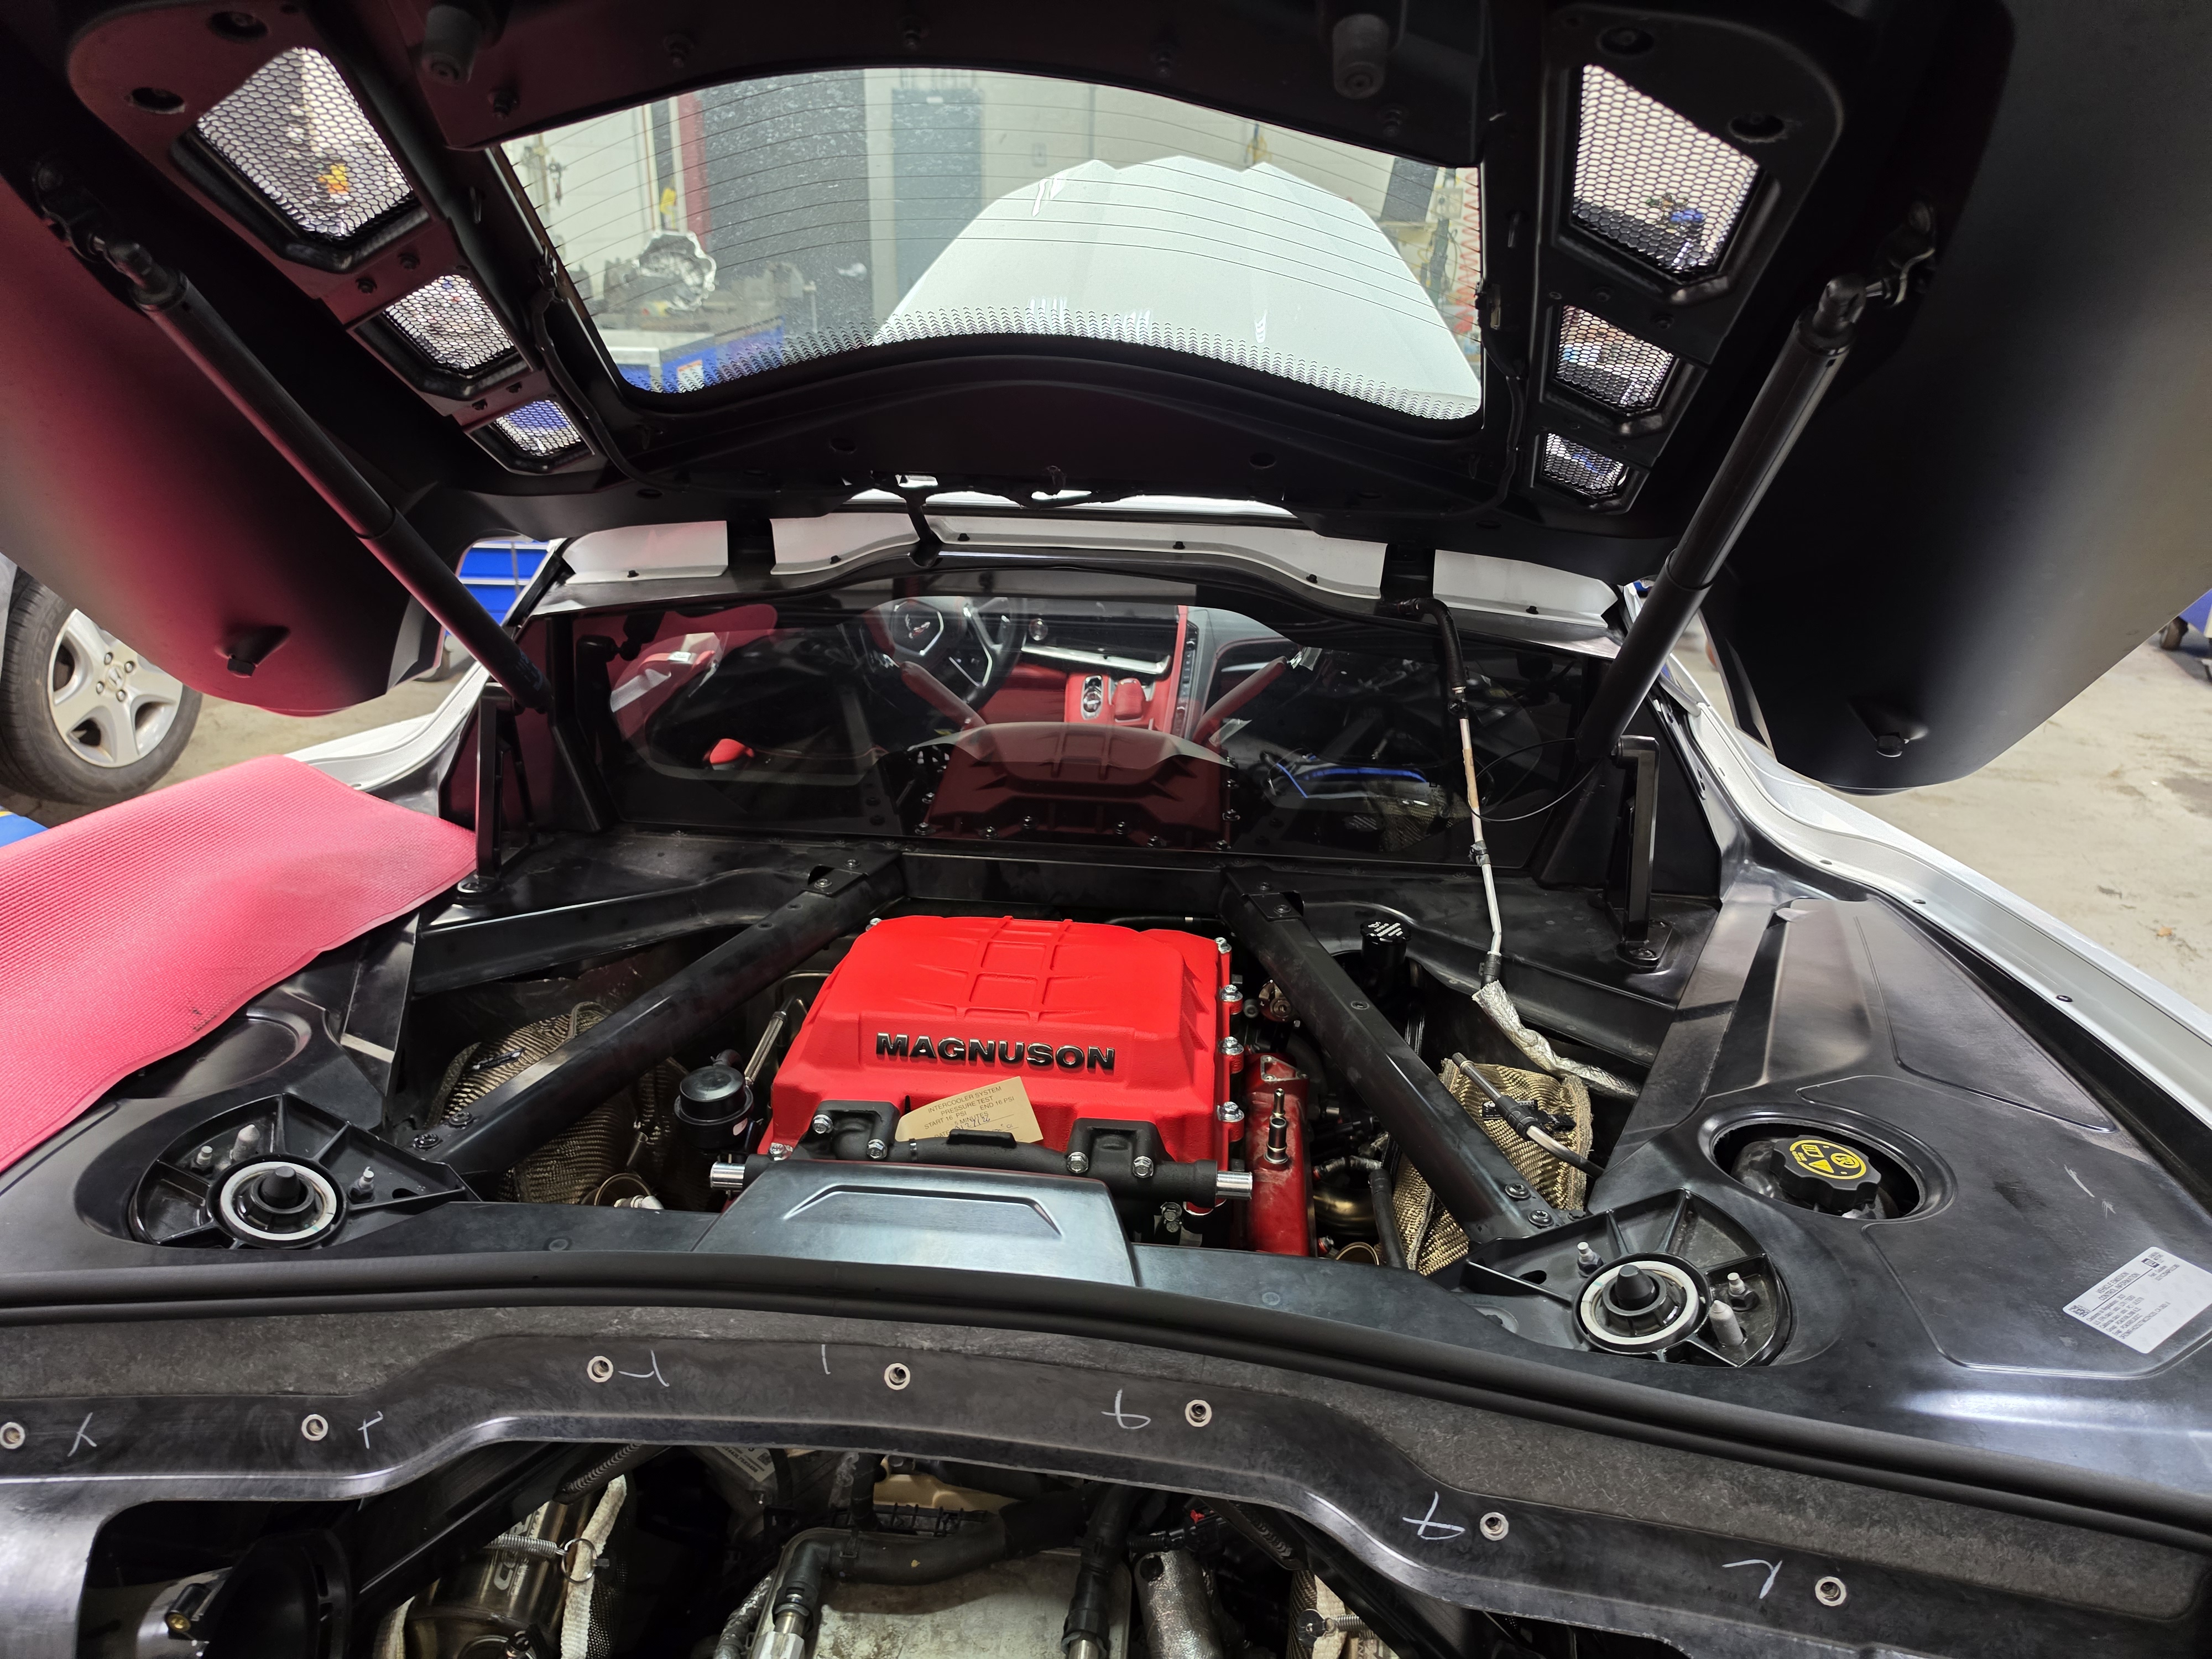
Here is where the Magnuson Supercharger will go
Seat wiring diagram
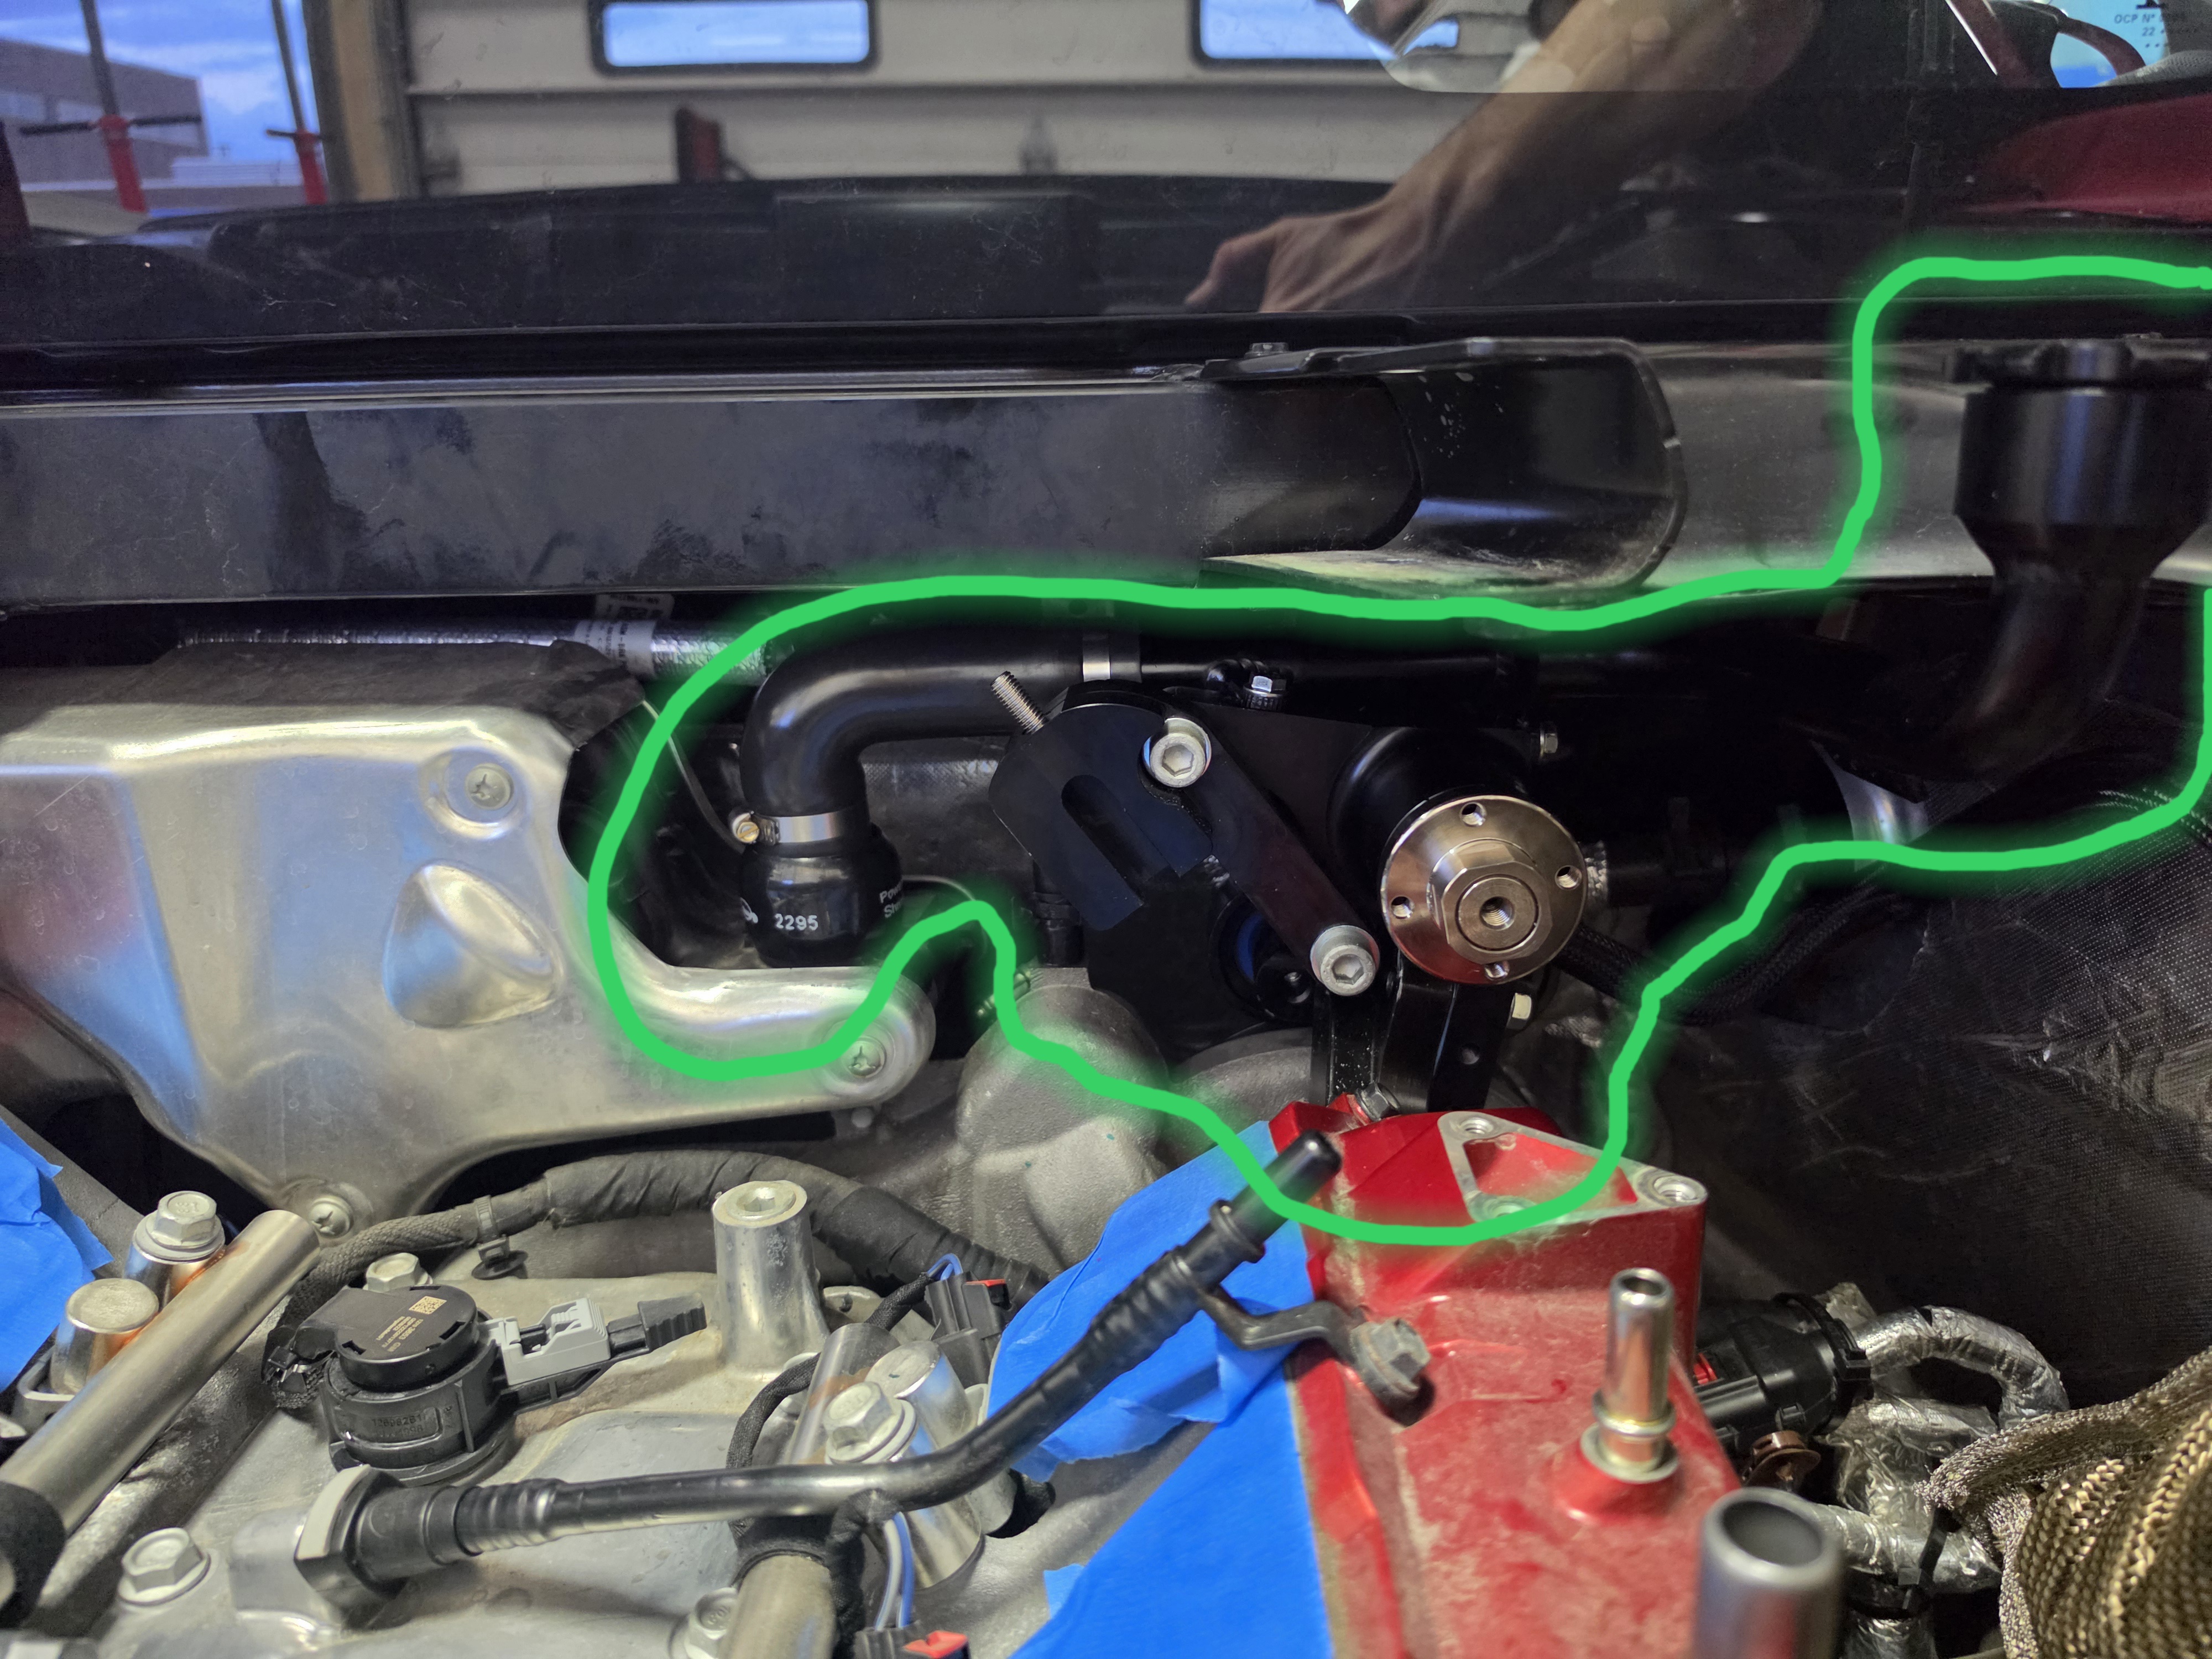
Rerouting oil filler nozzle and adding the bracket for the Supercharger pullies to run off the serpentine belt.
Seat wiring diagram
Supercharger is in! Took 4 people to lift it in.
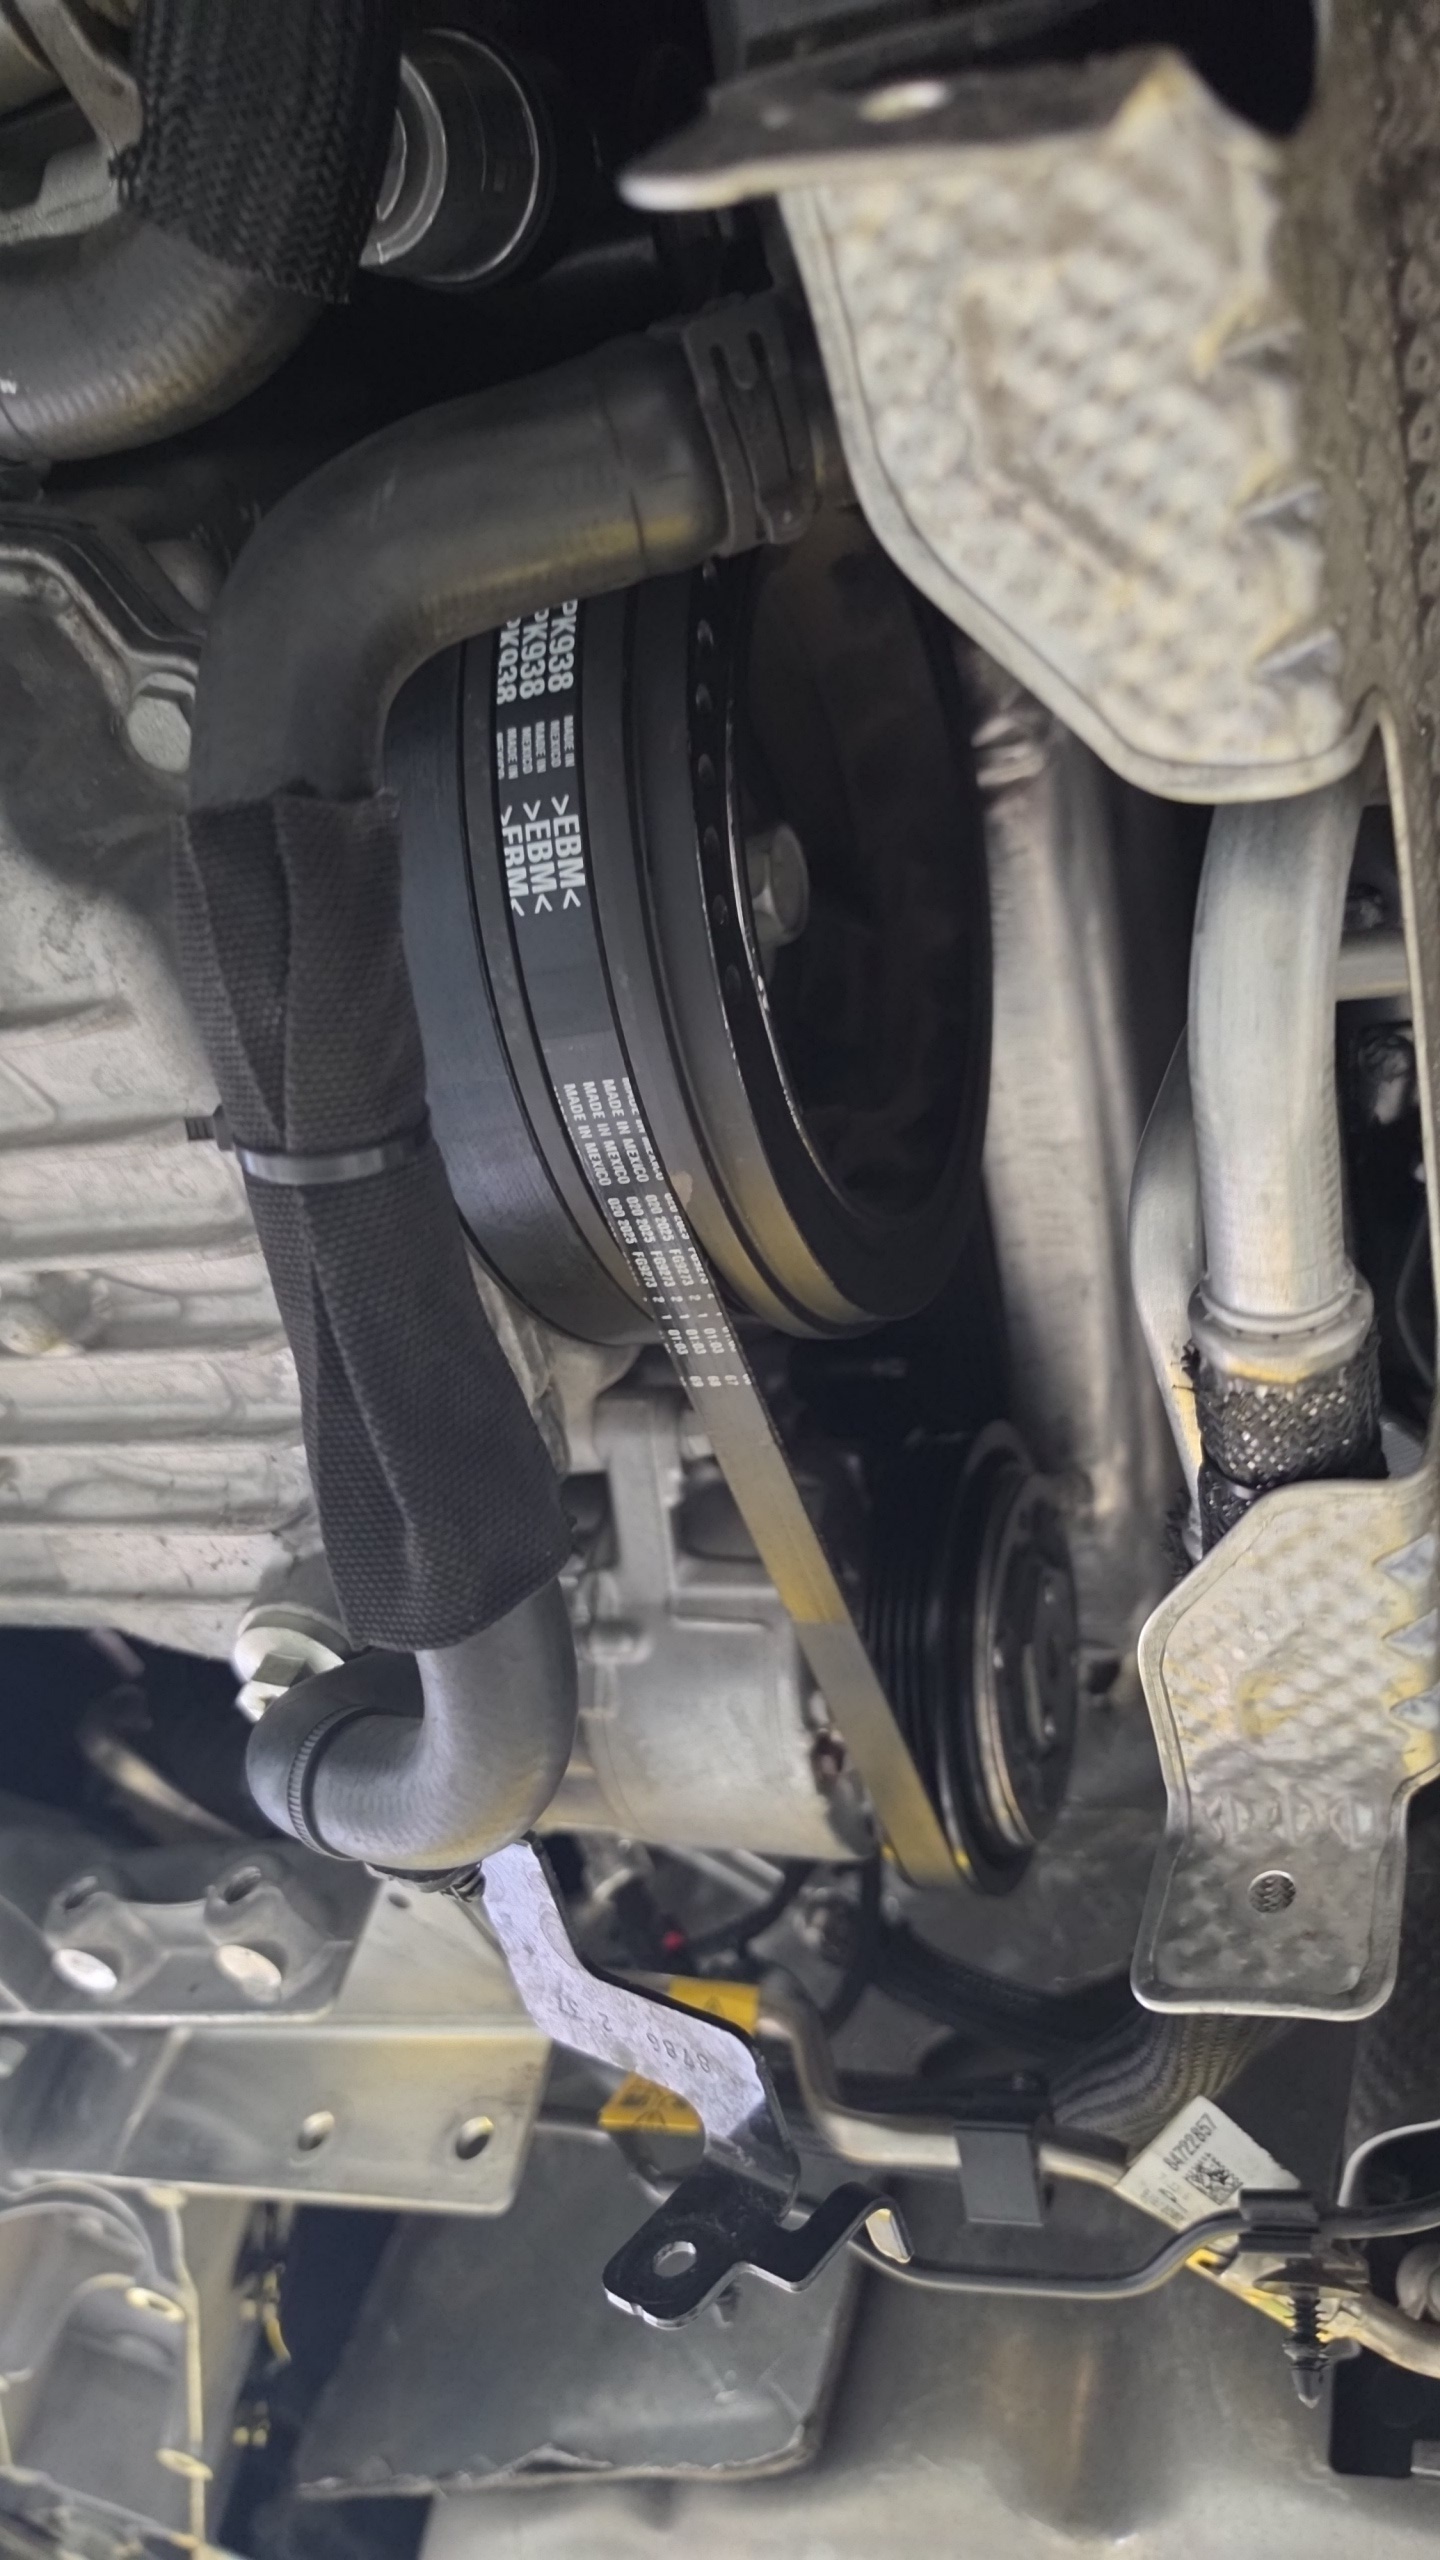
Added a pully onto the water pump housing and then routed a new serpentine belt around it and the supercharger pully.
Seat wiring diagram
New A/C belt after the serpentine belt was added in.
Seat wiring diagram
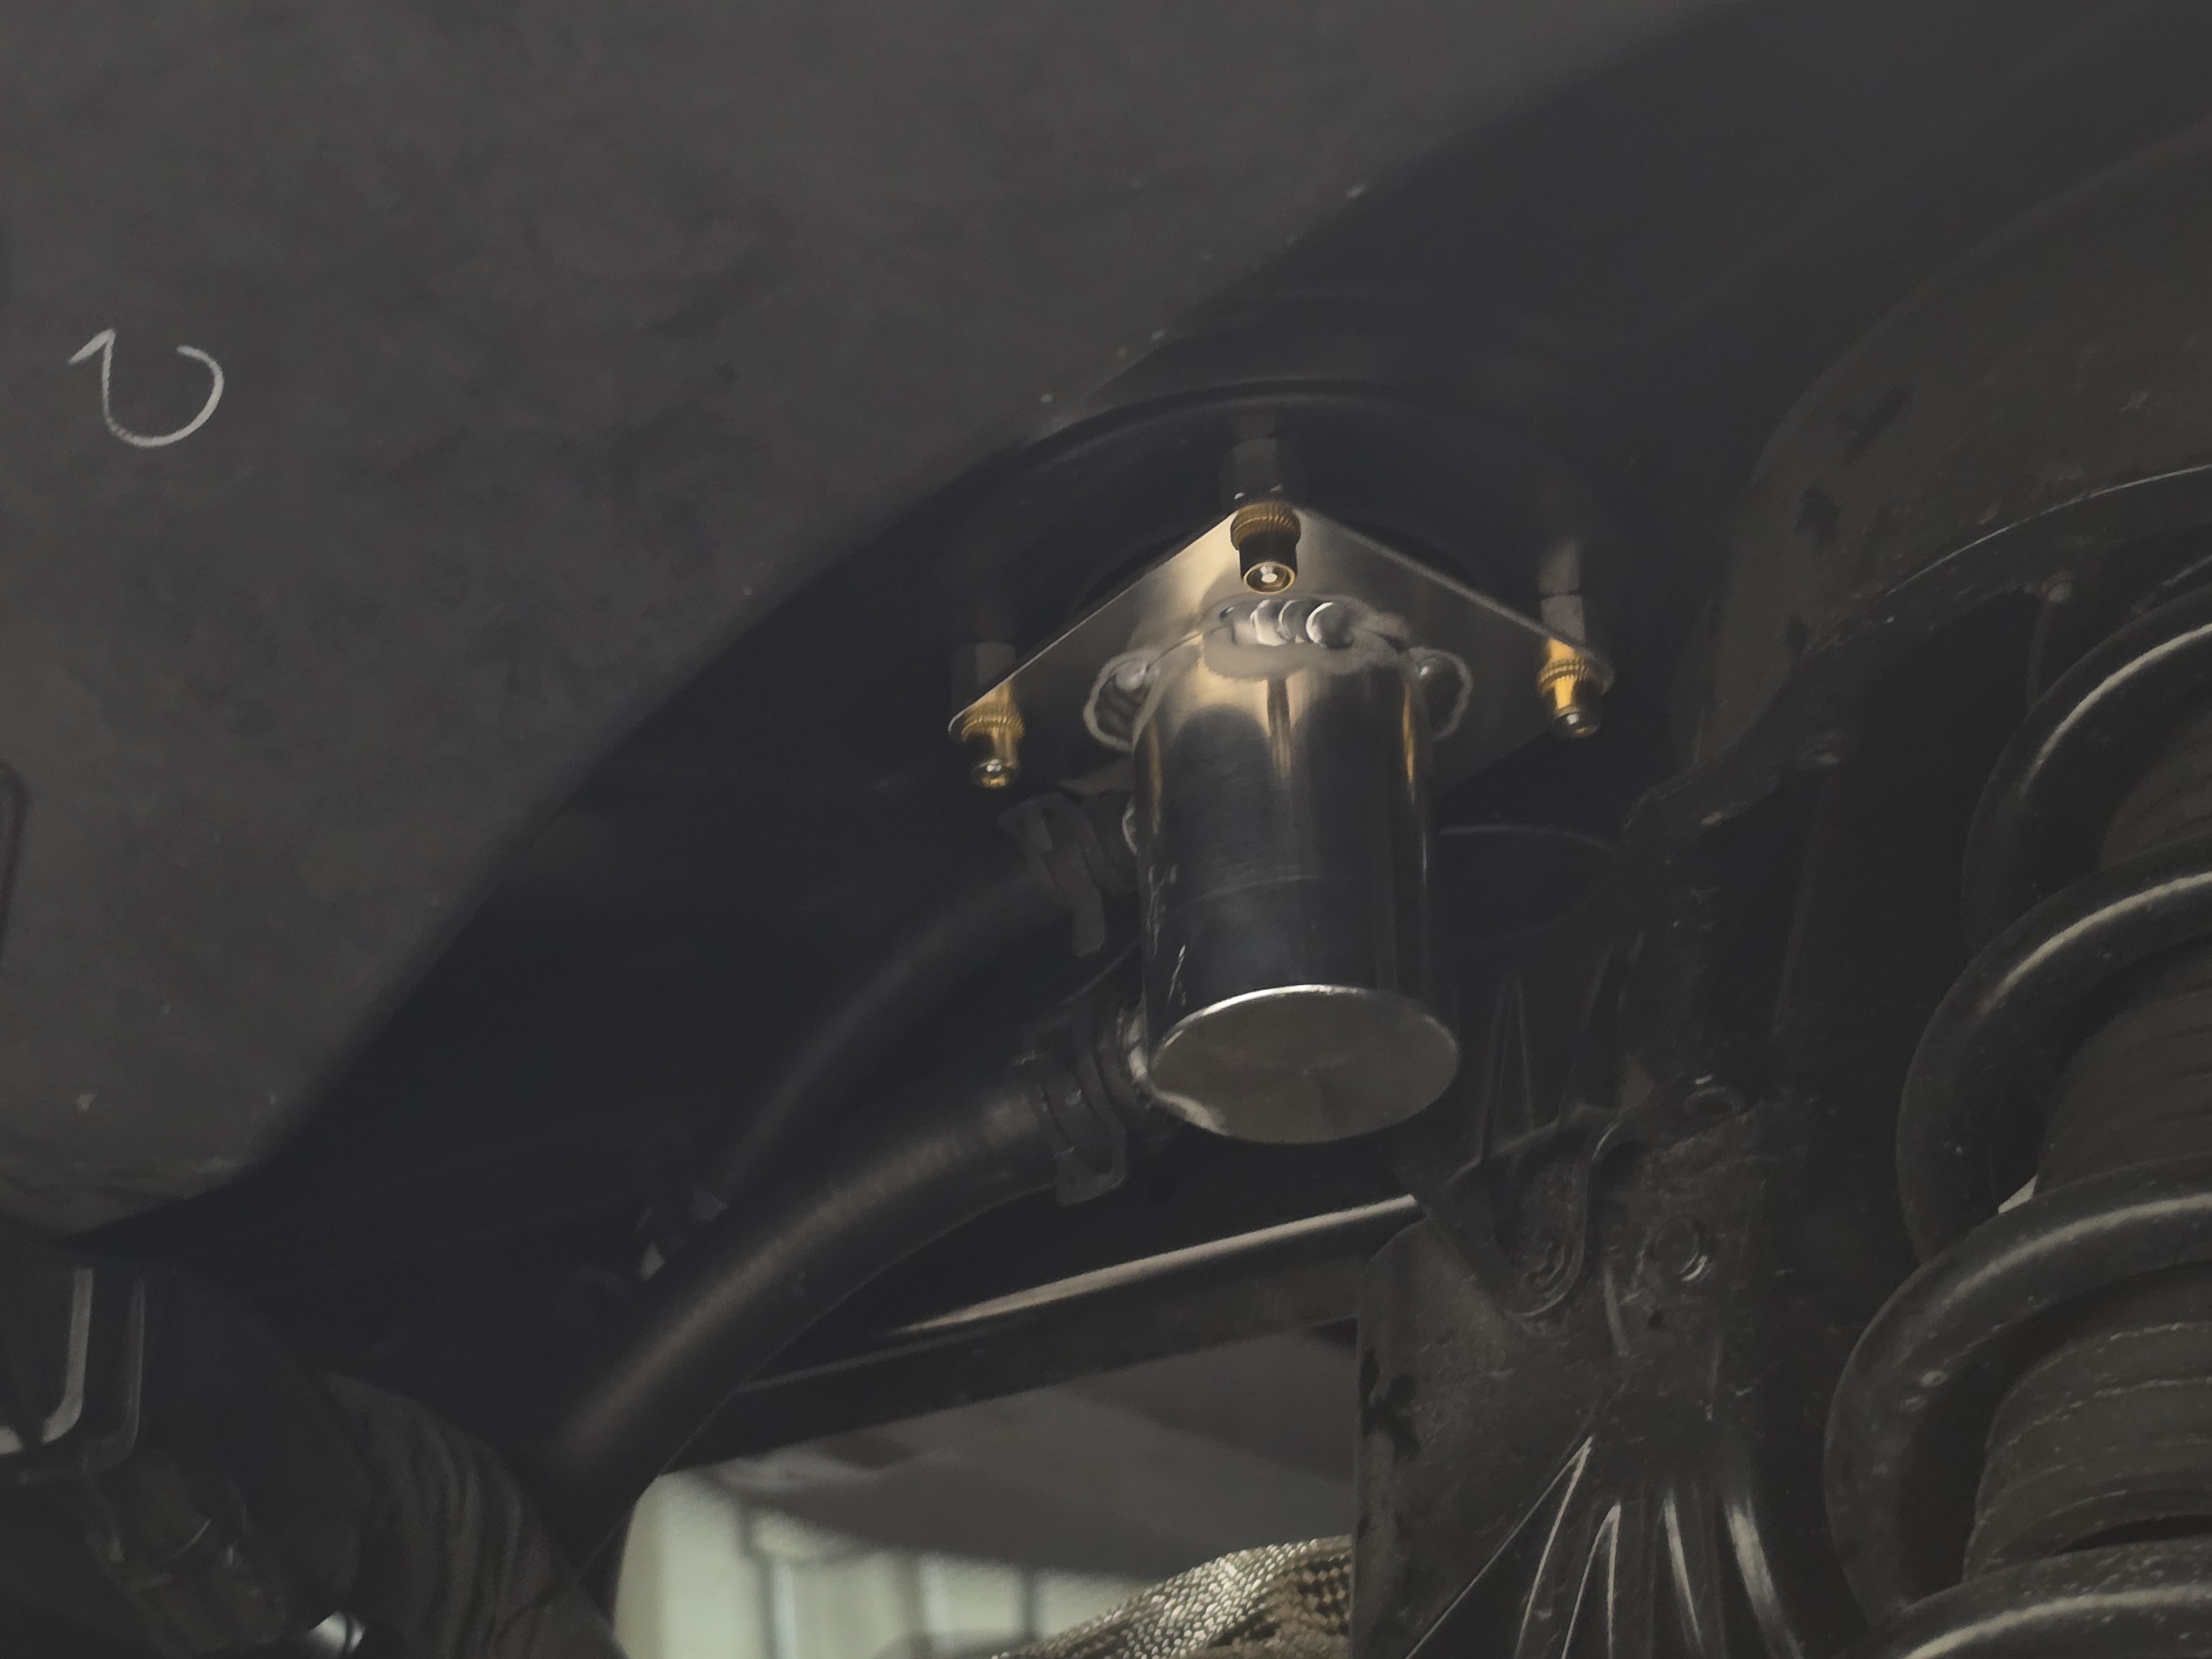
Charge Air Cooler filler nozzle bracketed in.
Seat wiring diagram
Cut a hole in the engine bay for the Charge Air Cooler filler nozzle.
Seat wiring diagram
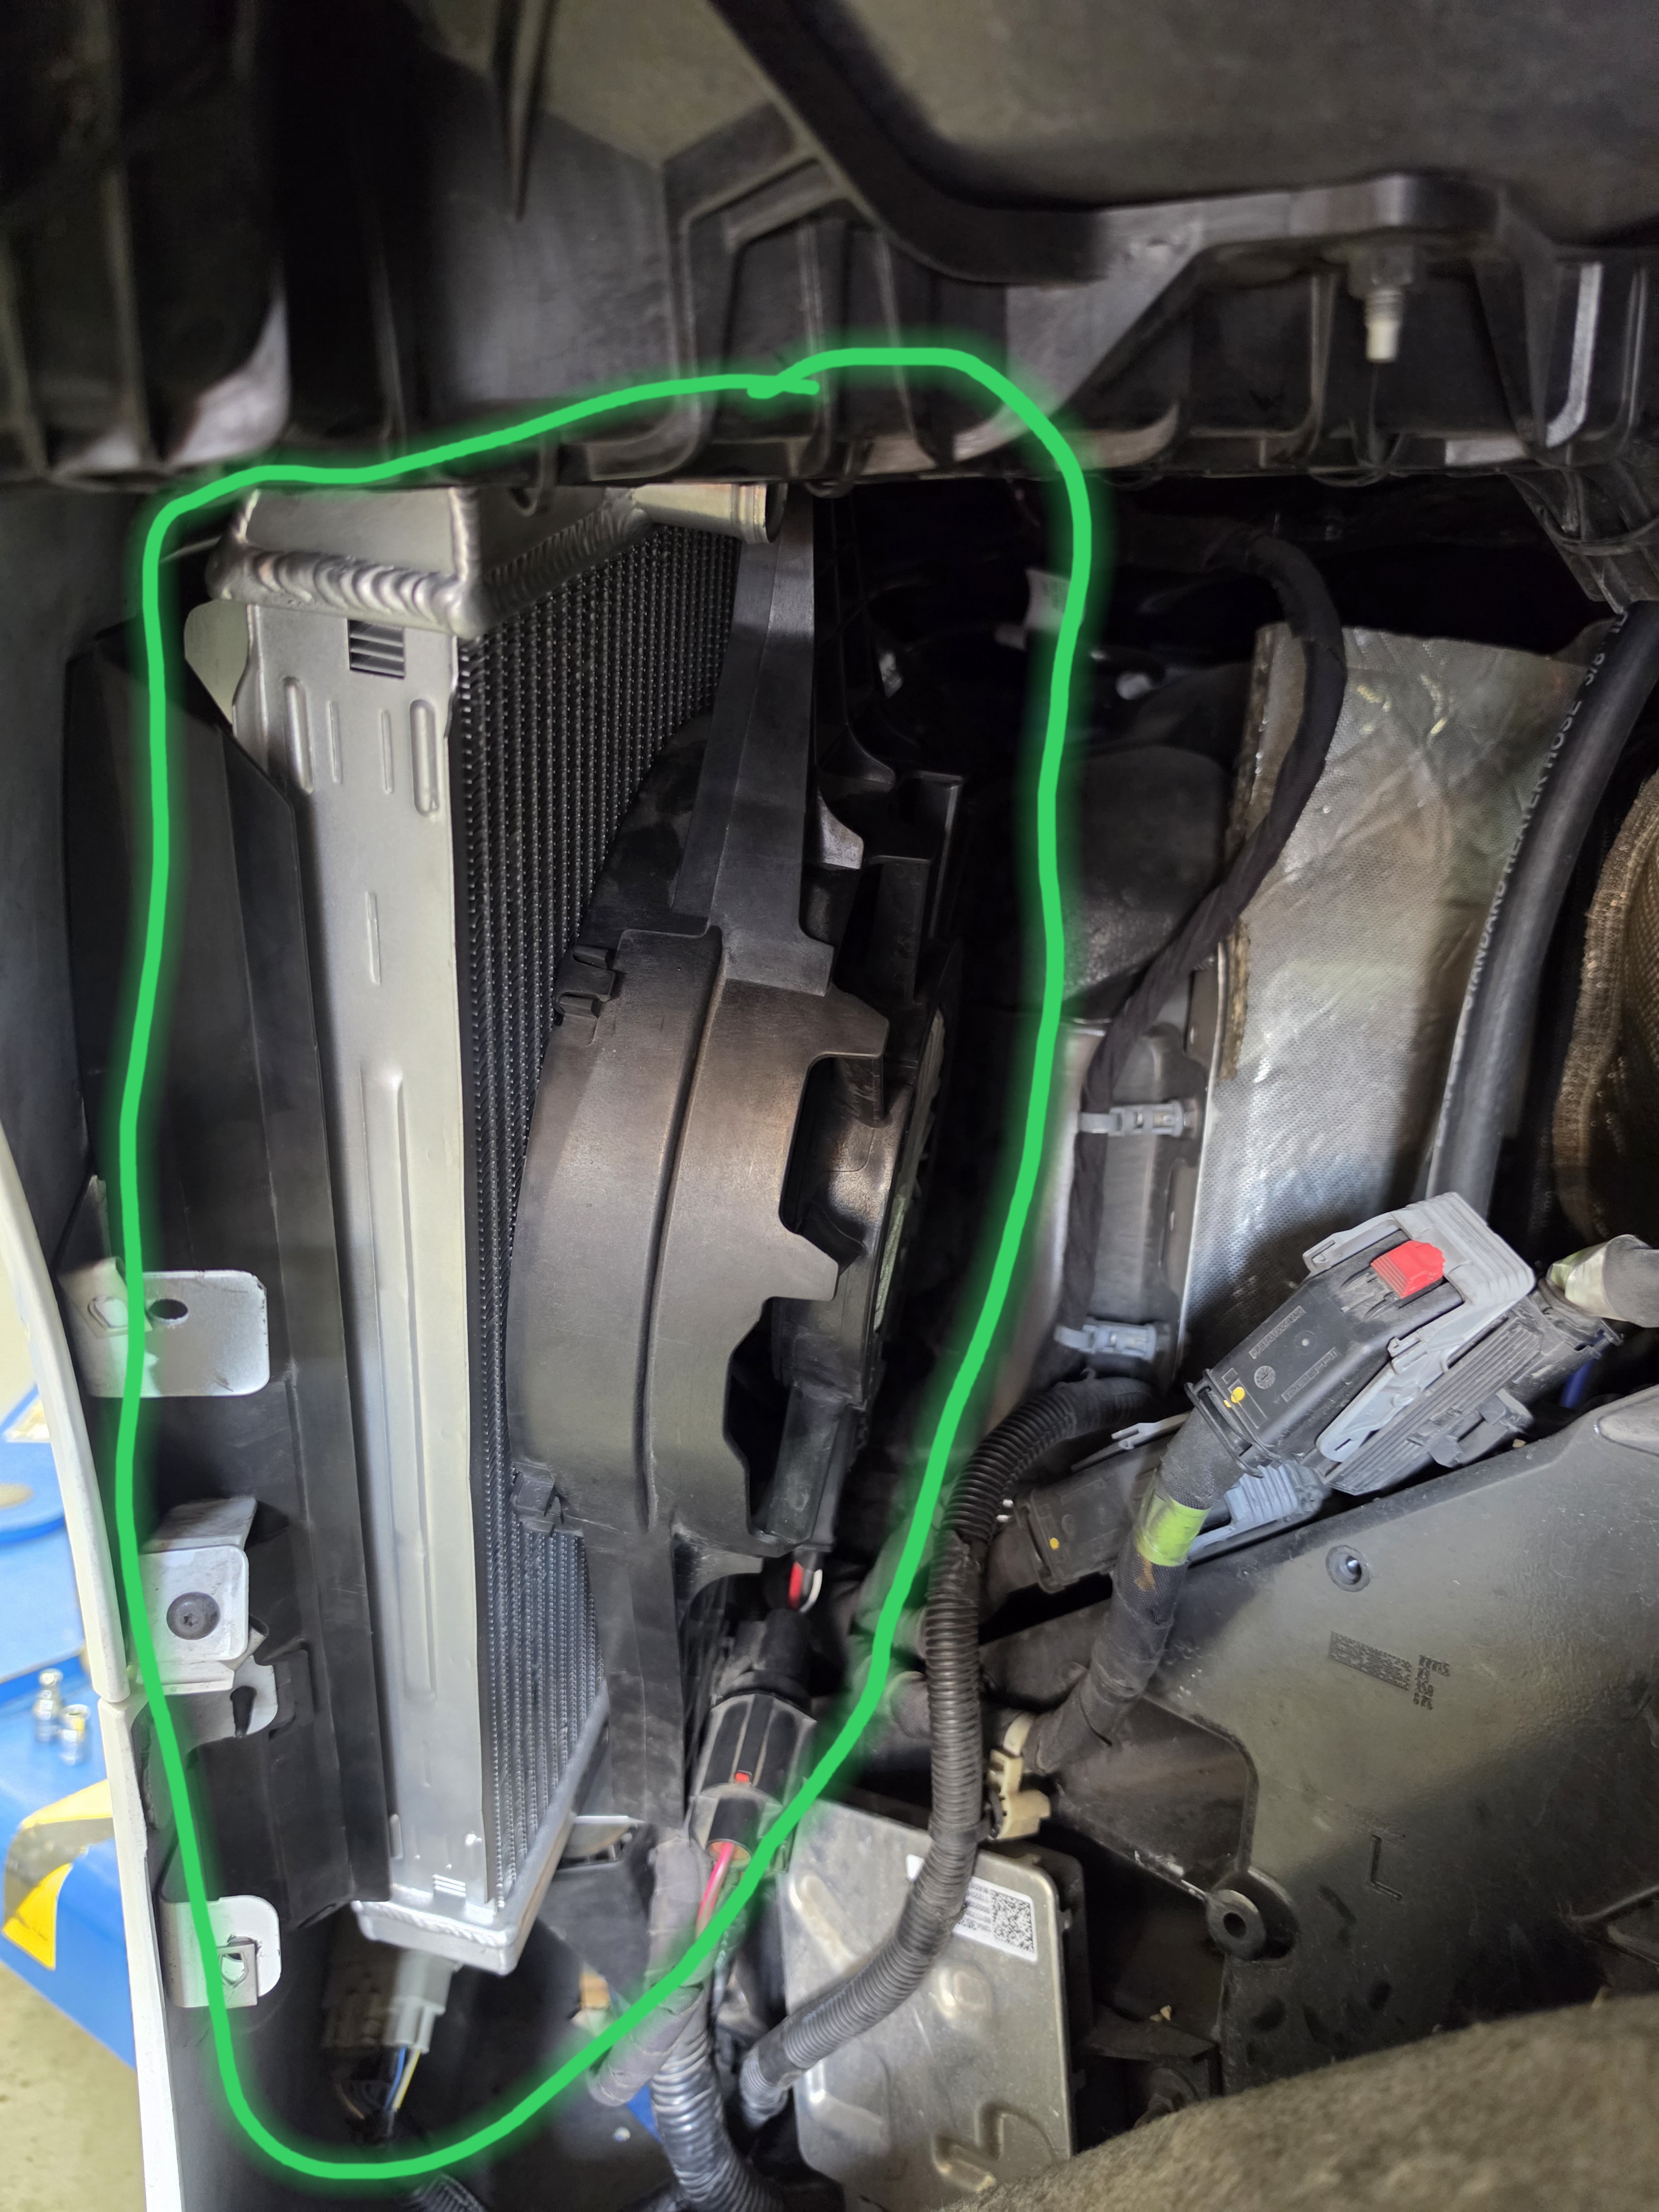
Drivers side engine air intake got the Charge Air Cooler radiator.
Seat wiring diagram
There used to be a mock plastic radiator here, now it a real one.
Seat wiring diagram
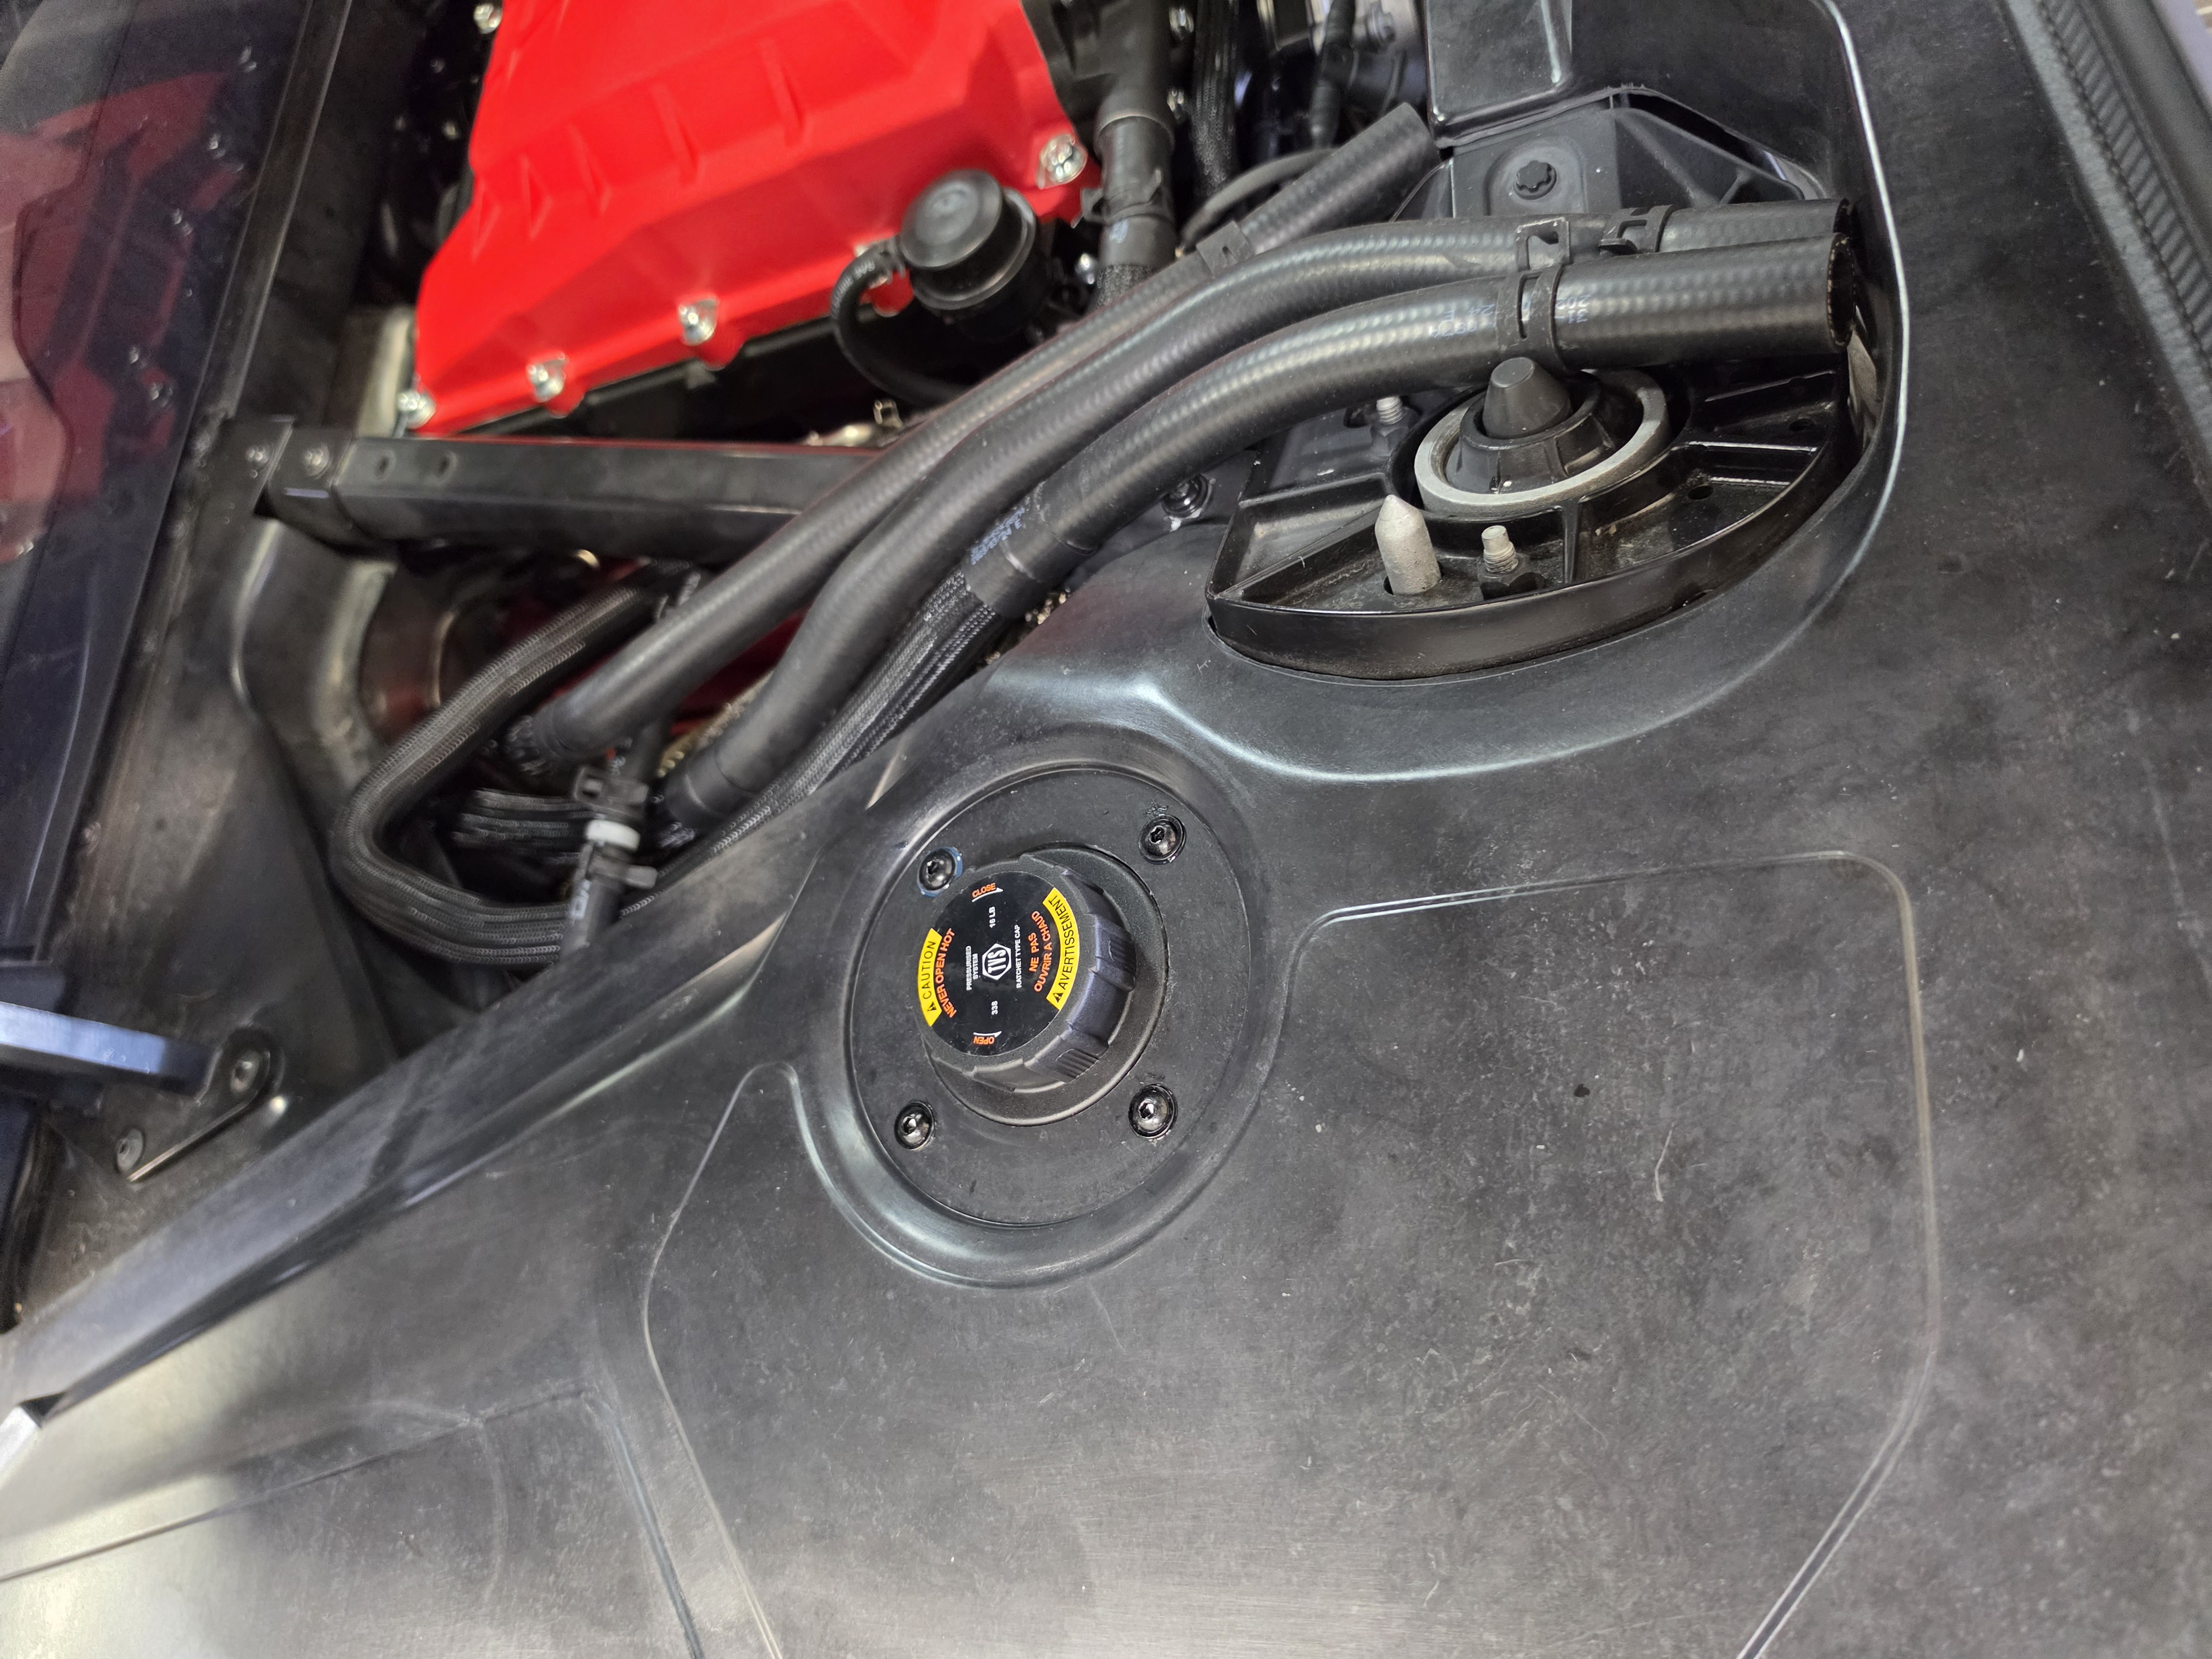
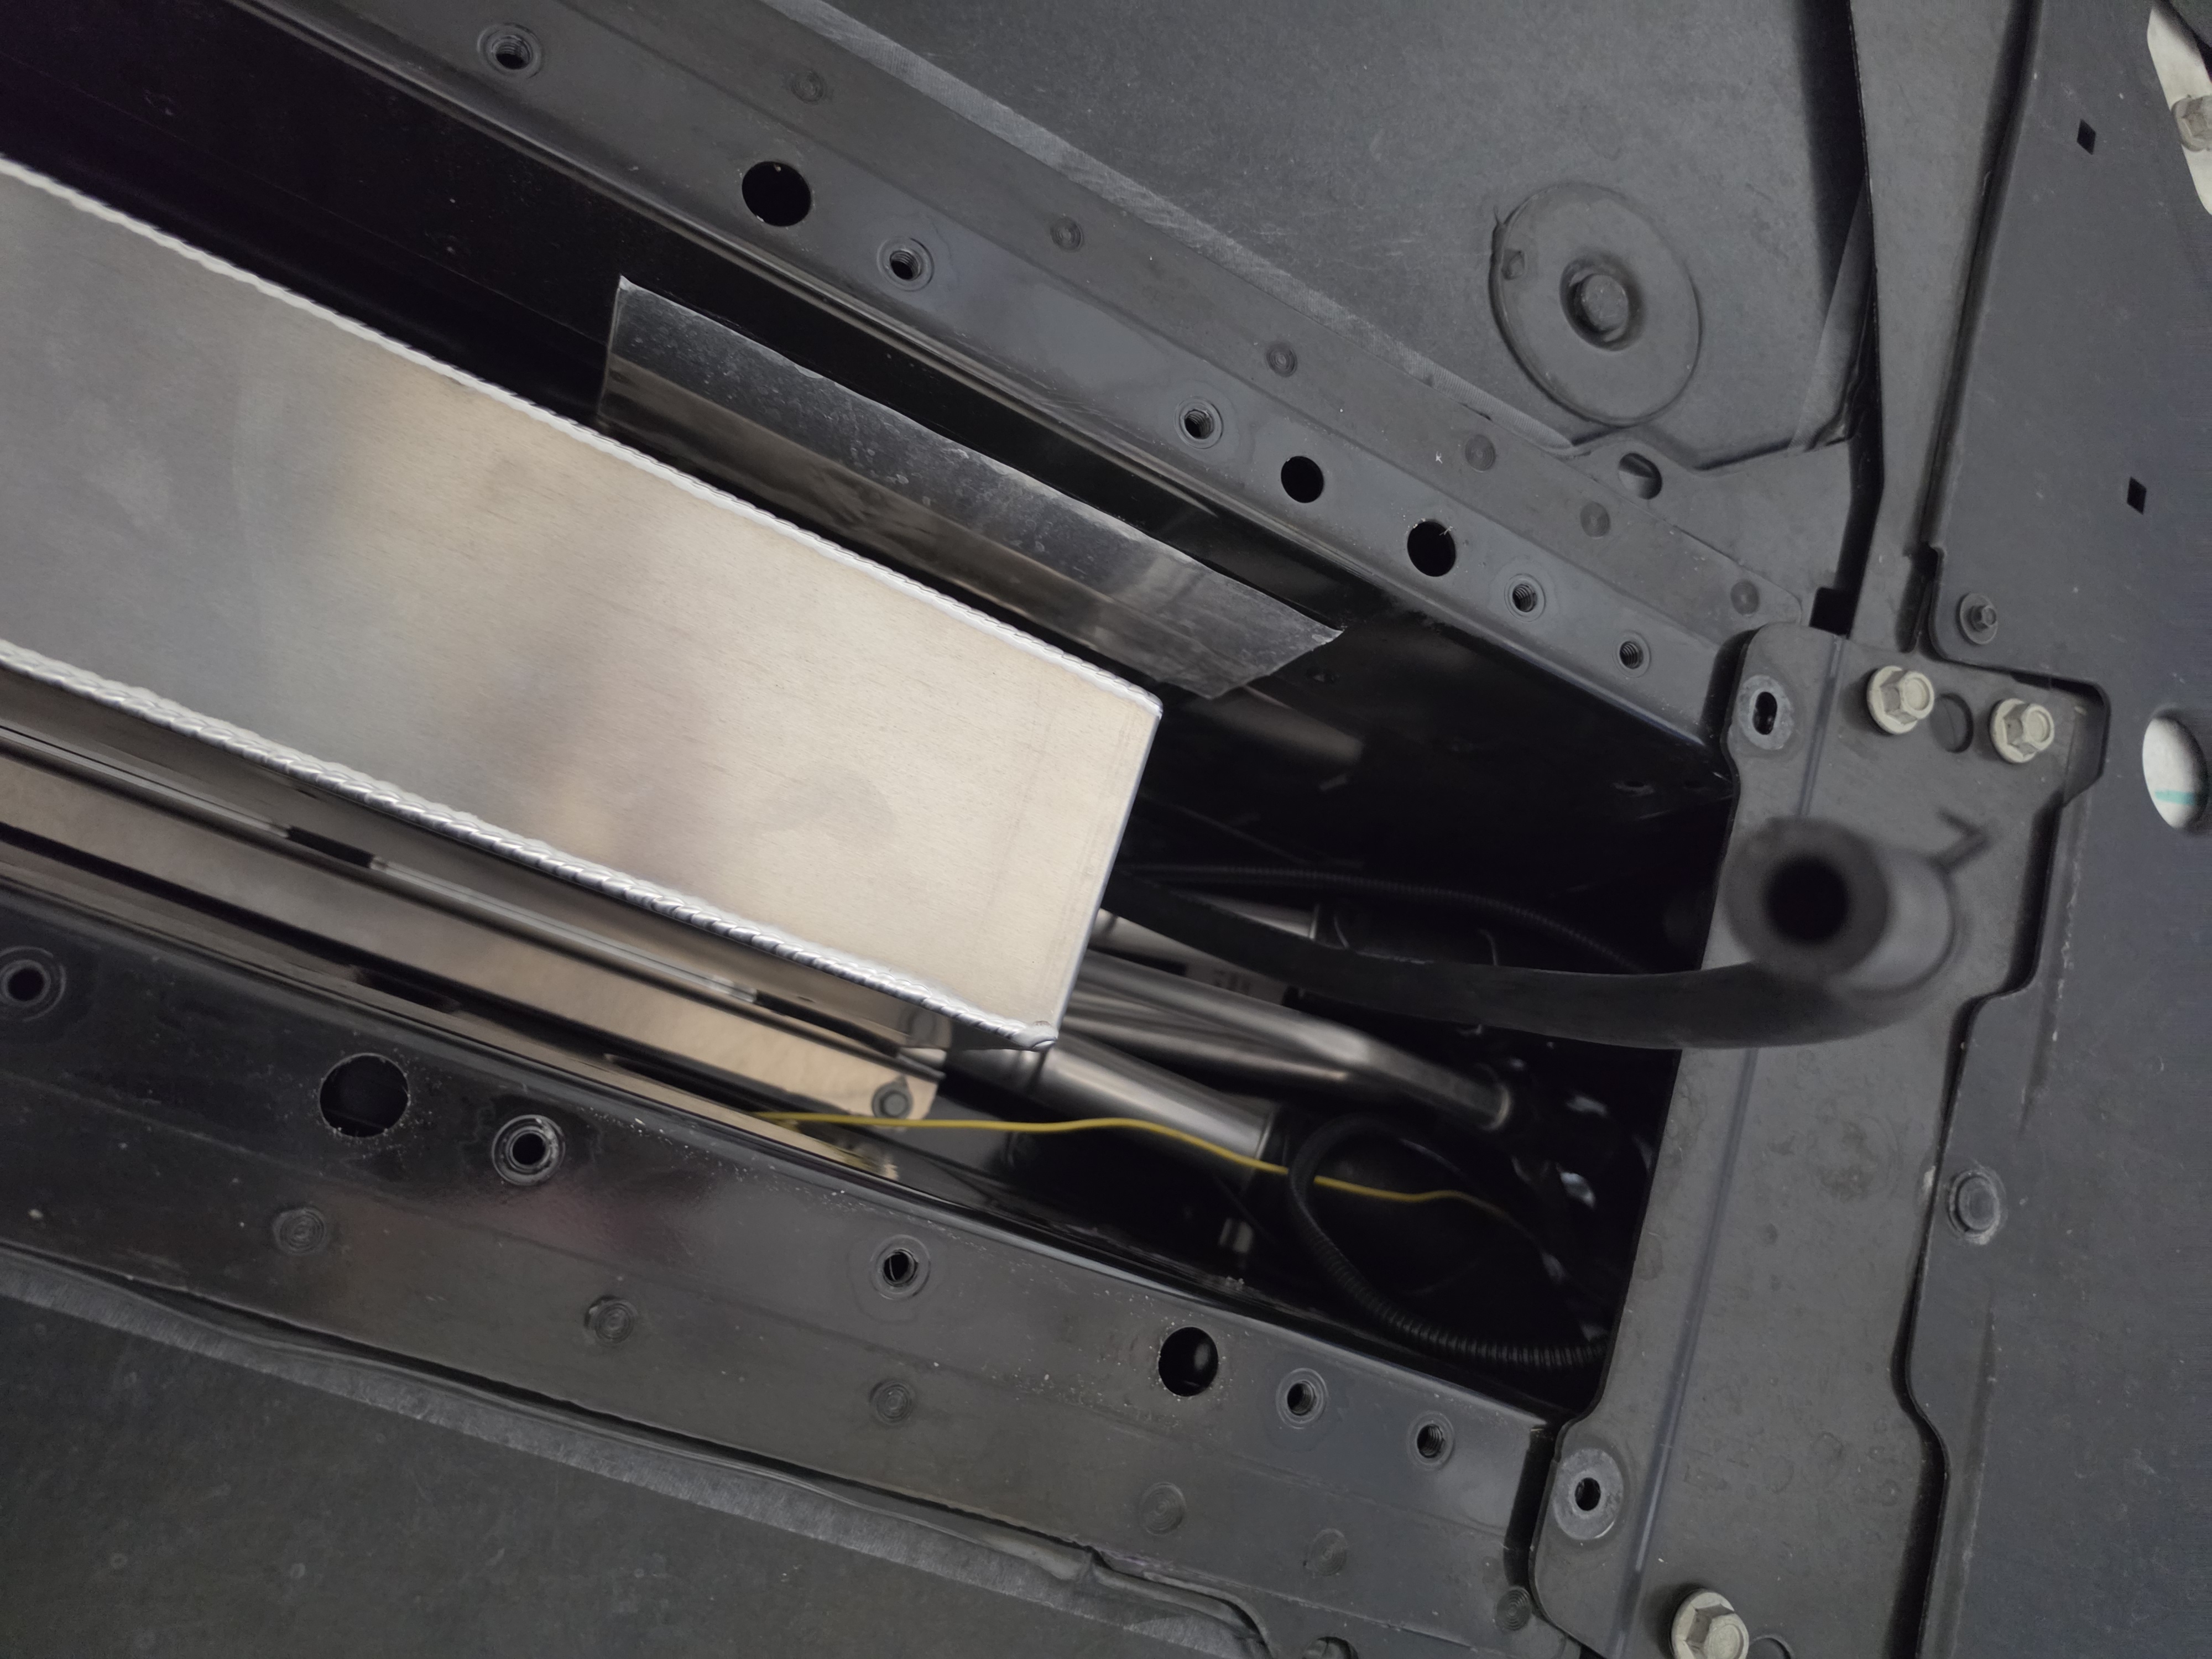
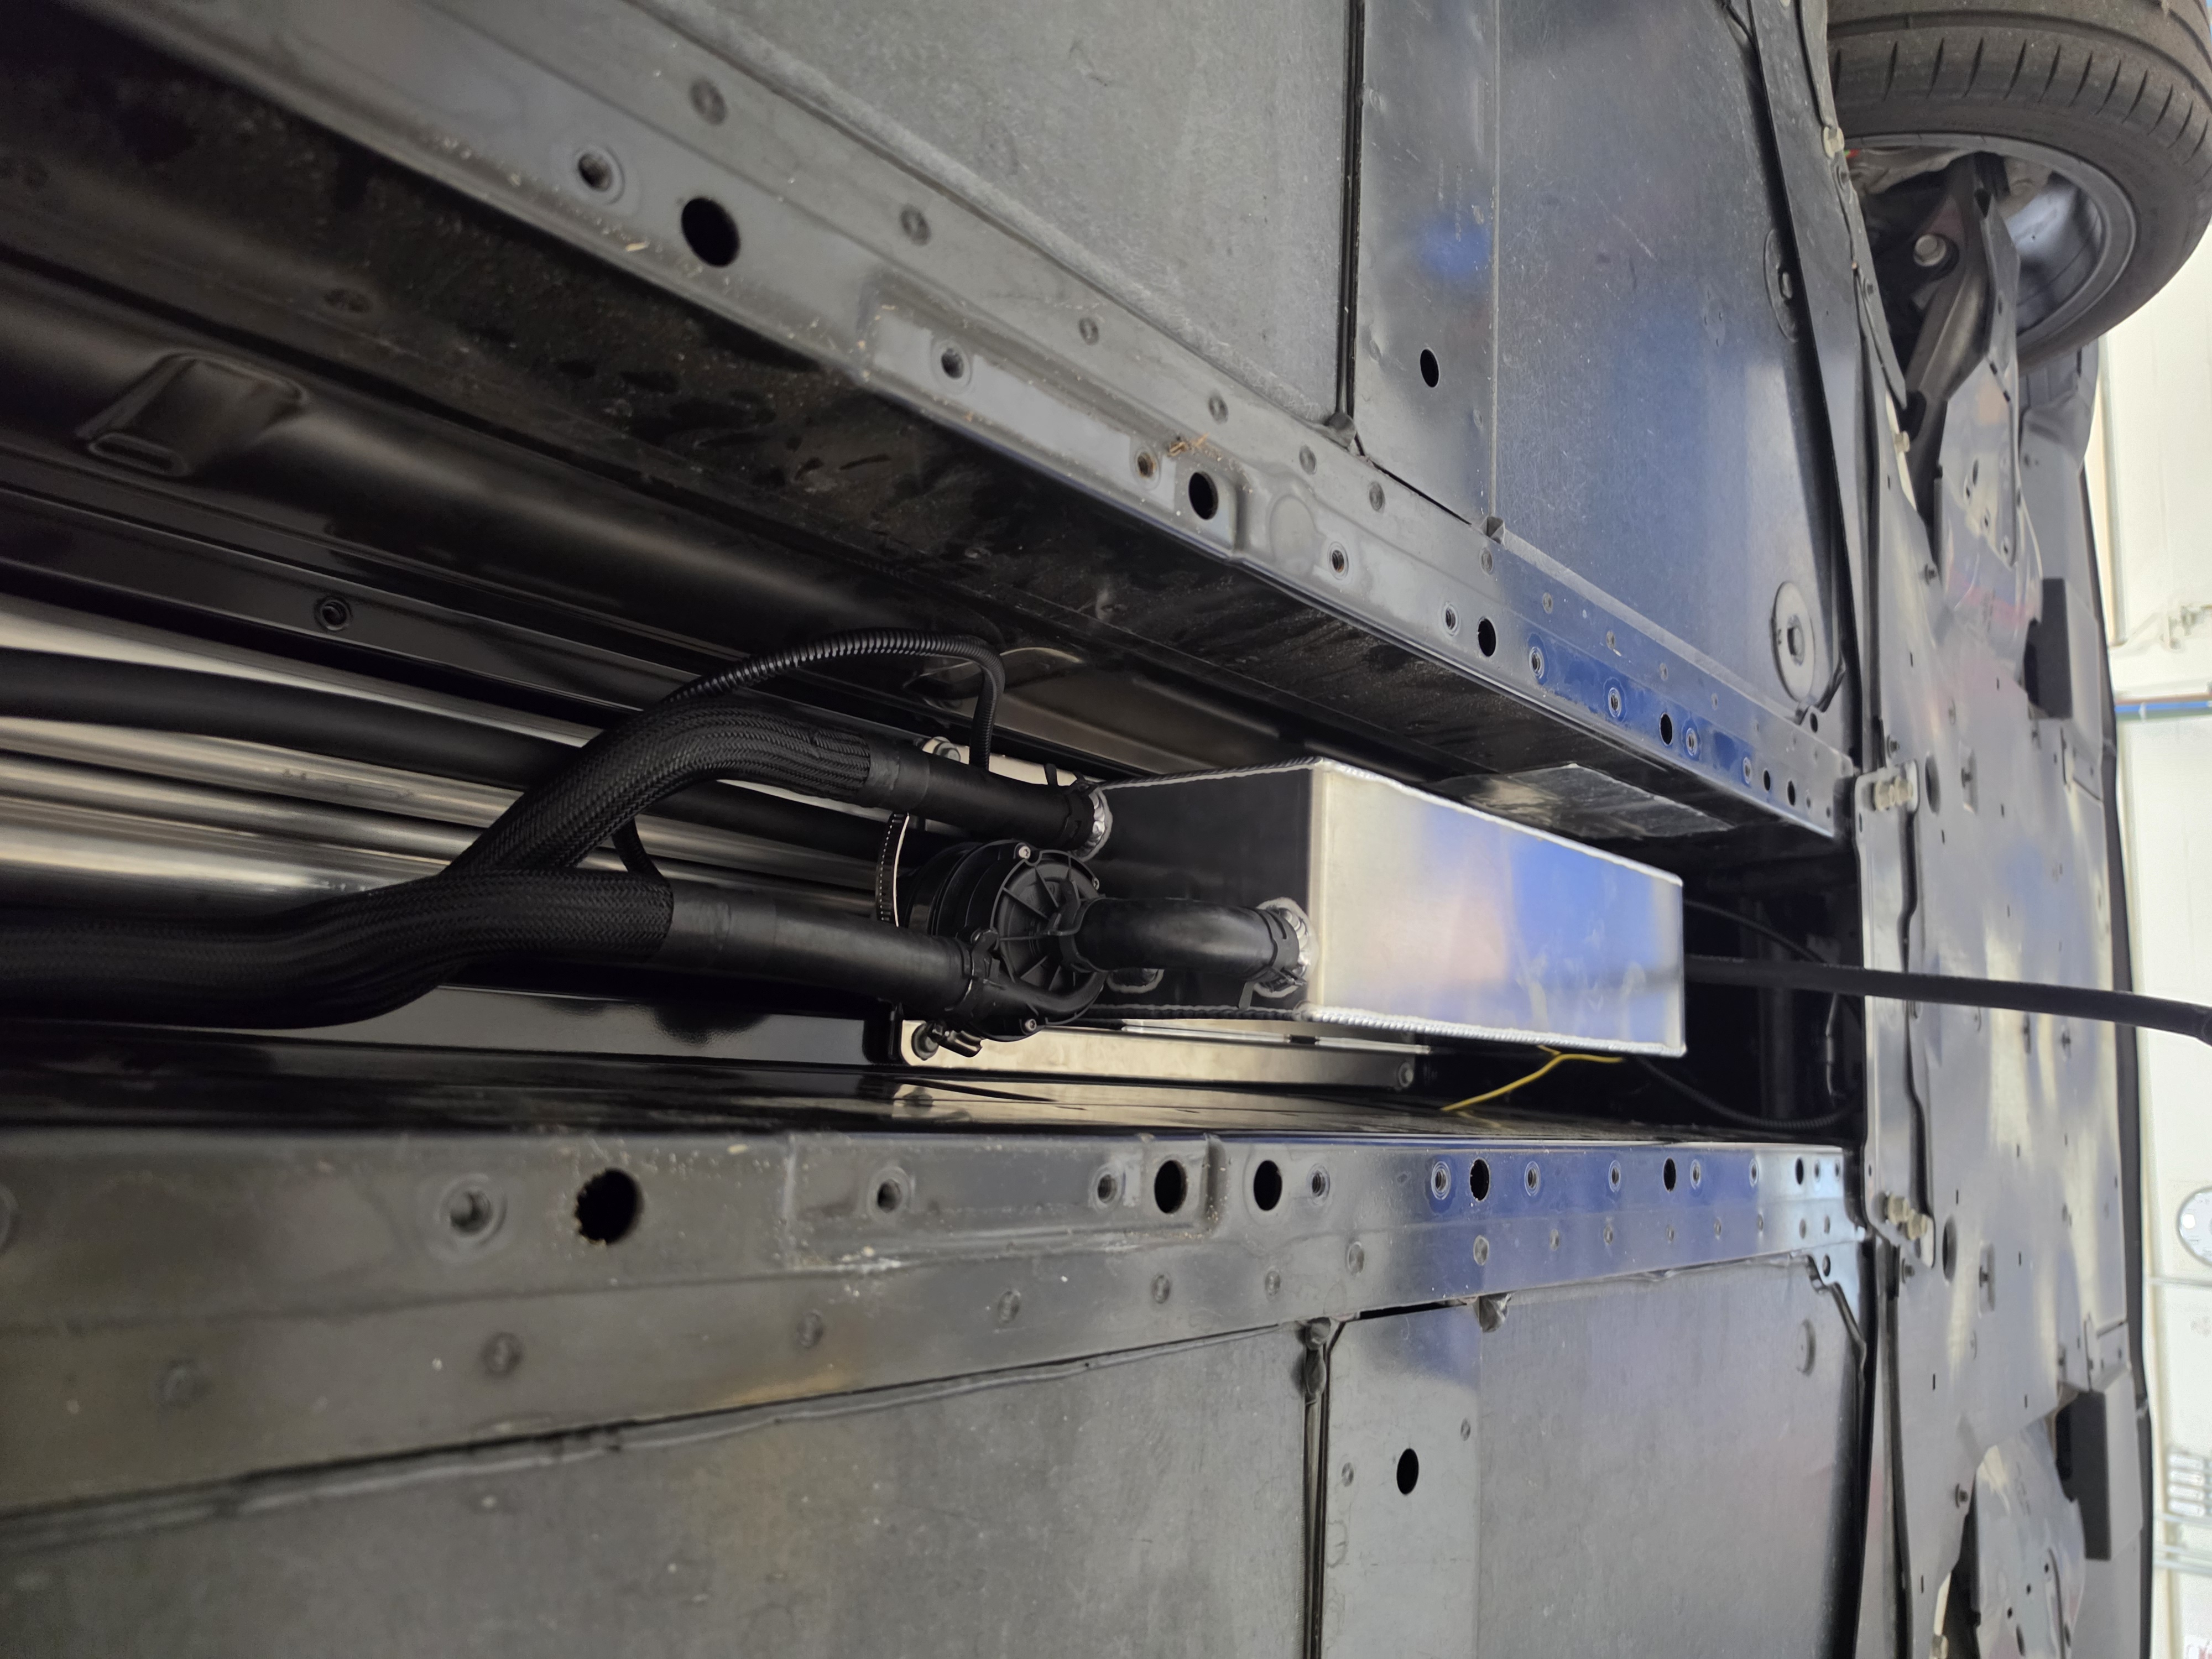
Charge Air Cooler coolant tank. Holds the coolant after its cooled through the radiator and pumps it into the Supercharger to cool the incoming air to make it more dense which equals more power.
Seat wiring diagram
The pump is on here. The pump runs any time the ignition is powered up.
Everything mechanical is installed and ready to go!
Uploaded a tune and the first start was a success!!
Everything mechanical is installed and ready to go!
Uploaded a tune and the first start was a success!!

Tuning

I work for HP Tuners. One of the main goals of this project was to understand how the tools I work on get used in the real world. No better way to do that then to use them as a customer. Tuning took maybe 40 hours after learning how to tune with HPAcademy.com. *I still had to ask for help from my coworkers.

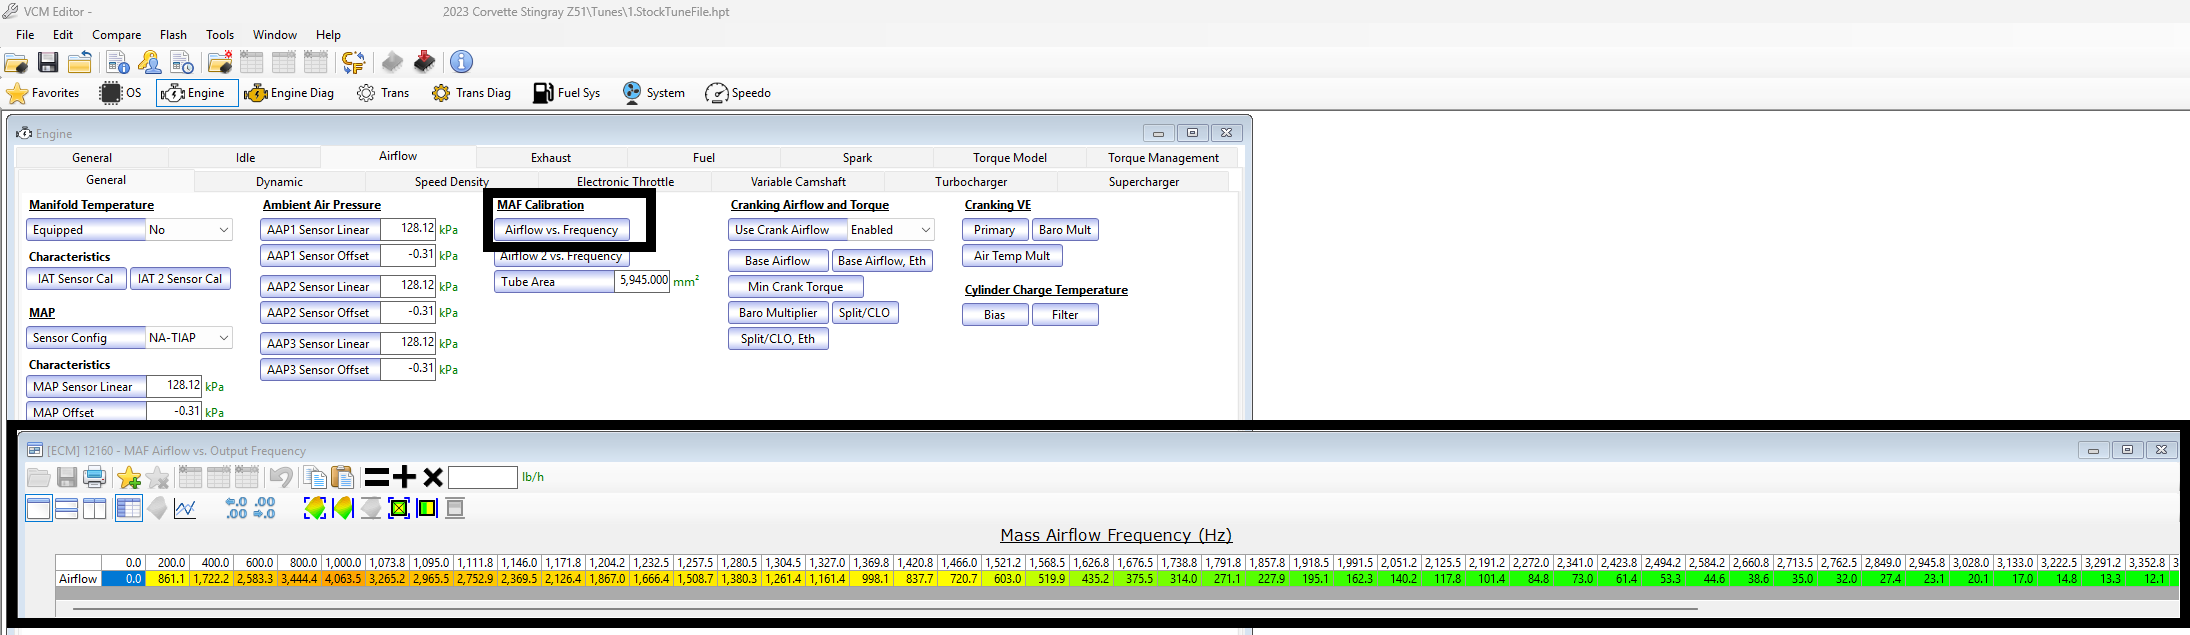
Tuning the MAF
Seat wiring diagram
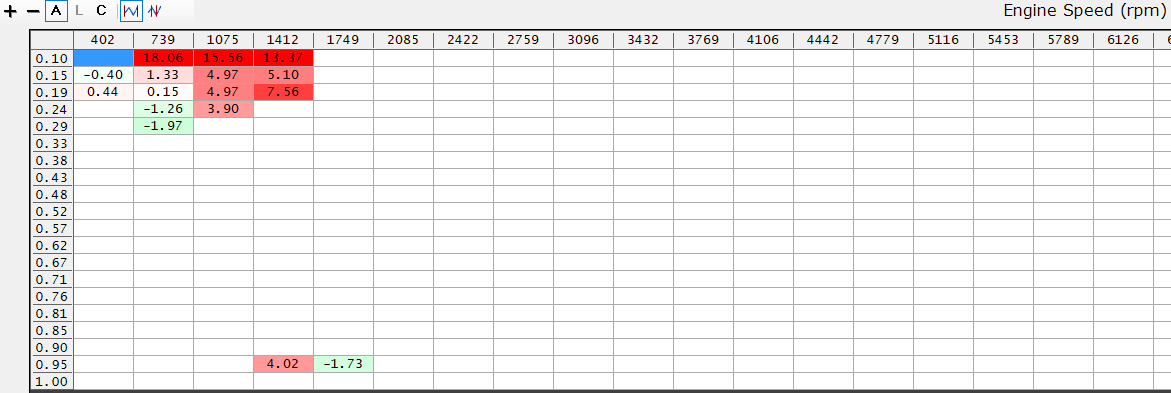
After scanning with the MAF on, I would modify this MAF table

Tuning VVE and MAF

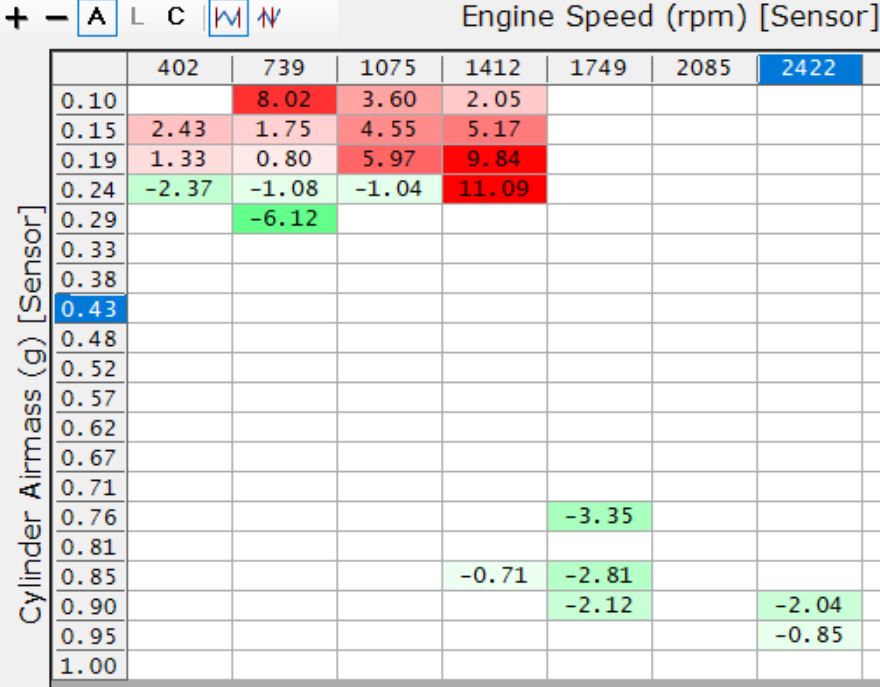
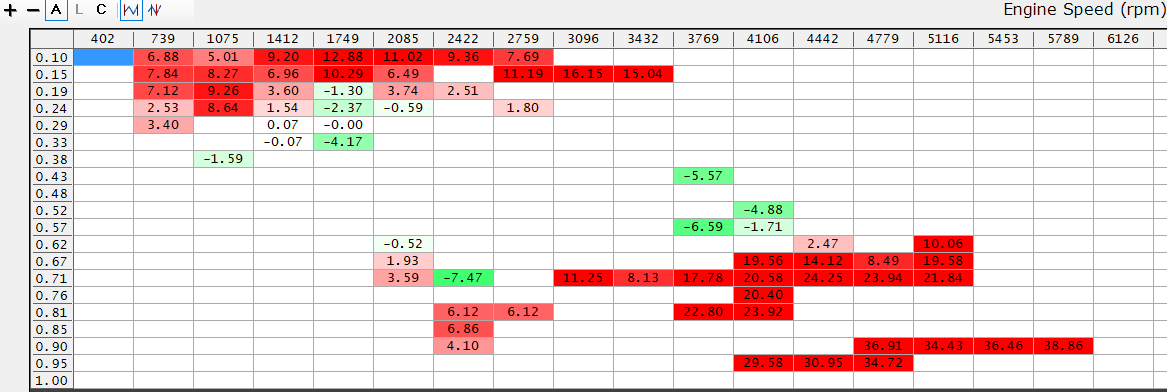
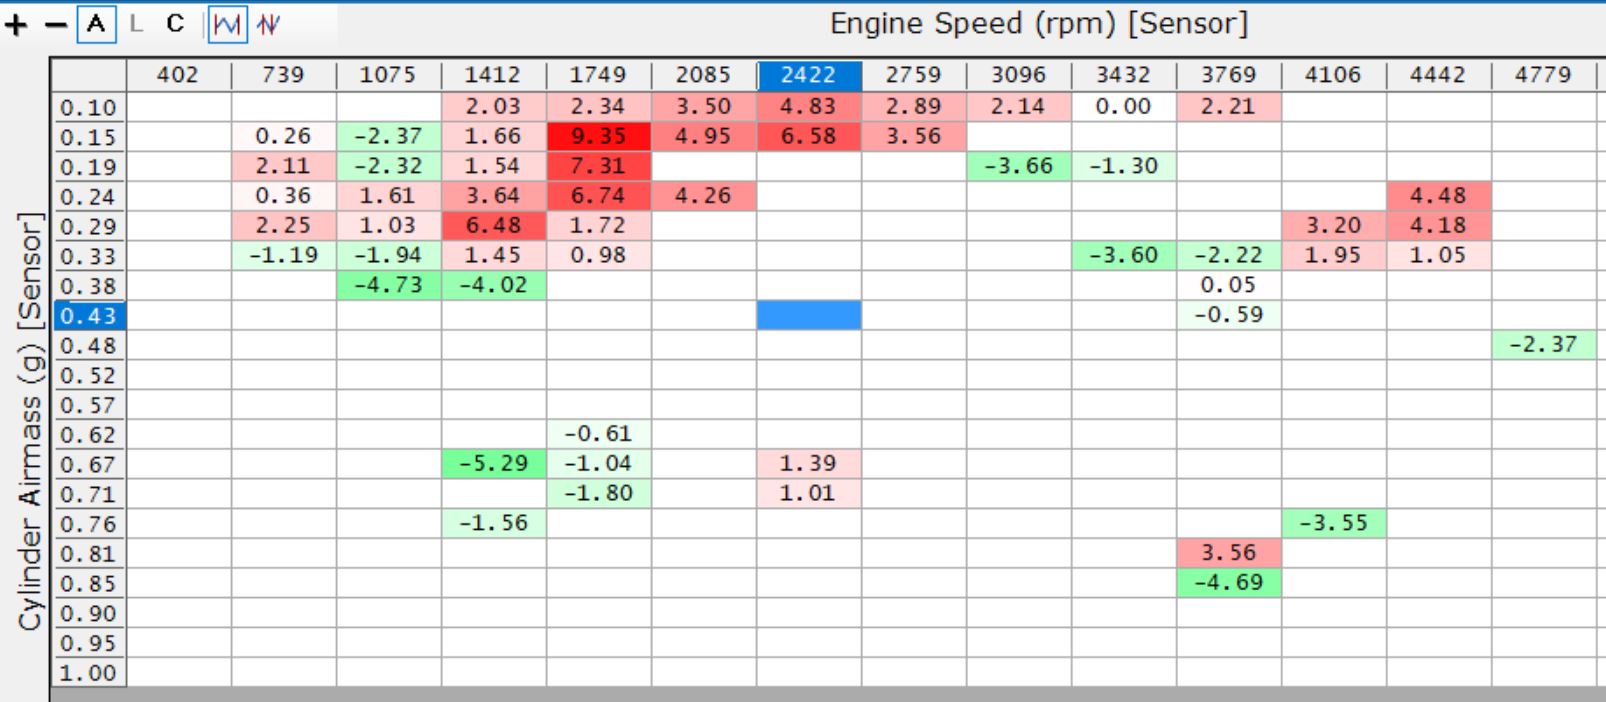
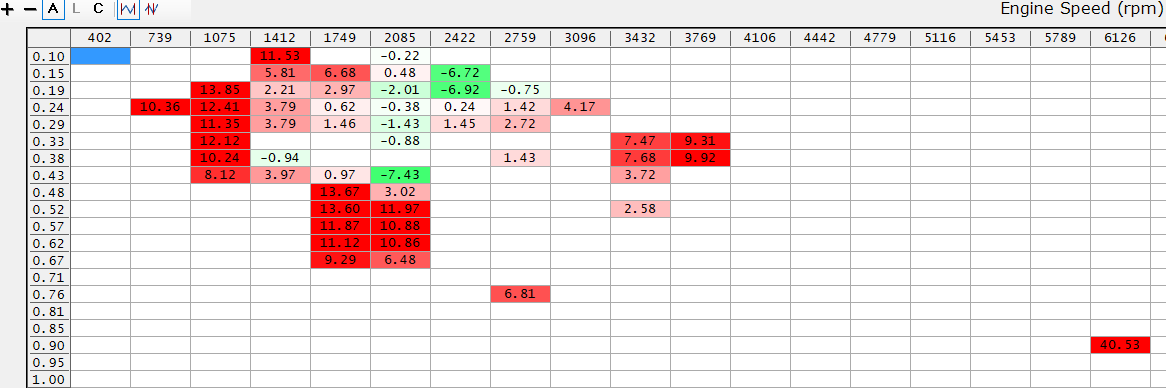
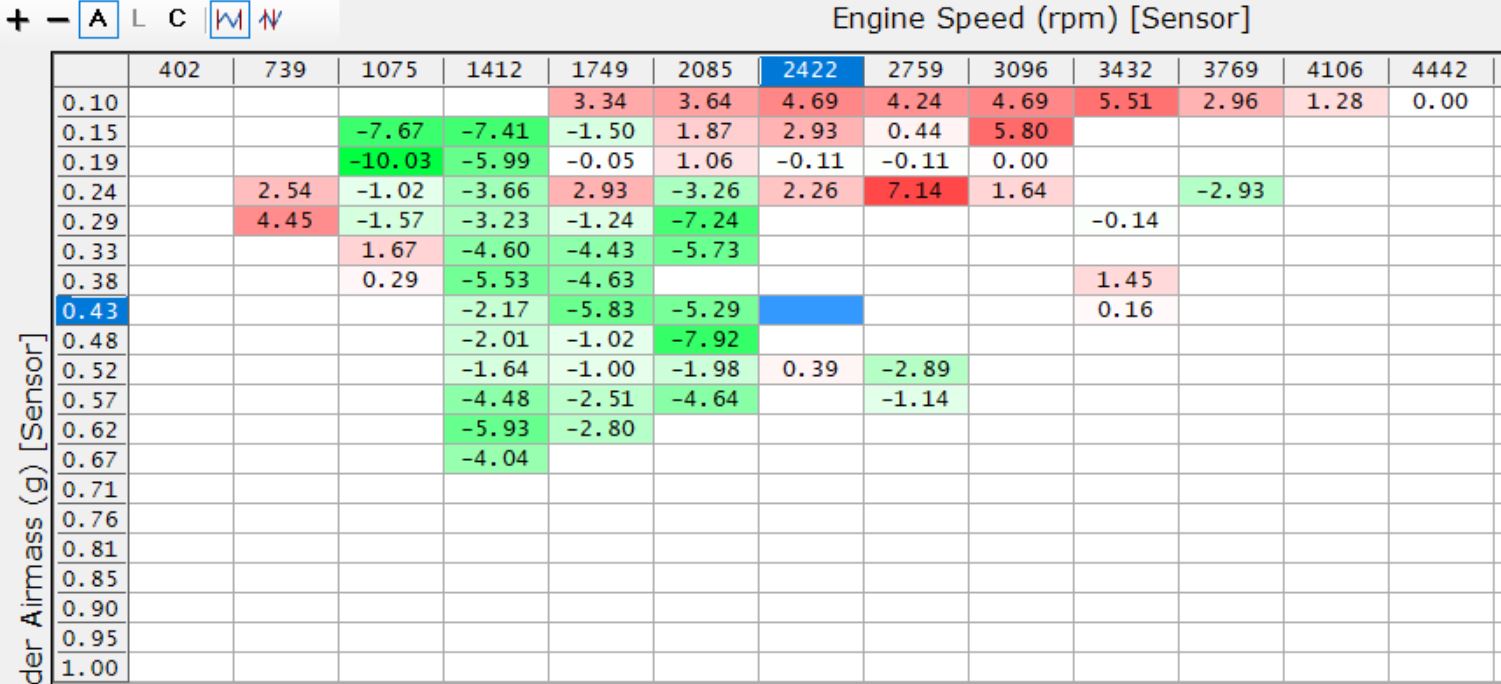
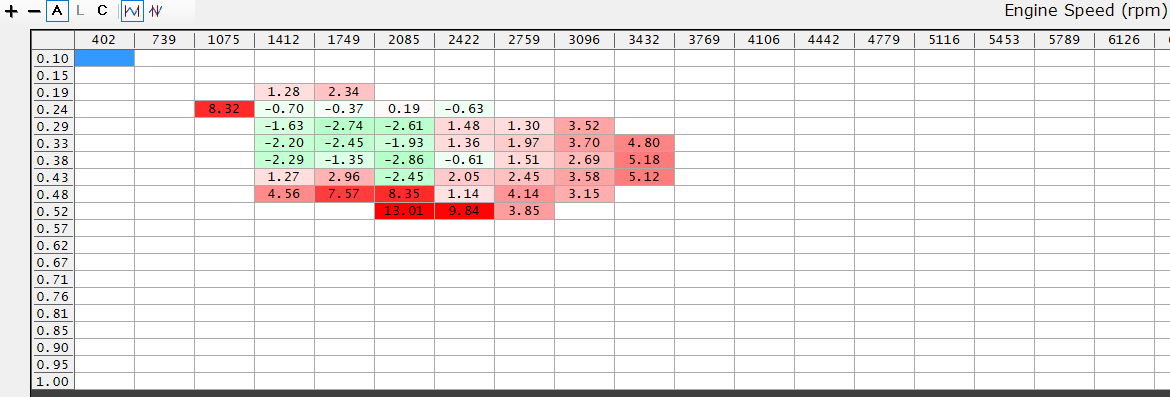
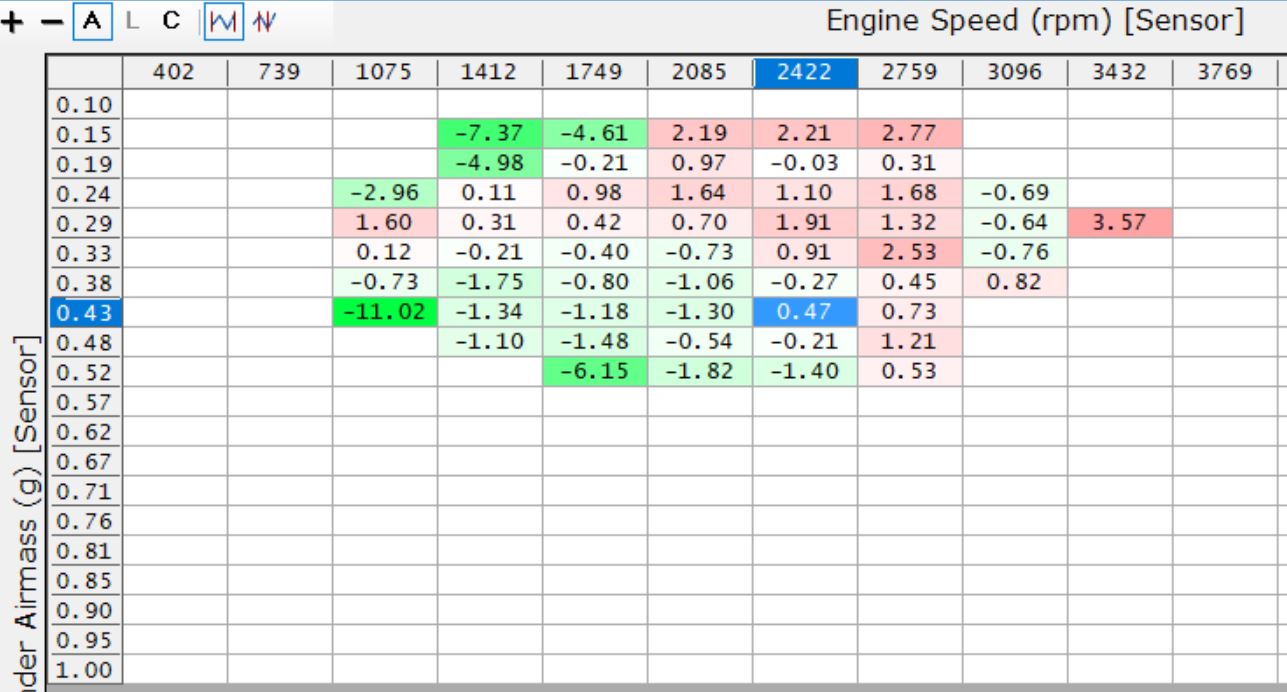
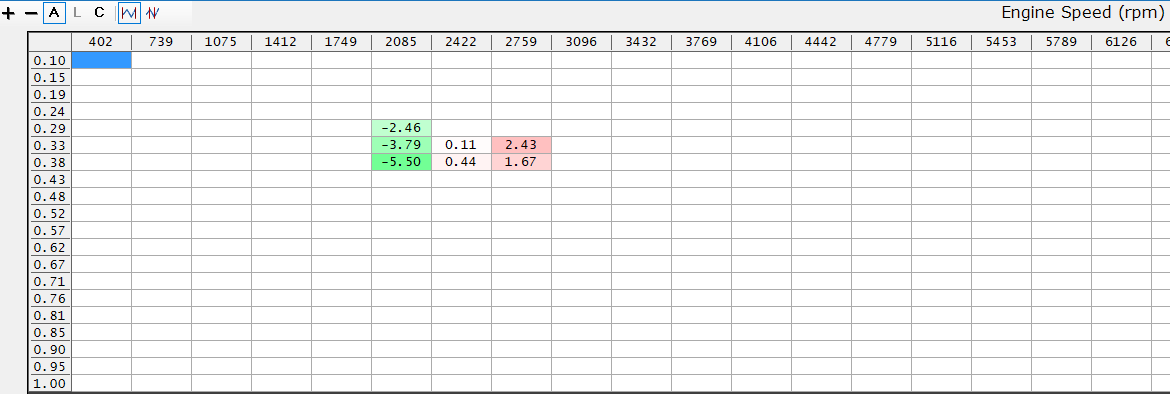
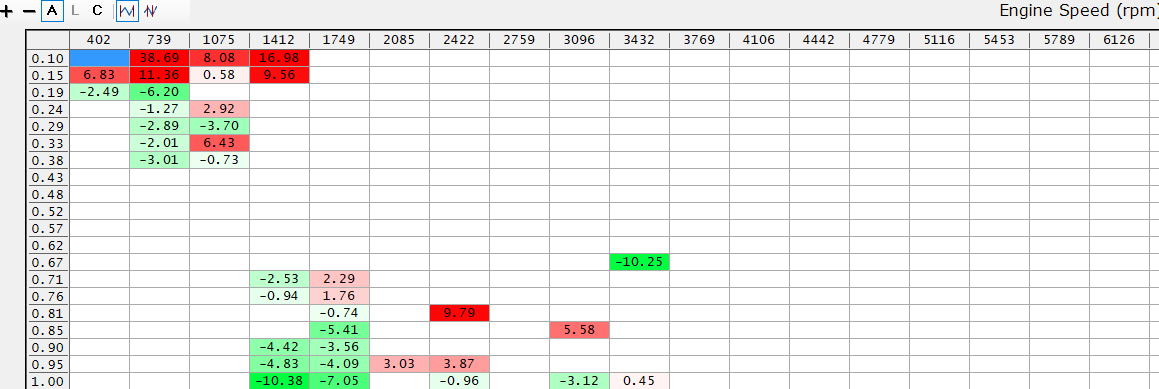
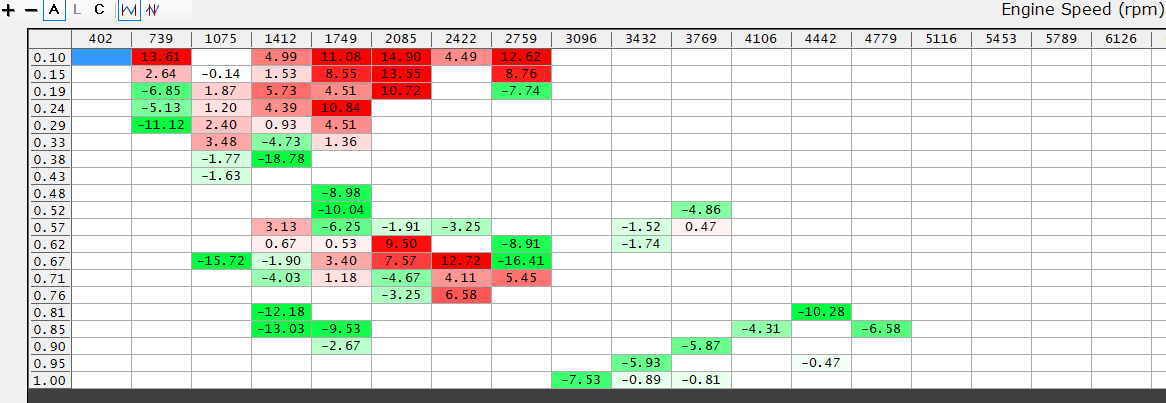
I turned down the spark table so that I could dial in the fueling with fewer chances of seeing knock, with the idea of turning it back up later. I spent most of my time tuning the VVE and MAF. The MAF and VVE needed to be tuned seperately. There is currently only a way to turn the MAF off for VVE tuning by itself, so I failed the MAF and tuned the VVE Neural Network with HPTuners' Tuner Tools. I would log information with VCM Scanner and come back and modify the VVE NN, train it, check out the values vs the targeted values from my scan, if they looked correct I would use the VVE NN, if not, I would make more intense changes in the VVE and submit it back into the NN Trainer in Tuner Tools. I had to watch the Variable Valve of the intake & exhaust as the different settings of those used different neural networks to set the fueling amounts. Throughout tuning I would turn the MAF back on to verify that it was getting closer, tune the MAF some, then turn it back off and continue with the VVE NN. I turned off Long Term Fuel Trims and used Short Term Fuel Trims only through this process.

VVE NN

Tuning at Variable Valve offset at 105°
Seat wiring diagram
VVE & MAF on midway through tuning
Seat wiring diagram
MAF off, VVE only on halfway through tuning.
Seat wiring diagram
VVE & MAF on. Values looking good

Tuning at Variable Valve offset at 116°
Seat wiring diagram
VVE & MAF on midway through tuning
Seat wiring diagram
MAF off, VVE only on halfway through tuning.
Seat wiring diagram
VVE & MAF on. Values looking good

Tuning at Variable Valve offset at 127°
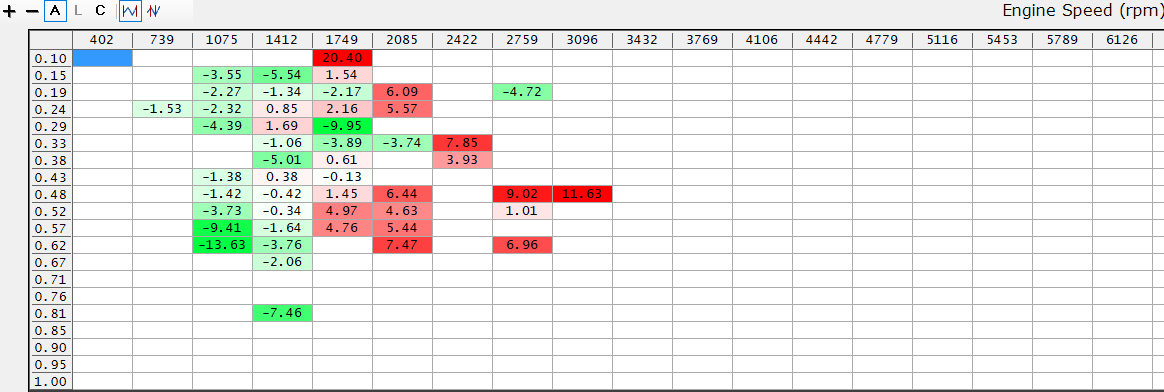
Seat wiring diagram
VVE & MAF on midway through tuning
Seat wiring diagram
MAF off, VVE only on halfway through tuning.
Seat wiring diagram
VVE & MAF on. Values looking good

Tuning at Variable Valve offset at 138°
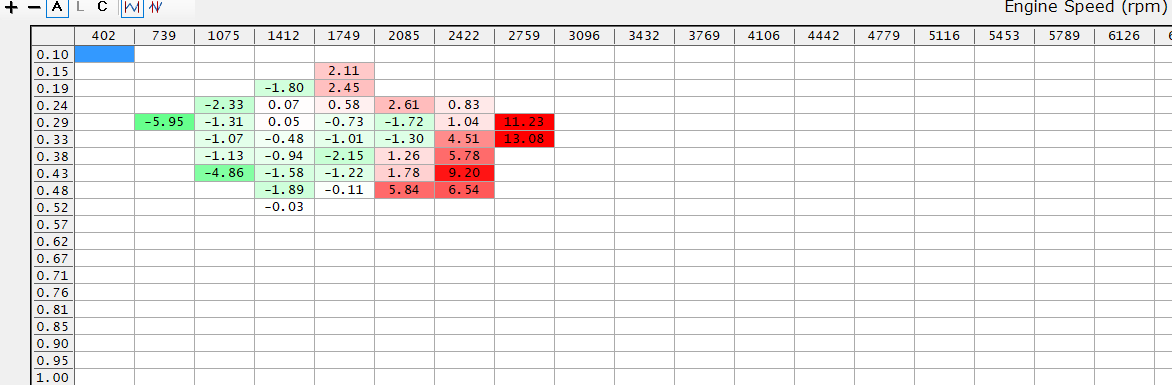
Seat wiring diagram
VVE & MAF on midway through tuning
Seat wiring diagram
MAF off, VVE only on halfway through tuning.
Seat wiring diagram
VVE & MAF on. Values looking good

Tuning at Variable Valve offset at 149°
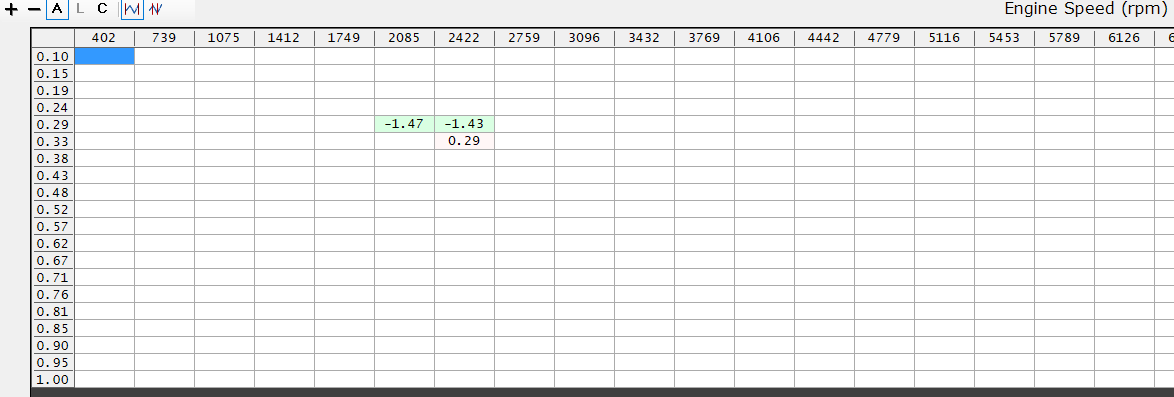
Seat wiring diagram
VVE & MAF on midway through tuning
Seat wiring diagram
MAF off, VVE only on halfway through tuning.
Variable valve no longer goes up to 149°

Tuning the MAF

I added the MAF back on to verify. Things are looking good.

Seat wiring diagram
VVE & MAF on midway through tuning
Seat wiring diagram
MAF looking good at the end

Tuning Conclusion

I turned back on Long Term Fuel Trims and the MAF and most of the fueling is within a 5% error in the cells with most hits. All are below 10% in cells that actually got valid data without transient. This was a success.

Finished

After a lot of research in tuning from HP Academy and help from coworkers at HP Tuners, I was able to get this tuned. It sounds great and runs great!

Running great. Have put on 4,000 miles with no issues.